In this article, I’m going to show you how you can capture stunning flower macro photography.
In fact, taking amazing macro flower photos isn’t actually difficult. It just takes a bit of know-how (which I’m going to share with you today).
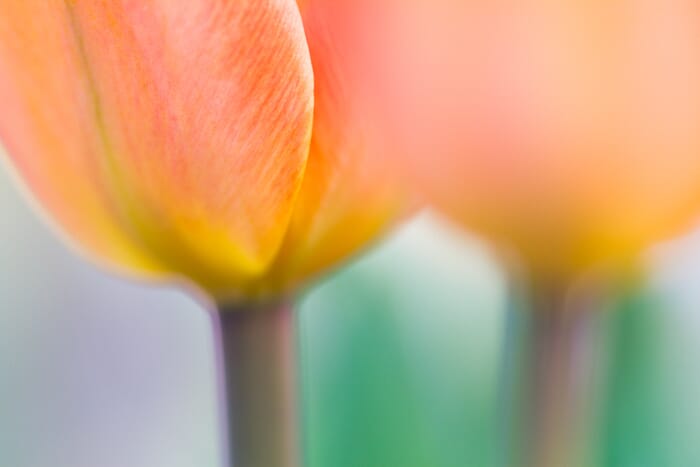
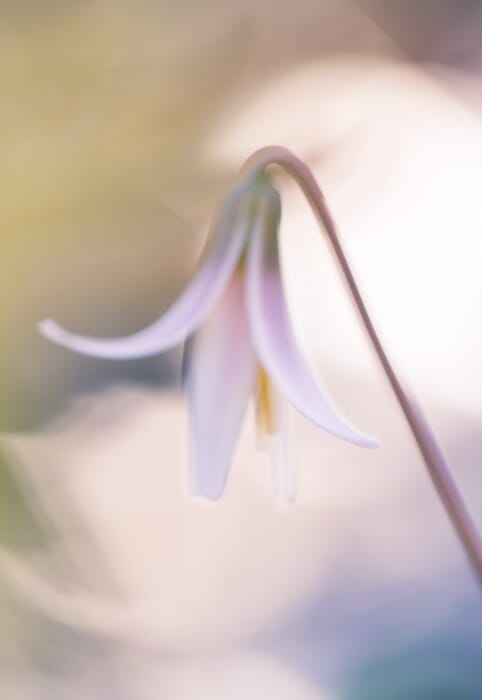
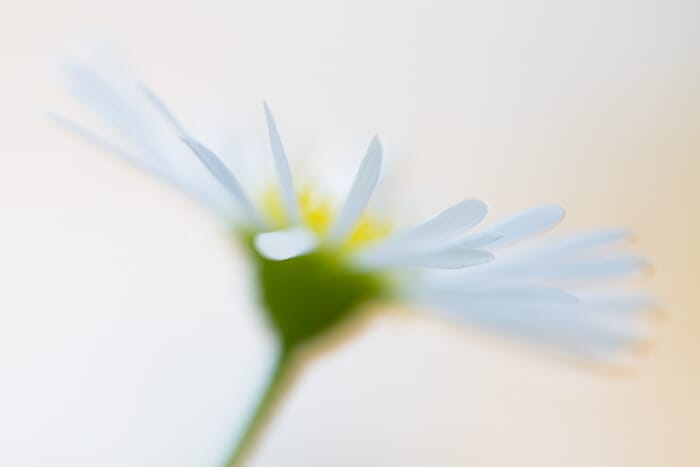
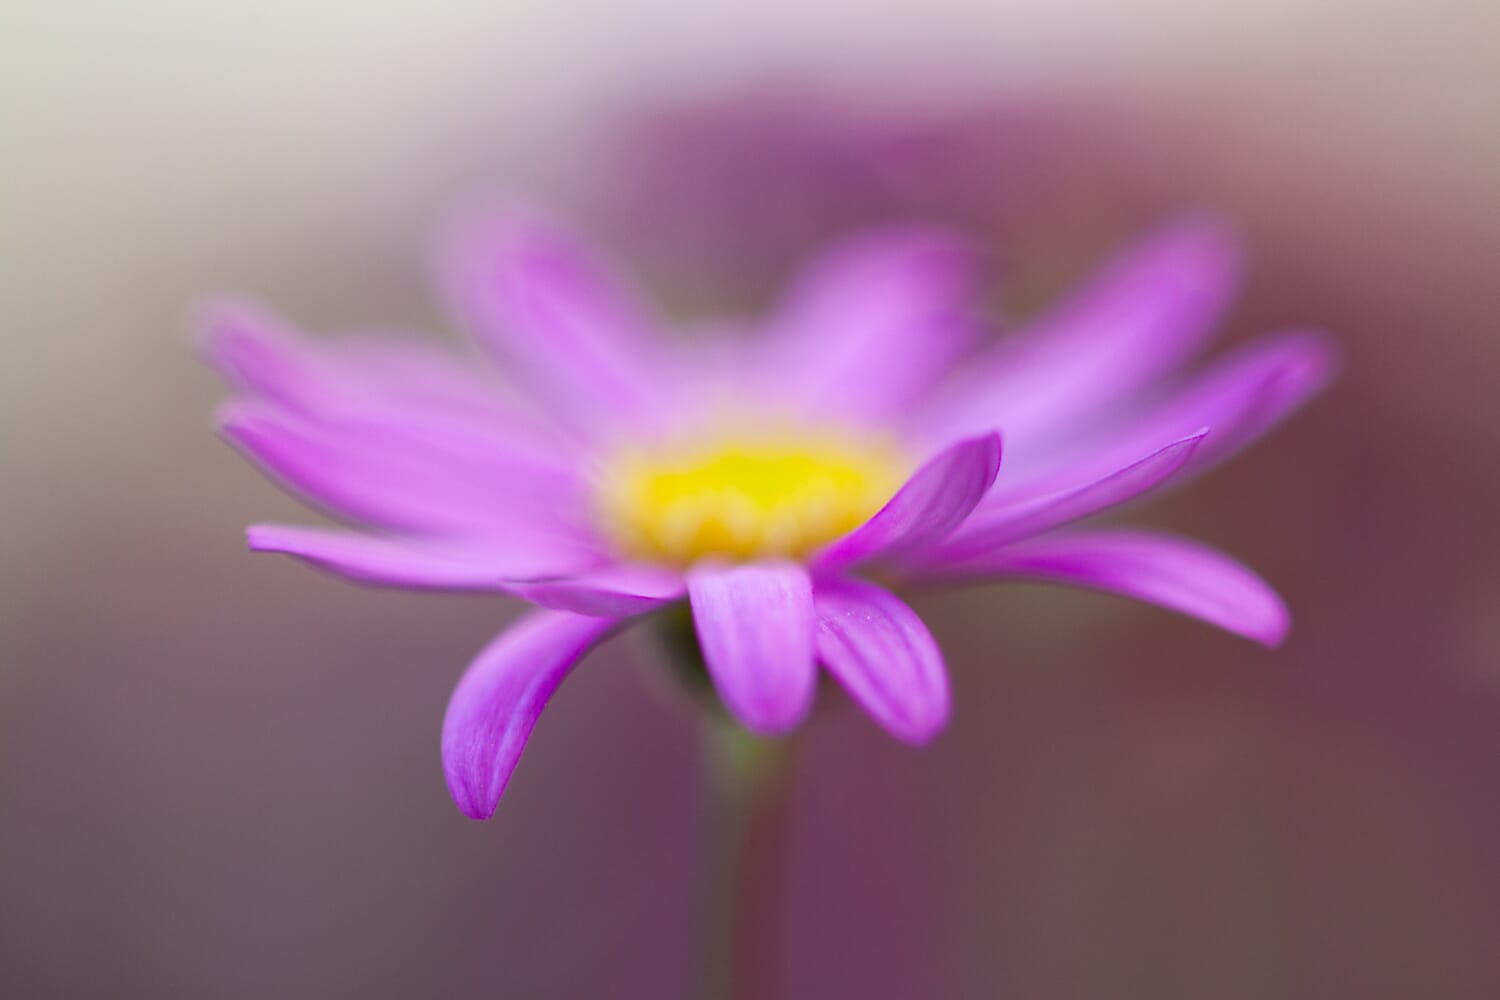
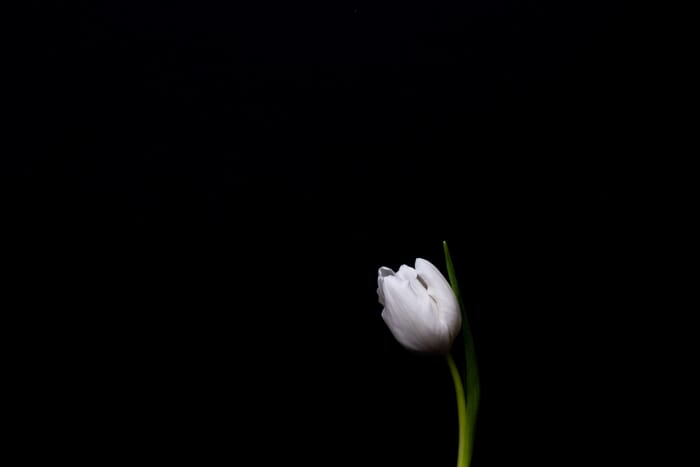
Then you’ll be able to capture photos like this:
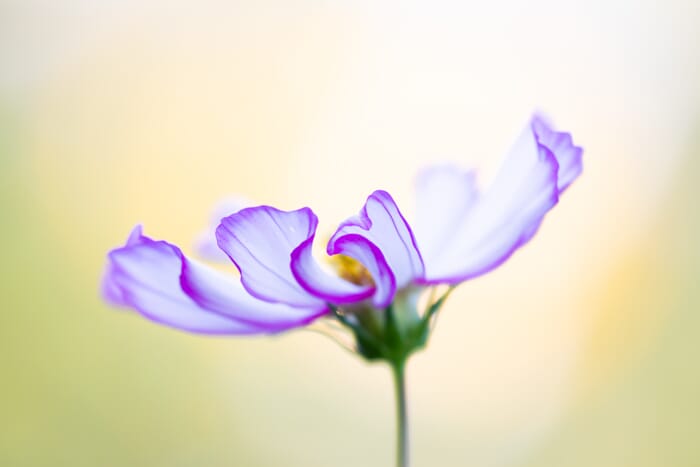
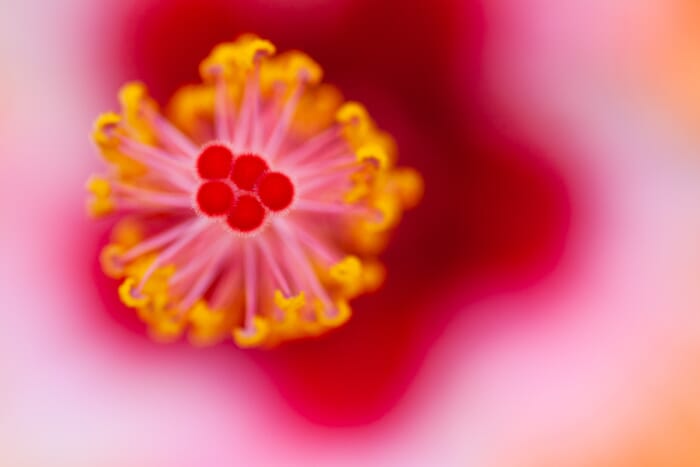
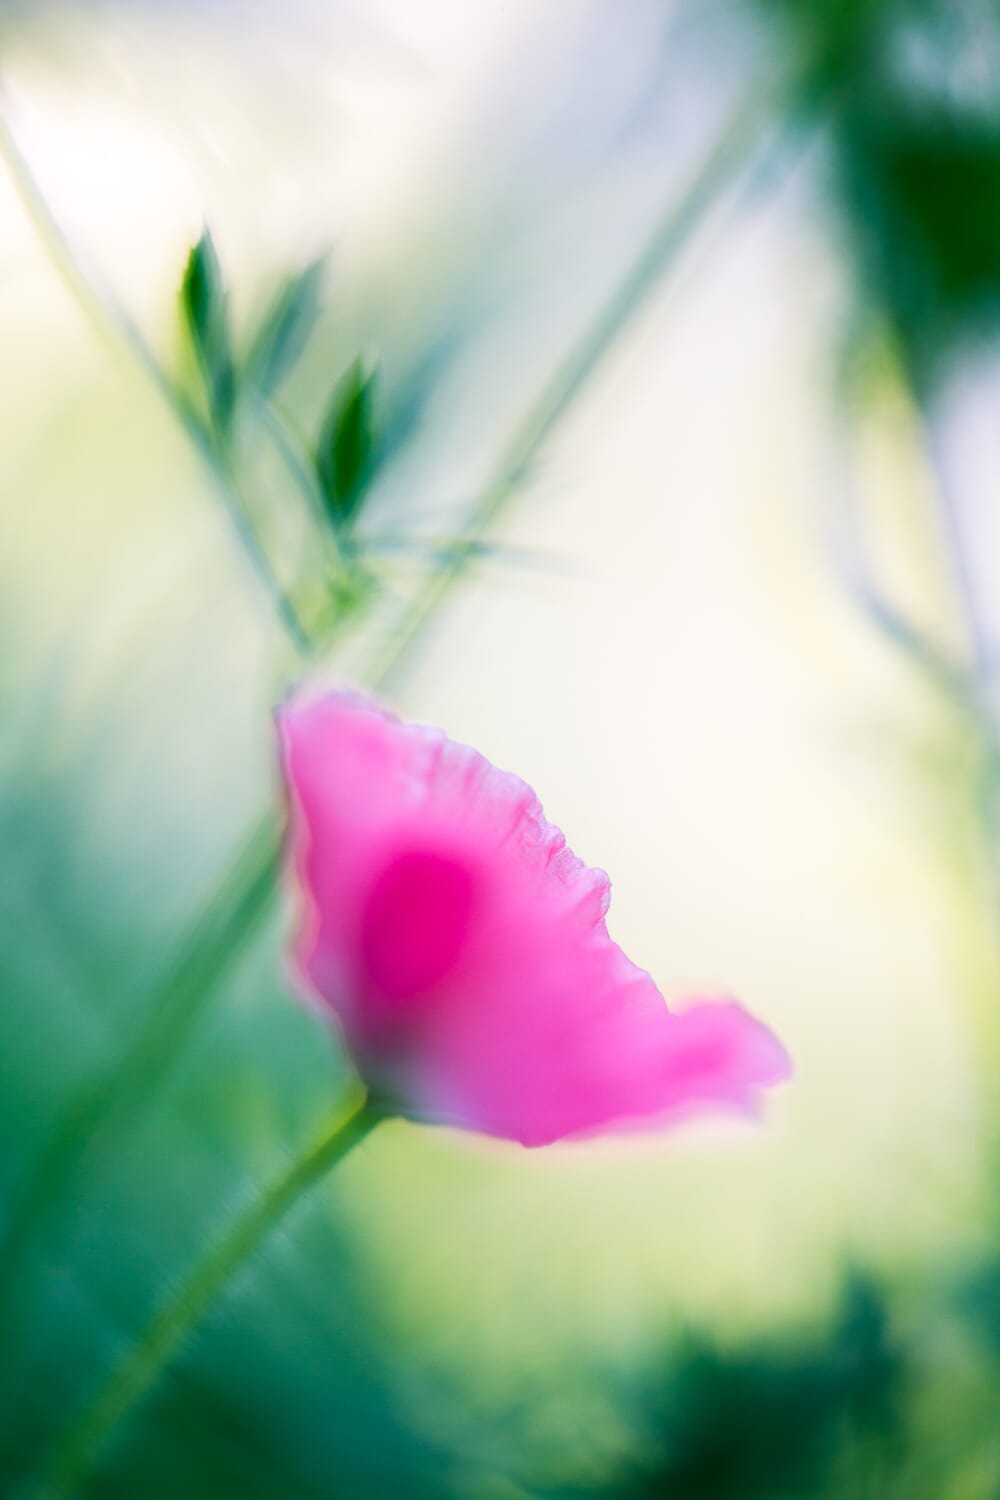
And this:
Are you ready to start doing some incredible floral photography?
Then let’s get started.
Flower Macro Photography Tips:
When you buy through links on our site, we may earn a commission at no cost to you. We evaluate products independently. Commissions do not affect our evaluations. As an Amazon Associate, we earn from qualifying purchases.
Use the Right Equipment for Original Macro Flower Photography
First things first:
If you want to capture amazing flower macro photography, you’ve got to use the right gear.
Now, I recommend you use a DSLR or mirrorless camera with a dedicated macro lens–one that focuses 1:1 macro magnification. This will allow you to get ultra-close to your subject and take some truly astonishing images.

My favorite macro lens for Canon is the 100mm f/2.8L, and my favorite macro lens for Nikon is the 105mm f/2.8 VR. The Tamron 90mm f/2.8 is a great budget option.
However, you don’t absolutely need a dedicated macro lens. You can still take great macro flower photos with other lenses. I’d suggest going through your equipment and finding the lens that focuses closest. Then work with that!
You can also try purchasing some extension tubes, which will decrease your lens’s minimum focusing distance.
Here’s an important gear question:
Do you need a tripod for good macro flower photos?
My answer:
No.
While a tripod can be useful for macro flower photography, it has some drawbacks. The biggest is that it limits your flexibility. It takes a long time to set up and change position, so you can’t quickly take shots from different angles.
On the other hand, a tripod will help you capture shots that are sharp all throughout the frame, rather than just around the subject. You’ll be able to get images like this:

So if you prefer the fully sharp macro style, go with a tripod. But if you’re more interested in capturing softer flower photos with blurry backgrounds, then a tripod won’t be necessary.
Related Posts
Shoot on Cloudy Days for the Best Flower Colors
Great flower macro photography starts with great light.
But what counts as great light?
In this tip, I want to share with you a flower photography favorite of mine:
Cloudy light.
When the sky is cloudy, the sunlight is diffused. This makes for lighting that’s even and soft.
And soft light is especially good at bringing out colors. Does your flower photo have some nice reds? Some deep oranges? Cloudy light will bring the colors out; it’ll make them wonderful and rich.
I recommend cloudy light on heavily overcast days. The more overcast, the softer the light will look.
Unfortunately, wispy clouds won’t do much to reduce light hardness. You need heavy clouds to really capture some gorgeous photos.
You should also be careful not to shoot too late in the day. Evening clouds make the landscape a bit too dark–and you’ll just come away frustrated.
Related Post: Best Ring Lights for Studio and Macro Photography
Now, there’s one other type of light I like for macro flower photography. Which brings me to my next tip:
Shoot During the Golden Hours for Dramatic Flower Photos
Cloudy light is great for soft, subtle macro flower photography. But what if you want more dramatic photos? Something a bit more in-your-face?
That’s when you turn to golden-hour lighting.
The golden hours are the two hours after sunrise and the two hours before sunset. And they are amazing; the light turns golden and soft, and it gives your subjects a gorgeous glow.
During the golden hours, you must pay attention to the direction of the light. Does the sun come from behind your flower? In front of your flower? To the side of your flower?
Each of these types of light gives a different effect. And today I want to focus on two types of lighting:
Frontlight and backlight.
Frontlight comes from in front of the flower (and over the shoulder of the photographer). It hits the front of the flower, and gives it a nice, even look.

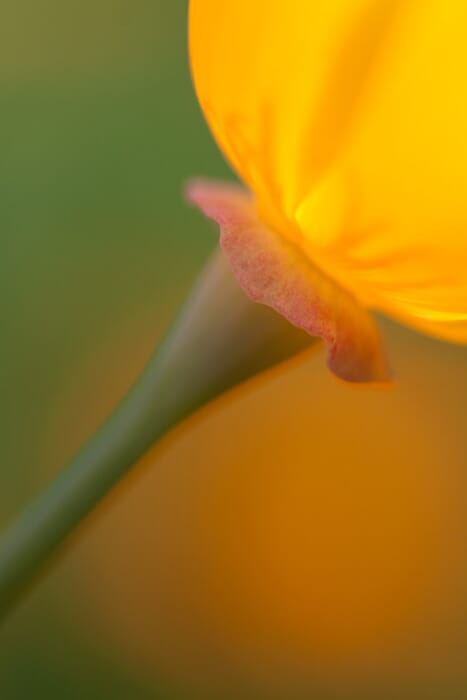
In fact, I recommend you use frontlight as your go-to macro flower photography lighting. It’ll give you wonderful golden photos, and you won’t have to worry much about messing them up. Because golden-hour frontlight is spectacular.
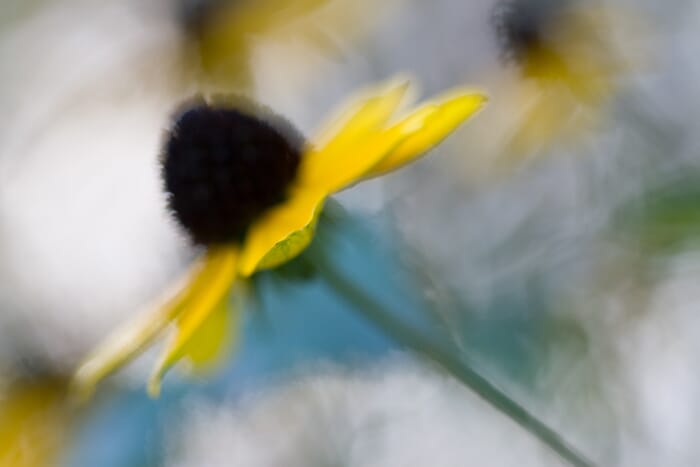
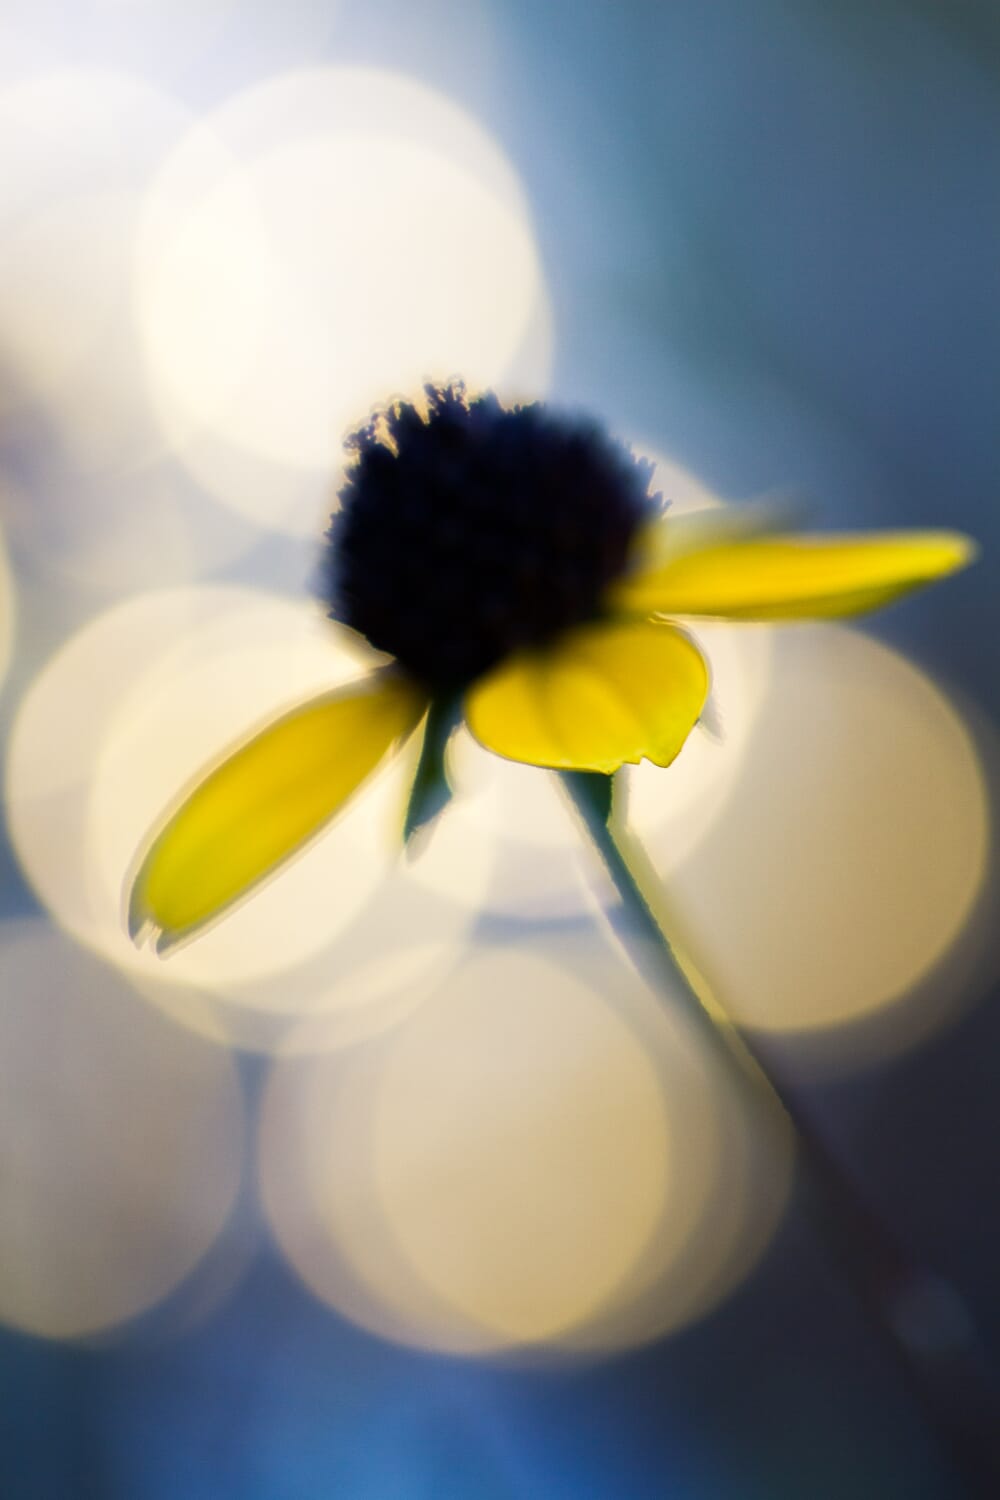
Backlight comes from behind your flower. You can find backlight by pointing your camera toward the sun. And it’ll get you more dramatic photos, like this:
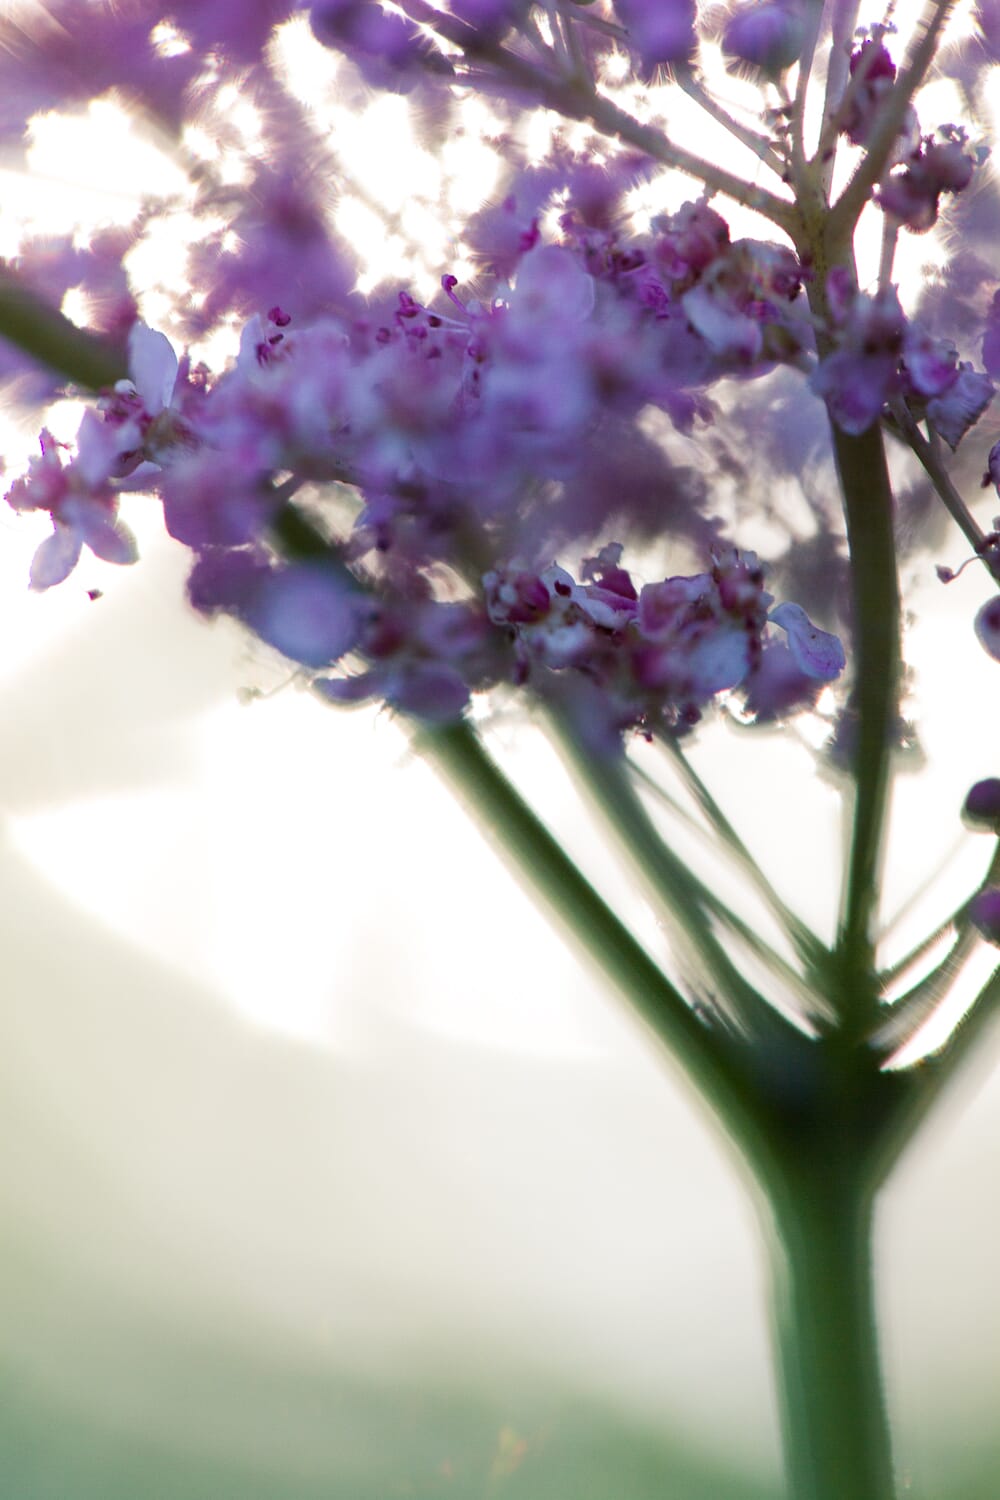
Do you see how backlight creates bright and exciting backgrounds?
That’s why I recommend you use it if you want dramatic macro flower photos.
Use a Wide Aperture for a Beautiful Soft Effect
Do you want to capture macro flower photos that take the viewer’s breath away?
You can. All you need is a beautiful soft-focus look.
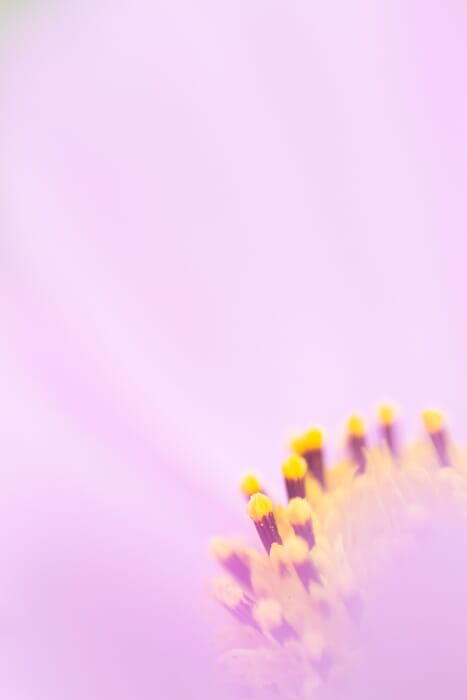
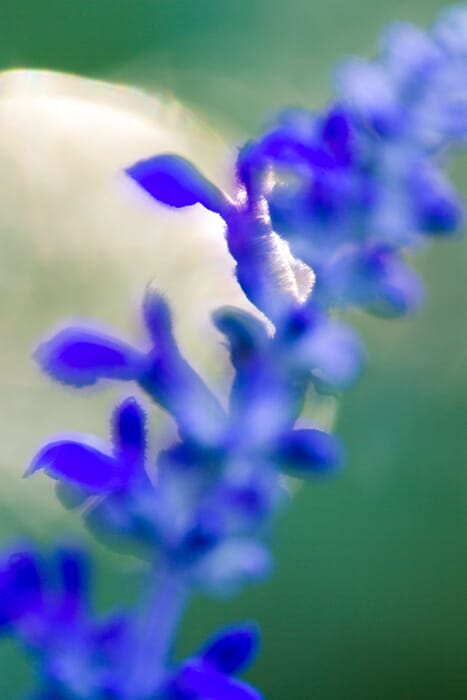
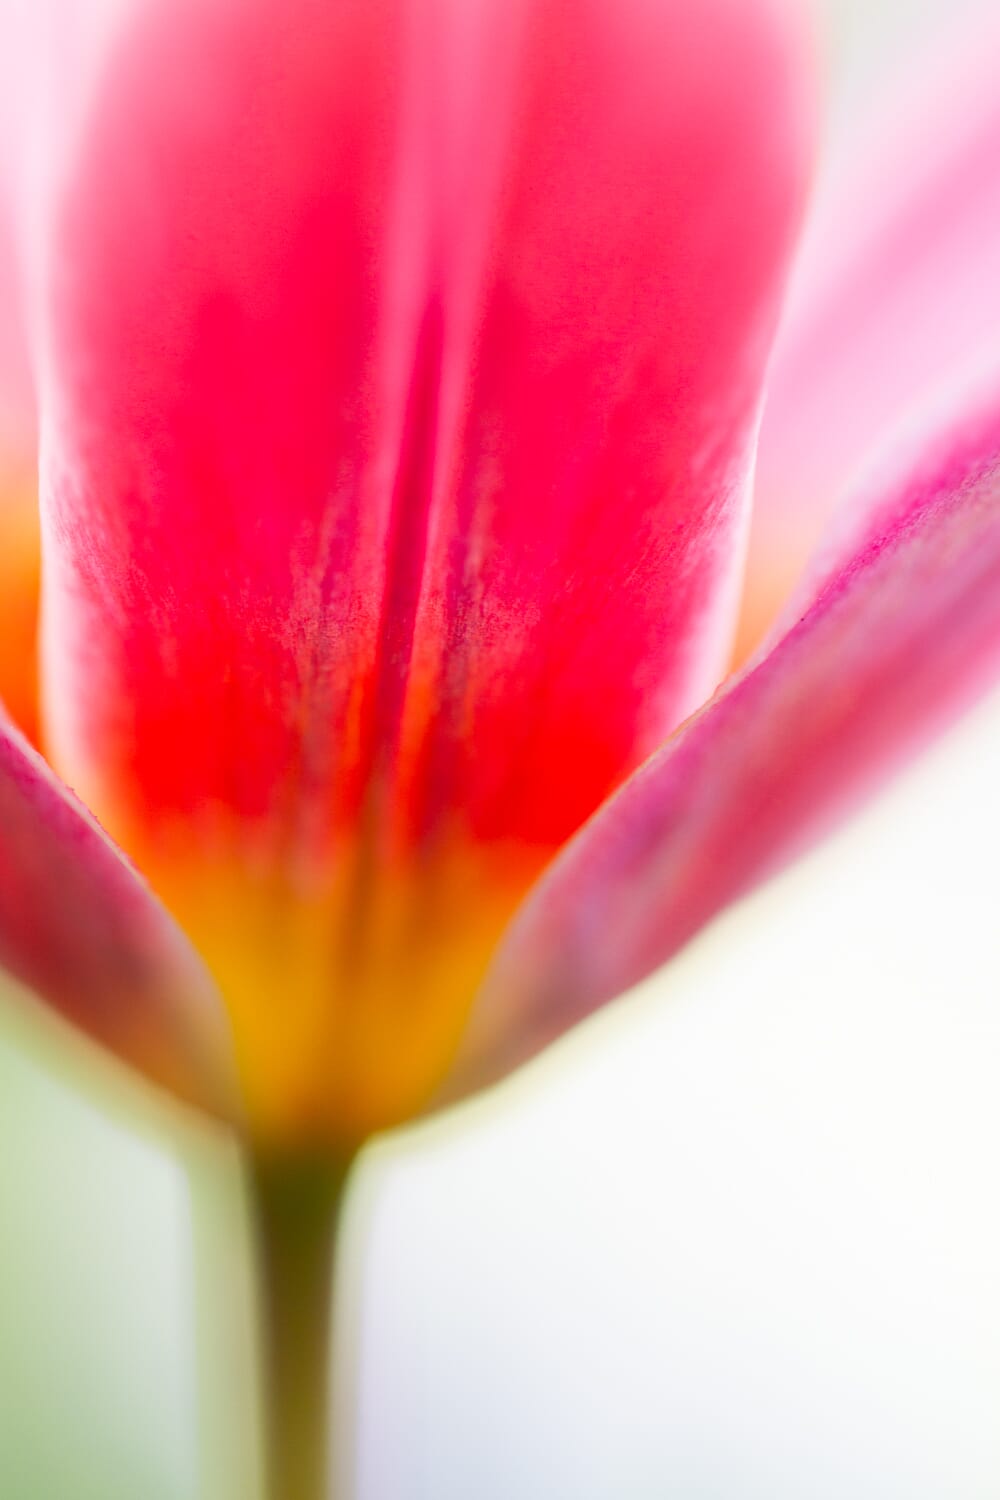
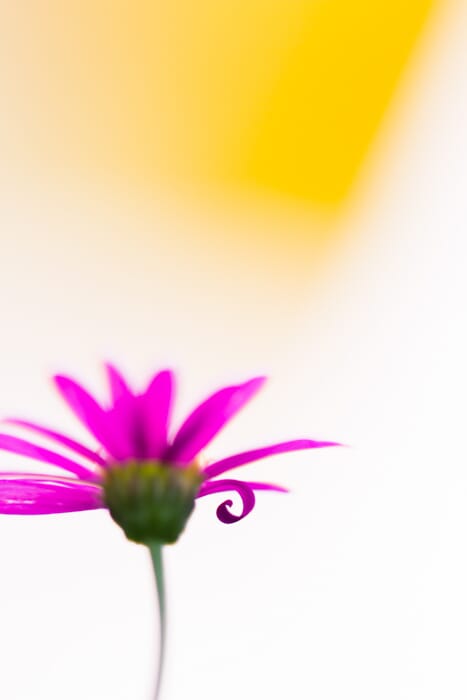
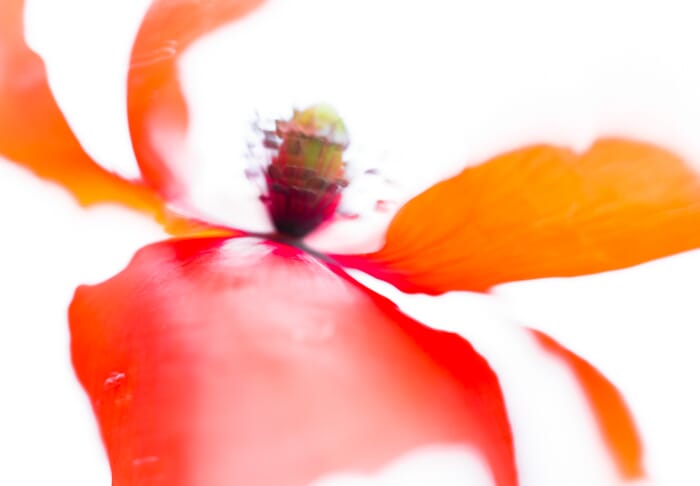
I’m talking about photos like this:
Notice that this soft-focus look is characterized by having very little of the subject in focus. That’s what gives the beautiful artistic look.
And the way you actually create this look…
…is by using an ultra-wide aperture.
In order to capture shots like the one above, you should work at an aperture of f/4 and lower. That way, your depth of field (the amount of the photo that’s actually sharp) will be extremely narrow.
Related Post: Wide vs. Narrow Aperture (with Sample Images)
And your flower will look stunningly artistic.
Increase the Subject-Background Distance for the Most Beautiful Backgrounds
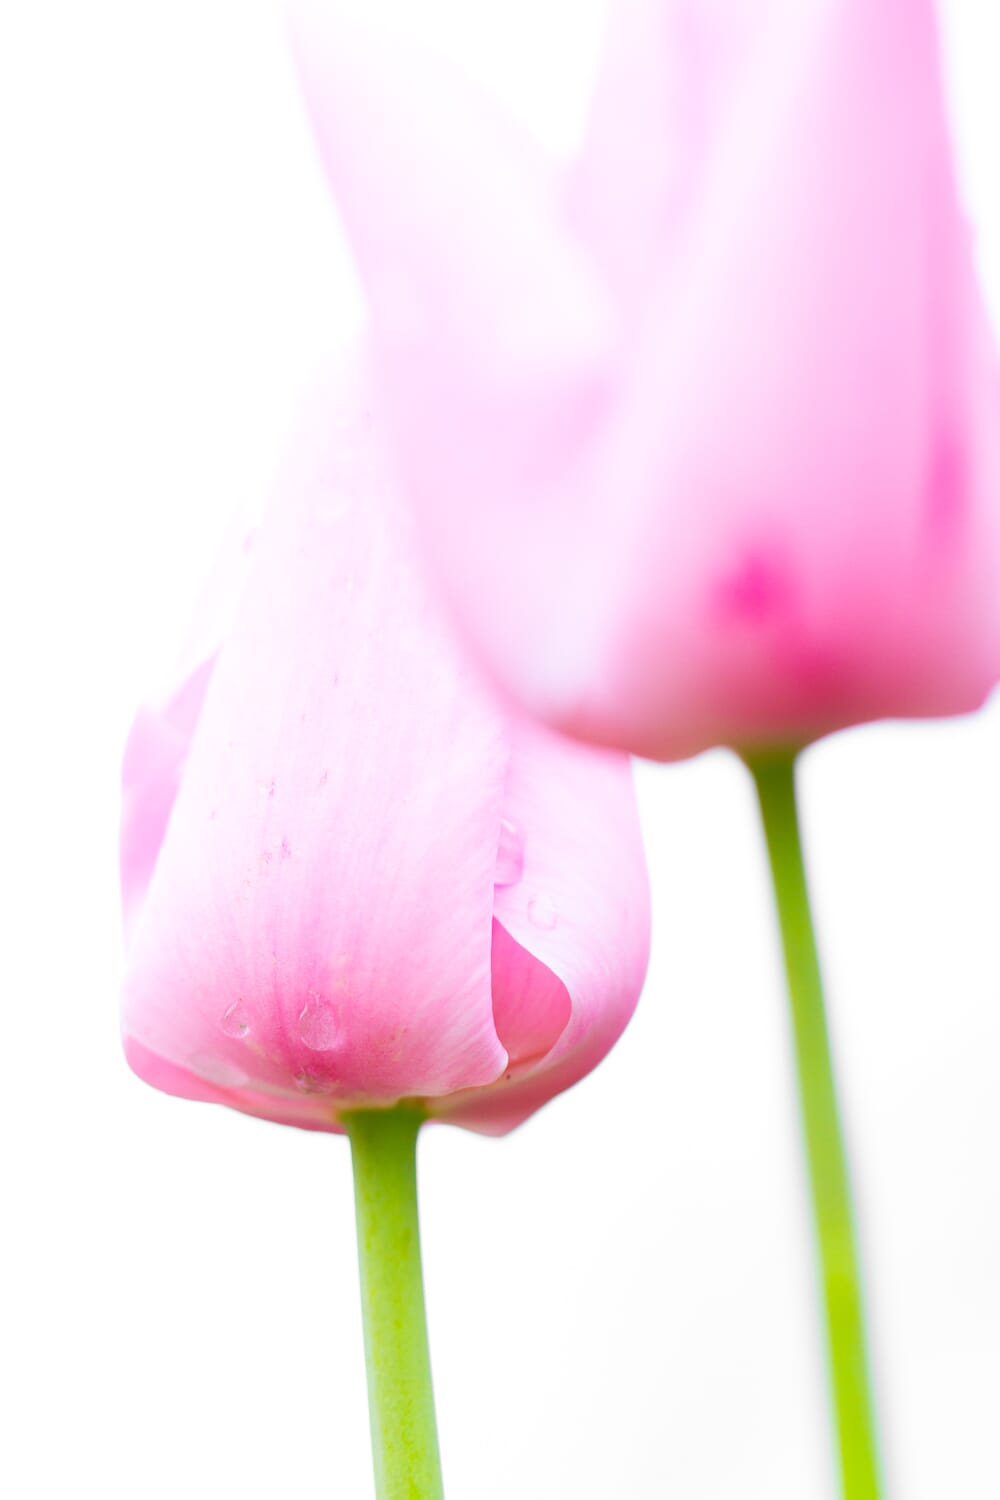
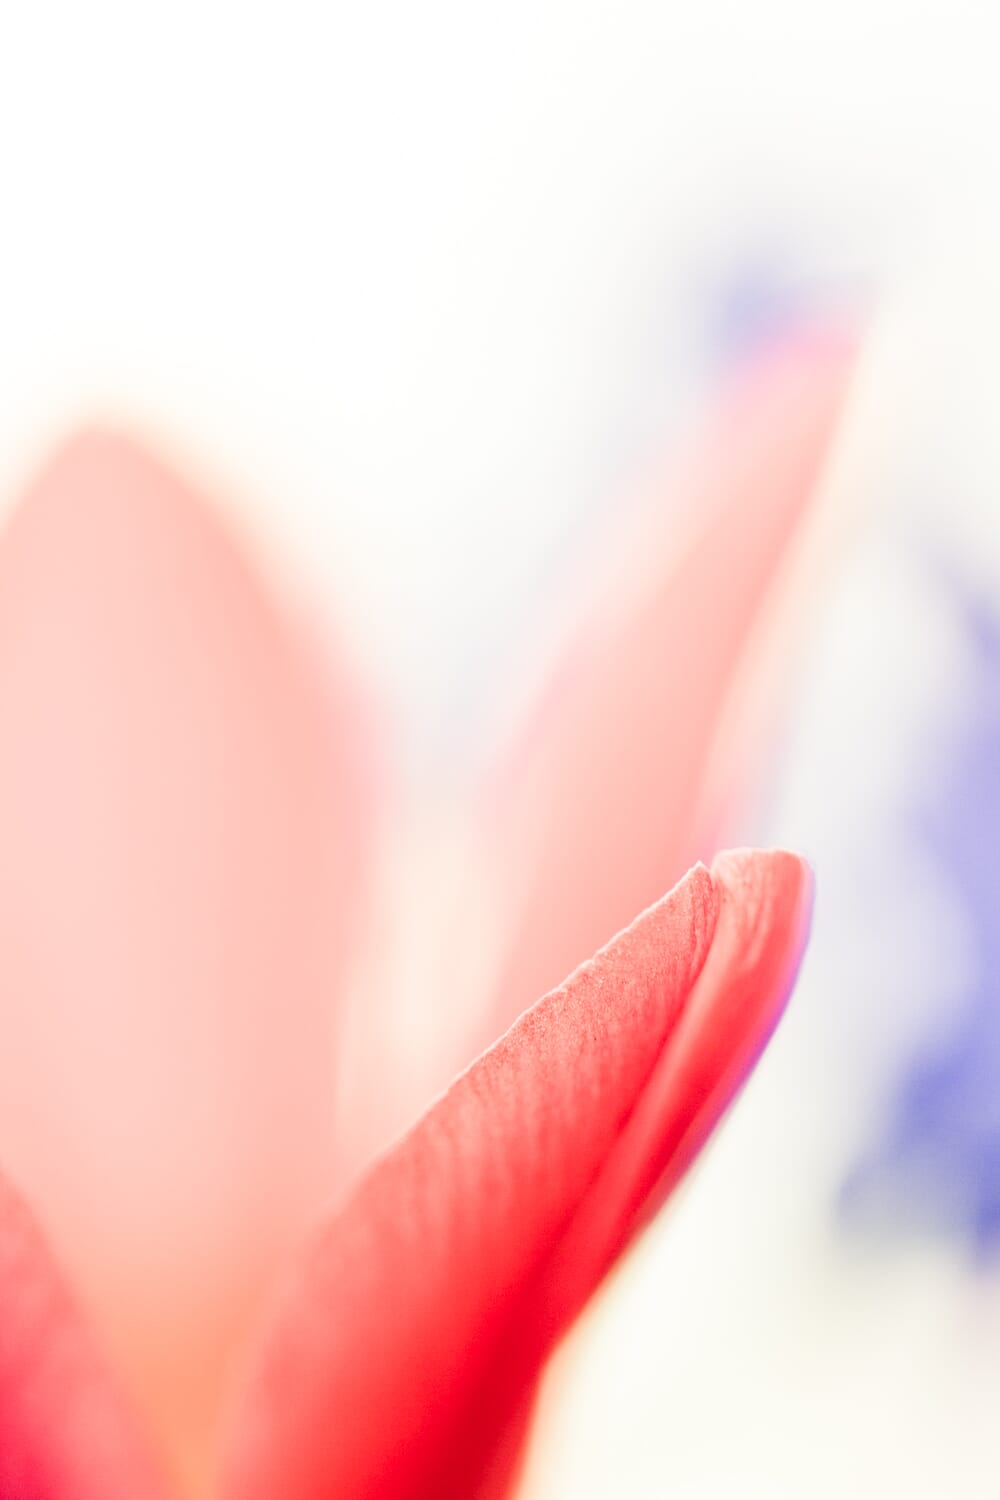
The best flower photography backgrounds are deeply blurred, like this:
Notice how everything is just a nice, colorful wash. It’s perfect because of how simple it is–there’s nothing to distract the viewer, nothing to take away from the flower.
If you want to capture such a deep blur, you should use a wide aperture, as discussed above. An aperture of f/2.8 will make sure that you get the most thorough blur possible.
But there’s another way to increase the blur:
Make sure there’s a large distance between your subject and the background. The farther the background, the blurrier it will become.
Here’s what I suggest:
Once you’ve picked a flower to photograph, get down low, and approach the flower from different angles. Check the distance between the flower and the background behind it.
And don’t take a shot until you’ve found a nice background–one that’s far off in the distance.
Use a Single Flower as Your Standout Subject for Compelling Floral Photos
Now you know how to find good light.
You know how to create a gorgeous soft-focus effect.
And you know how to create a great background.
But how do you actually position your subject in the frame? How do you actually compose your photo?
Here’s the first thing you should know about composition:
Show off your subject.
And that means is choosing one subject and doing everything you can to emphasize it within the frame.
For your macro flower photos, you should find a single nice flower to use as your subject. Make sure that’s completely isolated–nothing should intersect with it, nothing should distract from it.
Then put that flower where it can shine. Make sure that everything else in the frame directs the viewer toward that single flower. If there are lines in the photo, try to point them toward your flower. And make that flower be the sole sharp object in the photo.
If you can do that, you’ll create a standout subject–and a standout macro flower photo.
Use the Rule of Thirds for the Most Pleasing Macro Compositions
The rule of thirds is an age-old composition technique in photography (and exists for pretty much all artistic pursuits).
It states:
The best compositions place the main elements a third of the way into the frame. In other words, you should put your flower subject along one of these gridlines (which cut the photo into thirds):
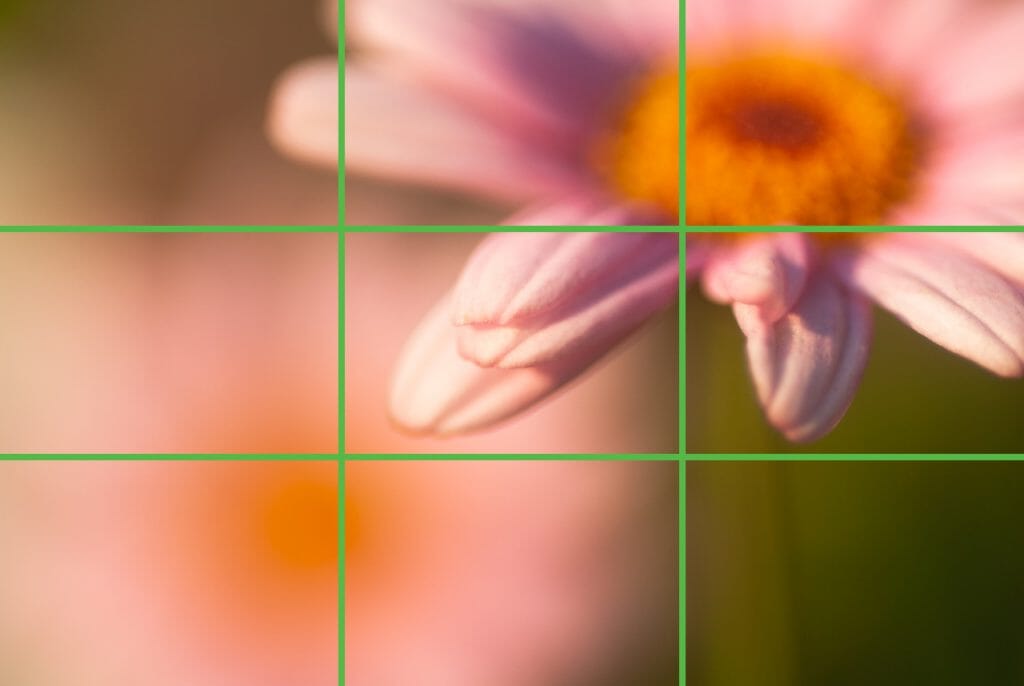
If you have any other elements within your frame, you should try to place them along the rule of thirds gridlines, too.
In fact, the rule of thirds works best when you place your main subject at the intersection between two gridlines, known as power points. If you can position your subject along these power points, your photo will be especially impressive.
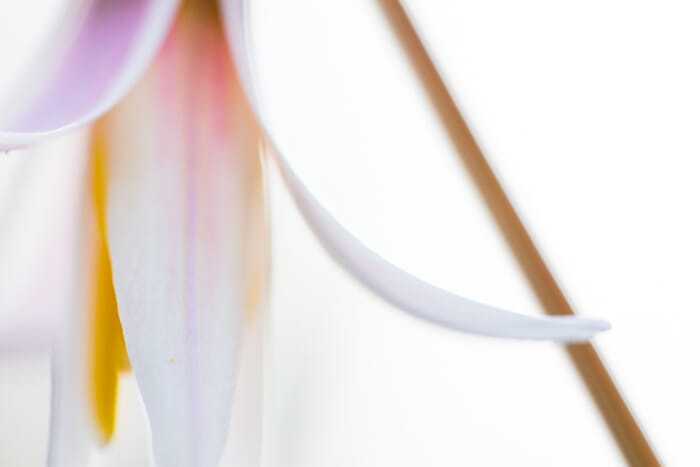
For instance, I used the rule of thirds to place this flower in the photo:
And I used the rule of thirds to position this flower, too:
As you probably noticed, rule of thirds macro photos feel balanced. They have something special about them–which is why they have such an impact on viewers.
So use the rule of thirds whenever you can…
…for the best macro compositions.
Get Close for Creative Abstract Flower Macro Photography
Macro photography is all about getting close.
But I want to emphasize:
For the best macro flower photos, you should get really, really close.
You see, most flower photographers see a nice flower, take a nice picture, and then…stop.
But you can capture so much more if you get in close and keep on shooting.
You see, by getting close, you can actually enhance the soft-focus effect. The higher the magnification, the shallower the depth of field (and the better the blur). That way, you can capture more artistic flower photos.
Plus, getting close allows you to show the viewer something special:
The flower…as they’ve never seen it before.
By getting close, you start to turn the flower into beautiful shapes and lines. You lose the ‘common’ view of the flower, and you start to show people something new.
(That’s what abstract macro photography is all about–showing something new!)

If you can do this, you’ll manage to create a gorgeous abstract flower photo. And it will be creative and original–because you’ll be working on a deeper level of artistry.
And speaking of creative floral photography, there are actually a few other ways you can ensure original flower photos:
Use Creative Macro Techniques for Unique Flower Images
Macro photographers often use creative techniques to enhance their photos.
And you should use some of these creative techniques, too! They’ll add completely new looks to your images–and help you achieve a portfolio that you’re proud of.
Creative Macro Technique #1: Use Fairy Lights for Amazing Backgrounds
Fairy lights are small, they’re cheap, and they’re really, really useful for enhancing your macro backgrounds.
Here’s what you do:
Purchase a string of fairy lights from Amazon.
Take the fairy lights out shooting around dusk. The sun should have set, or be nearly set.
Once you’ve found your main subject, carefully place the fairy lights behind it–not too close, but not too distant, either. I usually go for a distance of 6 inches or so.
Finally, use a wide aperture to blur the background. And take your shot!
You’ll come away with an absolutely stunning background–for an incredible image.
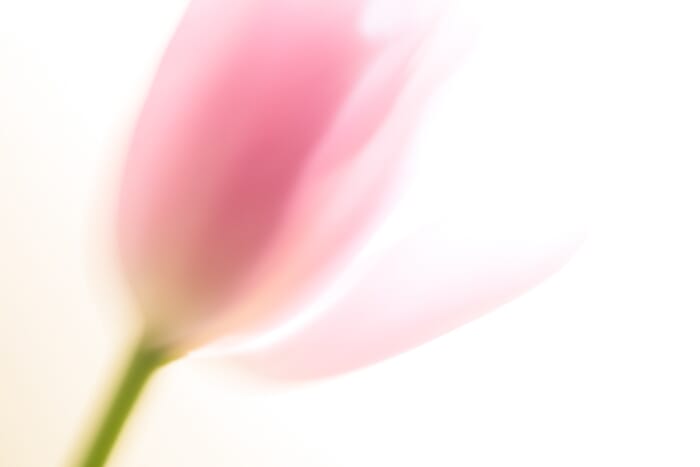
Creative Macro Technique #2: Use Intentional Camera Movement to Get Abstract Flower Photos
Intentional camera movement (ICM) is one of my favorite macro photography techniques. It’s also extremely simple to pull off.
All you have to do is find a nice flower. Ideally, the flower is a single bright color.
Related Post: 20 Macro Photography Ideas
Then lower your shutter speed to something in the area of 1/10s to 1/2s.
Finally, take a shot of the flower–while deliberately moving your camera around.
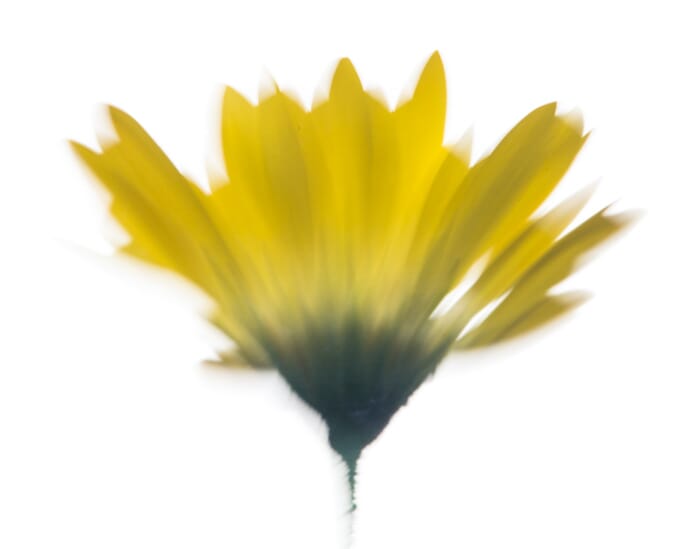
You’ll come away with an interesting abstract, like this:
Bring Out Flower Characteristics With a Touch of Editing
Here’s your final tip for stunning macro flower photography:
Do a bit of editing to enhance your flowers.
You don’t have to do much. In fact, I discourage lots of editing (which can easily turn into unpleasant overediting).
I’d just recommend a few things.
First, play around with the temperature of your flower photo. Check how the image looks when cold, and check how it looks when warm. Temperature is one of those easy changes that can make a huge difference–so don’t forget to do this.
Second, consider whether the photo could use a contrast boost. Lots of photos suffer from being too low contrast; make sure yours isn’t one of them.

Finally, boost the colors of your flower. You can do this by increasing the saturation. Alternatively, you can increase different color channels separately–it’s your call!
Flower Macro Photography: Next Steps
As you should now realize, capturing stunning macro flower photography isn’t hard.
In fact, it’s quite easy–once you know a few tricks!

So just remember:
Think about the light.
Carefully choose your composition.
And edit for the best final product.
You’ll come away with some amazing flower macro photos!
How do I capture amazing flower macro photography?
Capturing incredible flower macro photos isn’t hard, but you do have to master a few concepts. First, you must make sure you use the right light–cloudy light or golden-hour light. Second, you should select an aperture that fits your creative needs. I recommend a wide aperture for soft-focus shots or a narrow aperture for shots that are sharp throughout the frame. Third, carefully choose your composition, taking care to place your main subject in a good spot within the frame.
What light is best for flower macro photography?
The best light for flower macro photography is either cloudy light (for the best colors) or golden-hour light (for slightly more dramatic photos). Avoid midday light at all cost.
How do I capture soft-focus flower macro photos?
To capture soft-focus flower macro photos, use a wide aperture (in the f/2.8 to f/4 range) and make sure you have a large distance between your subject and the background.
Disclosure/Disclaimer: As an Amazon Associate, we earn from qualifying purchases. Certain content was provided "as is" from Amazon and is subject to change or removal at any time. Product prices and availability: Amazon prices are updated daily or are accurate as of the date/time indicated and are subject to change. Any price and availability information displayed on Amazon.com at the time of purchase will apply to the purchase of this product.