Need some indoor photoshoot ideas? Look no further! We’ve got 22 amazing options to get your creative juices flowing.
There’s no need to rent an expensive studio, either. All these ideas require is some space in your home and a few basic props.

Indoor Photoshoot Ideas:
1. Brilliant Bokeh
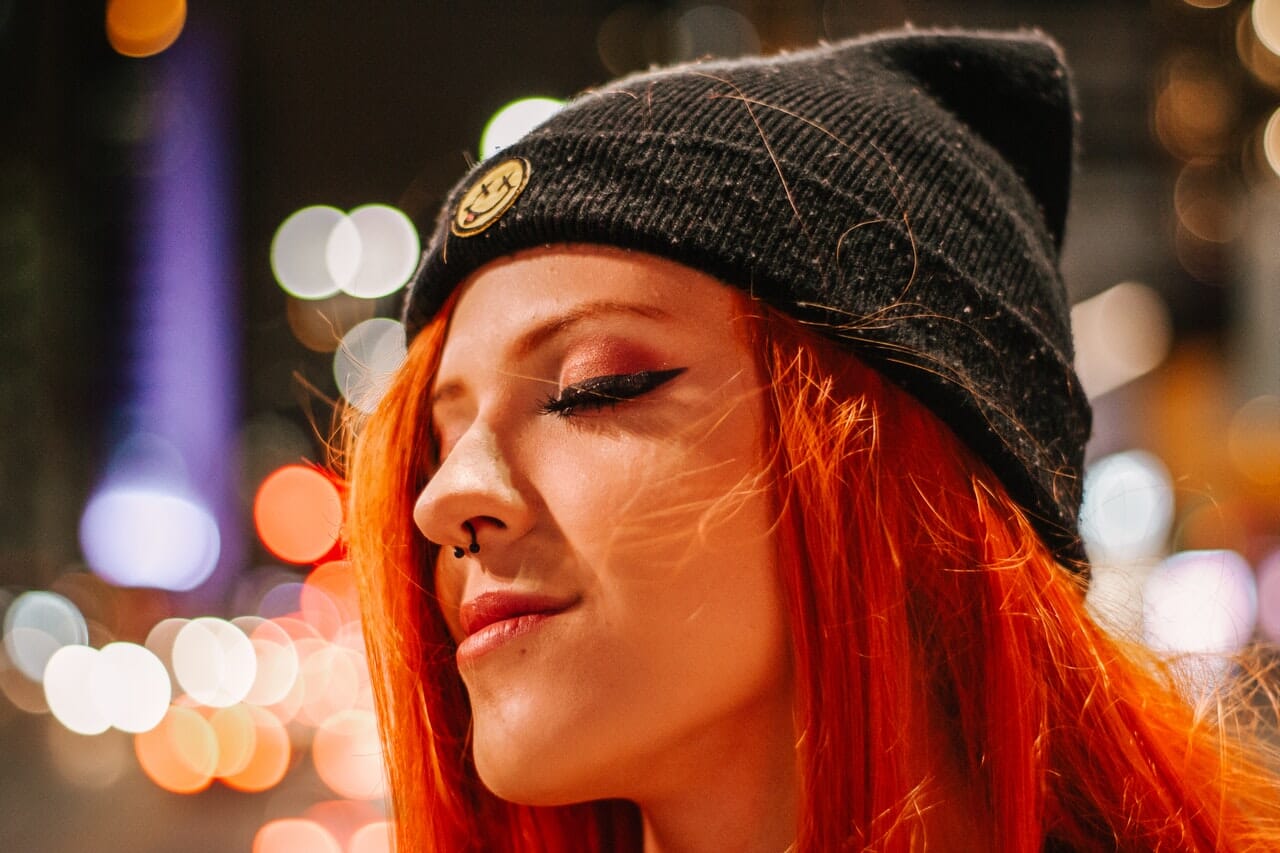
Christmas lights will come in handy for this idea! Bokeh lights look great with products, but they make beautiful portrait backgrounds too.
The effect looks best when there is a lot of distance between your subject and the lights themselves, so use the biggest room you have. You could also go into your yard at night; just put your lights at one end of the yard and your model at the other. For very large bokeh circles, longer lenses are the best choice.
Also, if your bokeh background is looking a little thin, you can download bokeh overlays and add them in Photoshop.
2. Clone a Self-Portrait
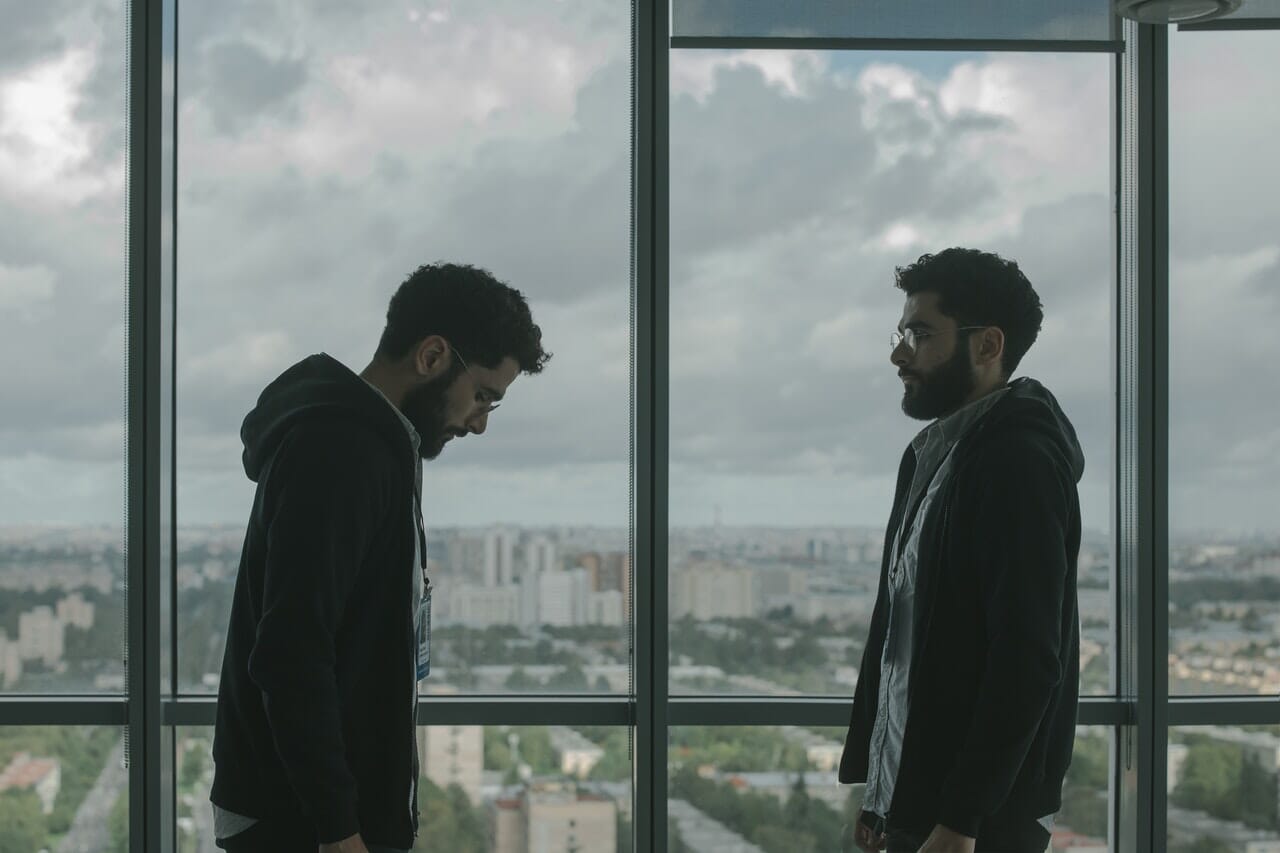
This one is an oldie but a goodie! Take several photos of yourself, then clone them together so there are two or more versions of you in the same photo.
You’ll need to set up a camera on a tripod and use a remote release or the self-timer. If you go the latter route, most camera timers will give you 10 seconds at most, so make sure you can get into position in time. Try out various poses around the room and take plenty of photos.
Once you’re done shooting, you’ll need to use Photoshop or another layer-based editing program. Simply open your photos, then layer them on top of one another until you get a nice end result.
3. Smokin’ Hot
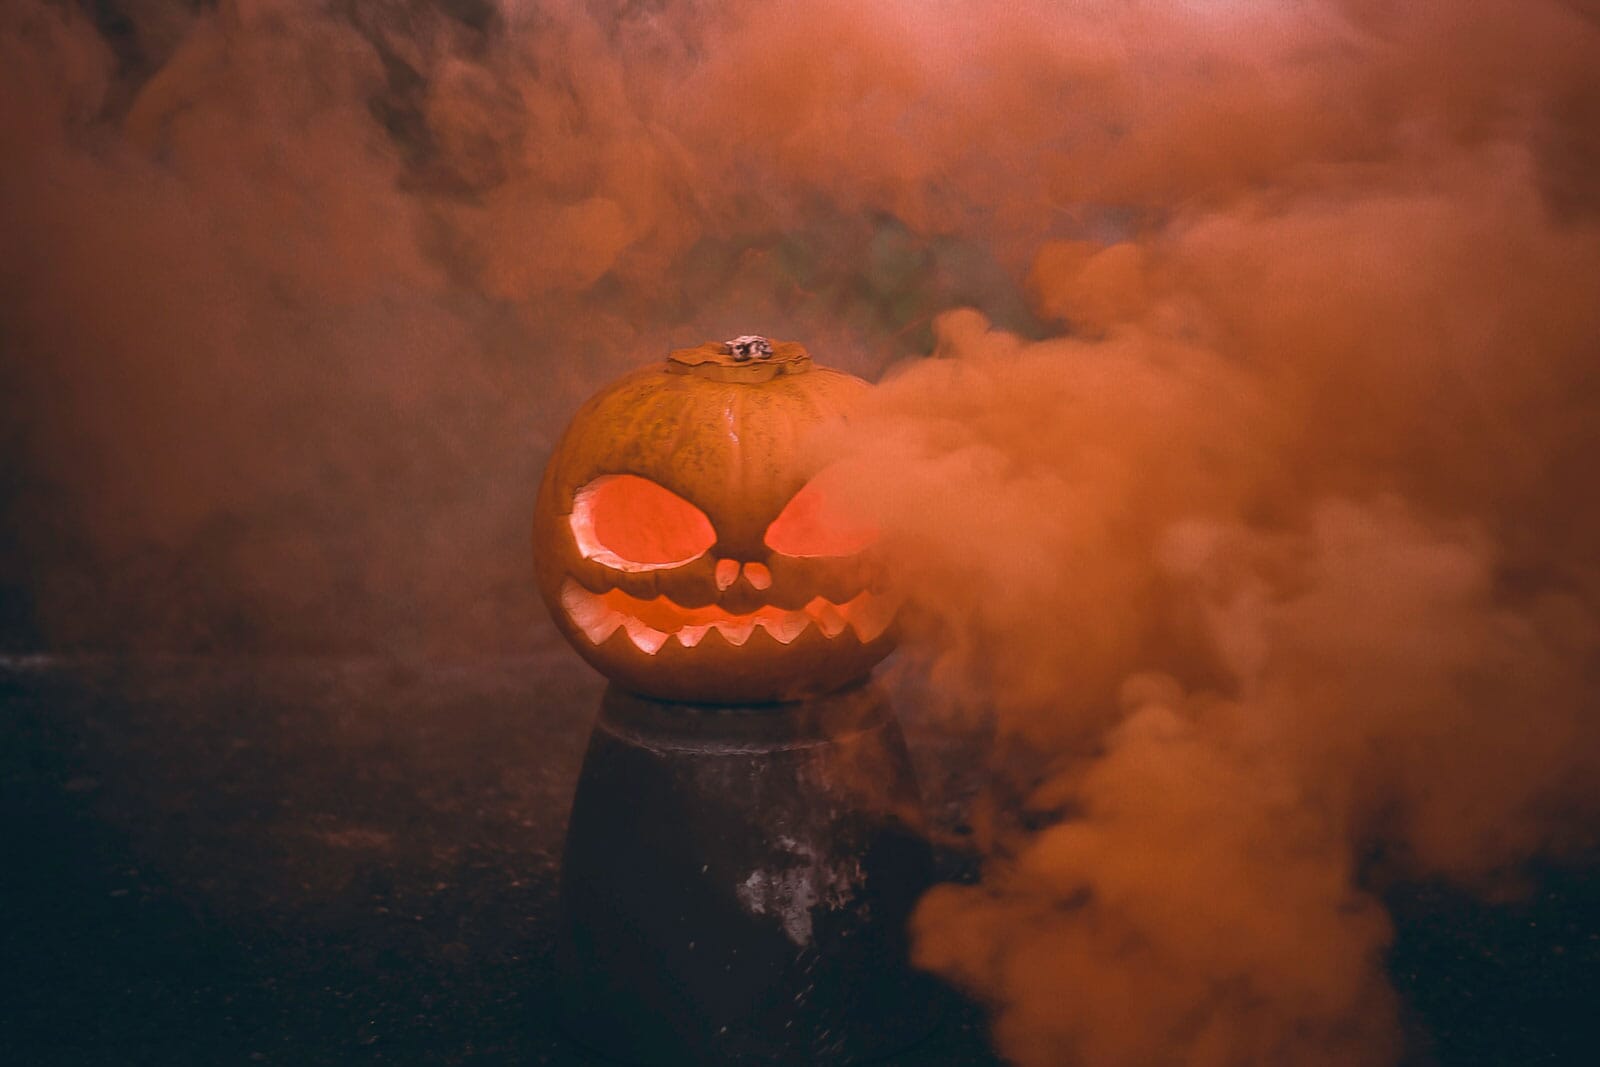
Adding smoke swirls to your images can create a dreamy, ethereal look. For this, you’ll need some smoke bombs, and I would suggest doing the shoot in a shed or your yard so you don’t smoke up the interior of your house!
You can get colored smoke bombs too, so feel free to mix and match colors for a funky effect. Get your model to move around in the smoke, or use a fan or hair dryer to blow it around.
4. Levitation
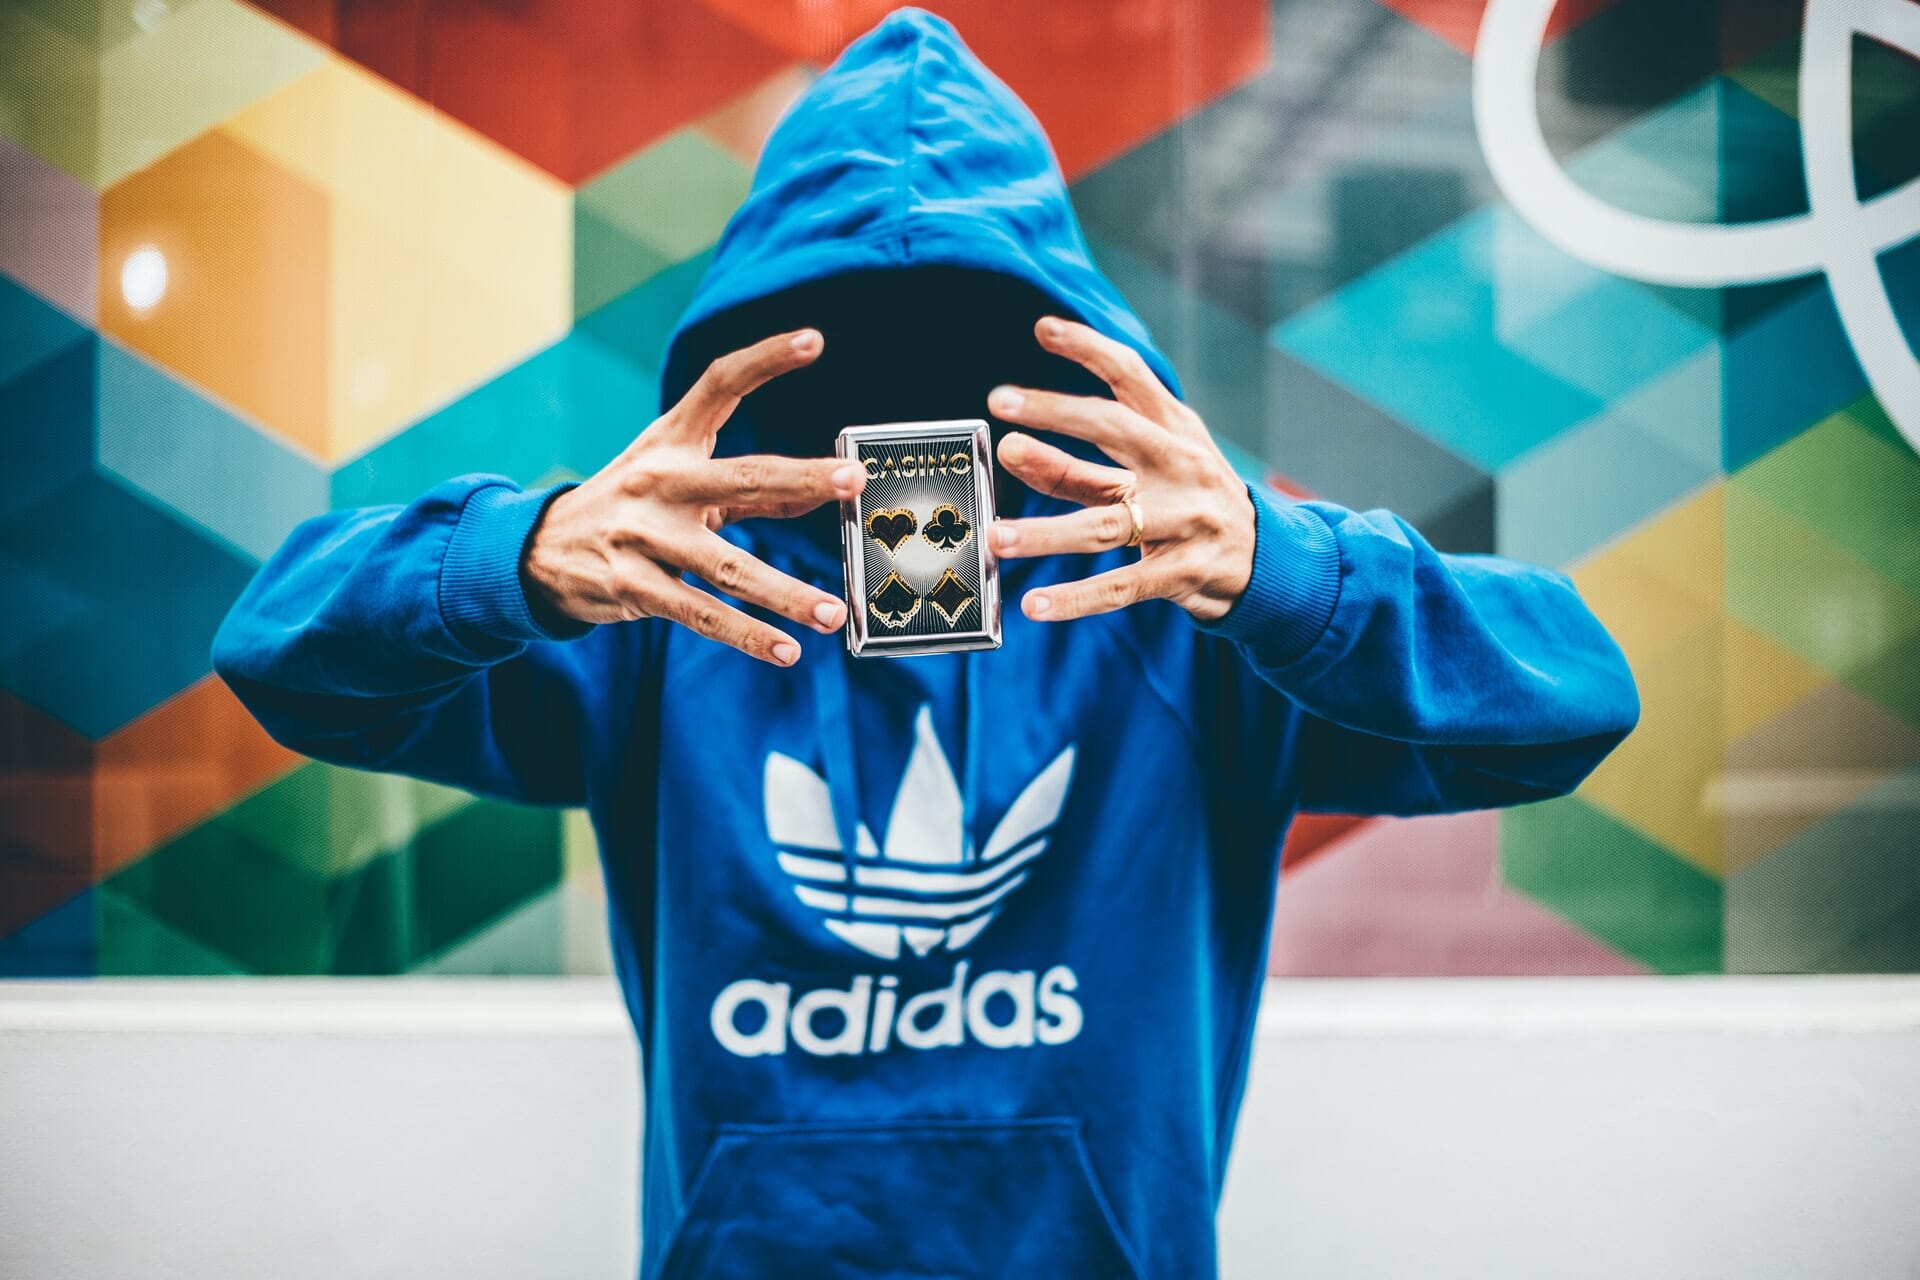
Levitation photography is a bit like the cloning concept mentioned above. You take a photo of the room and a photo of the object/person you want to levitate. (The camera settings and lighting need to be exactly the same in each photo for this to work.) You also need to use manual focus.
Once your pics are done, you will need to use layers in Photoshop and a bit of editing to get the right effect.
5. Make a Splash
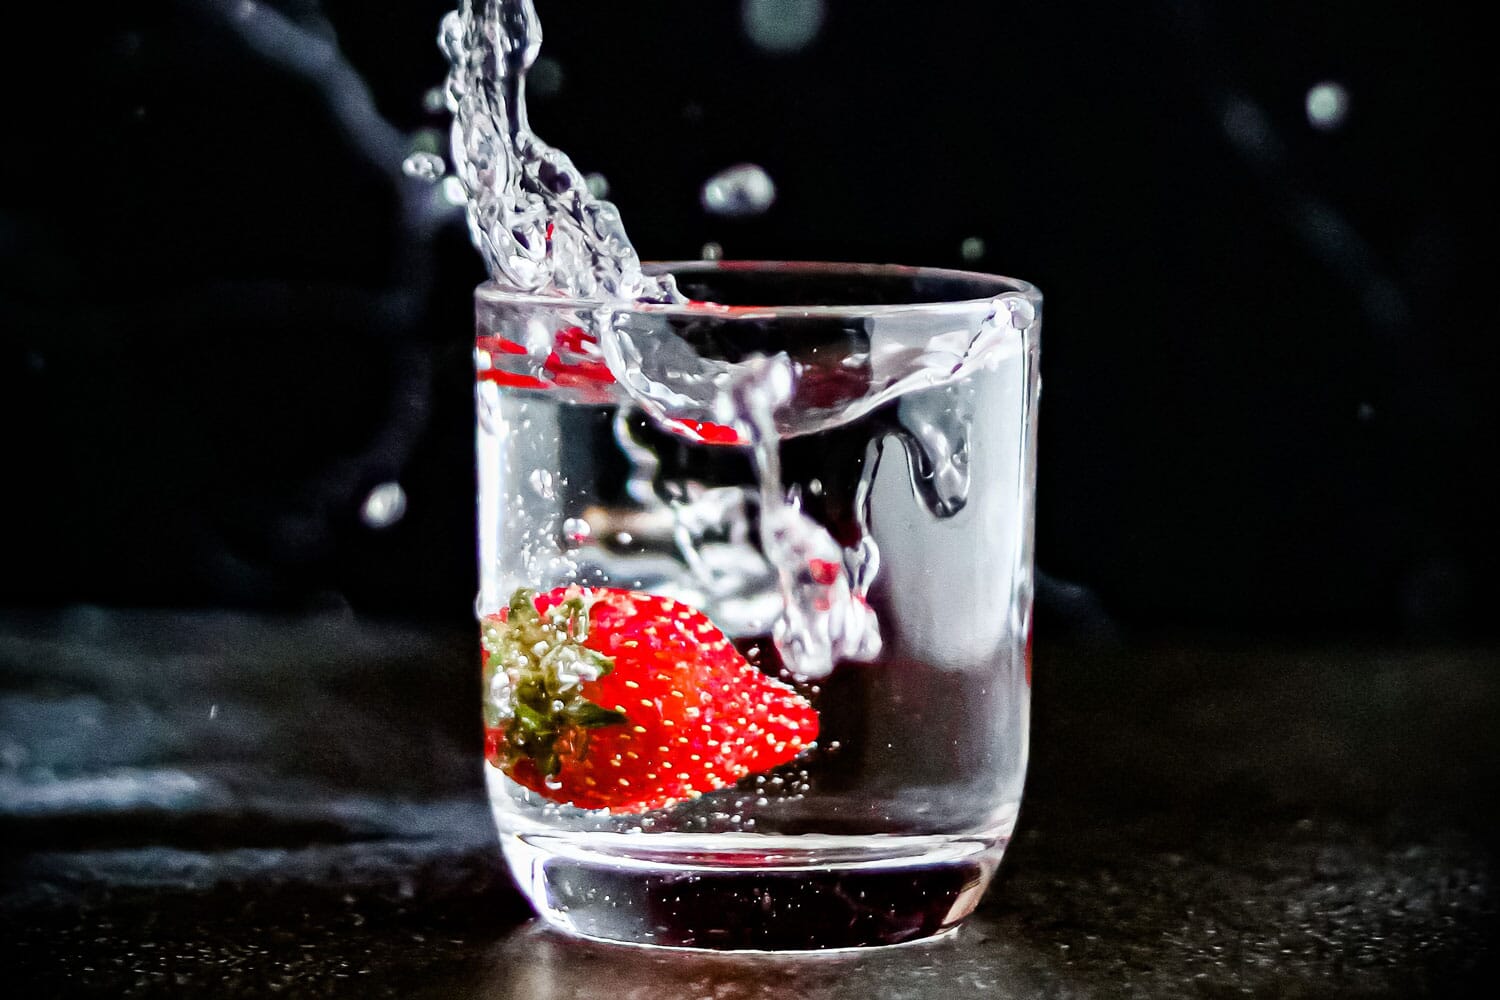
Another great indoor photoshoot idea is the splash shot. You will need a flashgun or a studio strobe to do this one successfully. You’ll also need a transparent water container (like an acrylic fish tank) and something to drop, such as fruit or interesting objects. And you’ll need plenty of towels to mop up the splashed water as splash photoshoots can get rather messy!
Make sure your camera and flashgun are protected from splashes. Set up your container against a background and fill it with water. Put the flash above the container, set up your camera on a tripod, and focus manually on the water. Use the fastest shutter speed that works with your flash. That’s generally around 1/200s, but if you’re lucky enough to have a high-speed sync flash, then the sky is the limit!
Drop objects into the water-filled container and take shots as they fall.
6. Light Trails
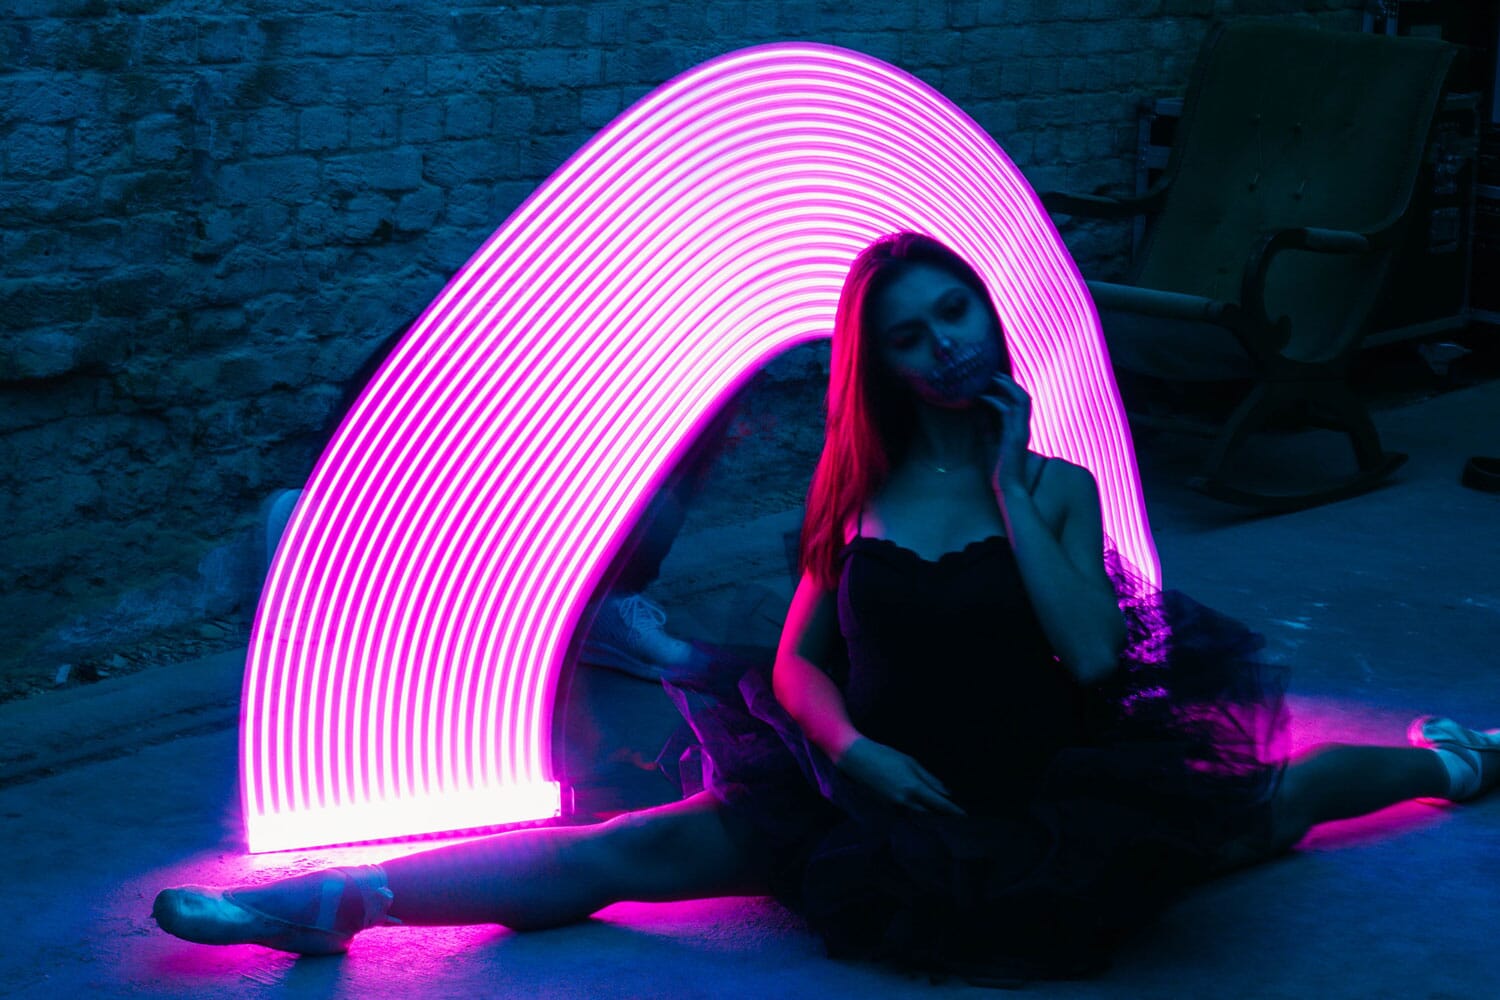
Light trails work well with portraits, but they also look great in still life and product images.
Use a powerful flashlight but remove the lens so the bulb is bare. You can attach colored transparent plastic to the end to give a colored gel effect; just make sure the plastic doesn’t get too hot and melt! Alternatively, you can use an LED light wand designed specifically for photography.
Place your item on a background and put your camera on a tripod. Set the shutter speed to around 30 seconds. Change the aperture to around f/8 and keep the ISO at its lowest setting.
Activate your camera’s two-second timer, then move the flashlight/light wand in the frame around the object. Keep moving for the entire 30 seconds of the exposure, and you will end up with some great-looking light trails.
7. Freeze Motion

To pull this off successfully, you will need a fast shutter speed, a tripod, and a flashgun. The right shutter speed to freeze motion varies according to the subject, but start at 1/200s and experiment.
You can shoot things like running water or falling objects, but make sure you have plenty of light or your images will become blurry. If you have a high-speed sync flash you can get much higher shutter speeds, but it’s the duration of the light burst that matters most: the shorter the light burst, the sharper your image will be, even at 1/200s.
8. Bend Light
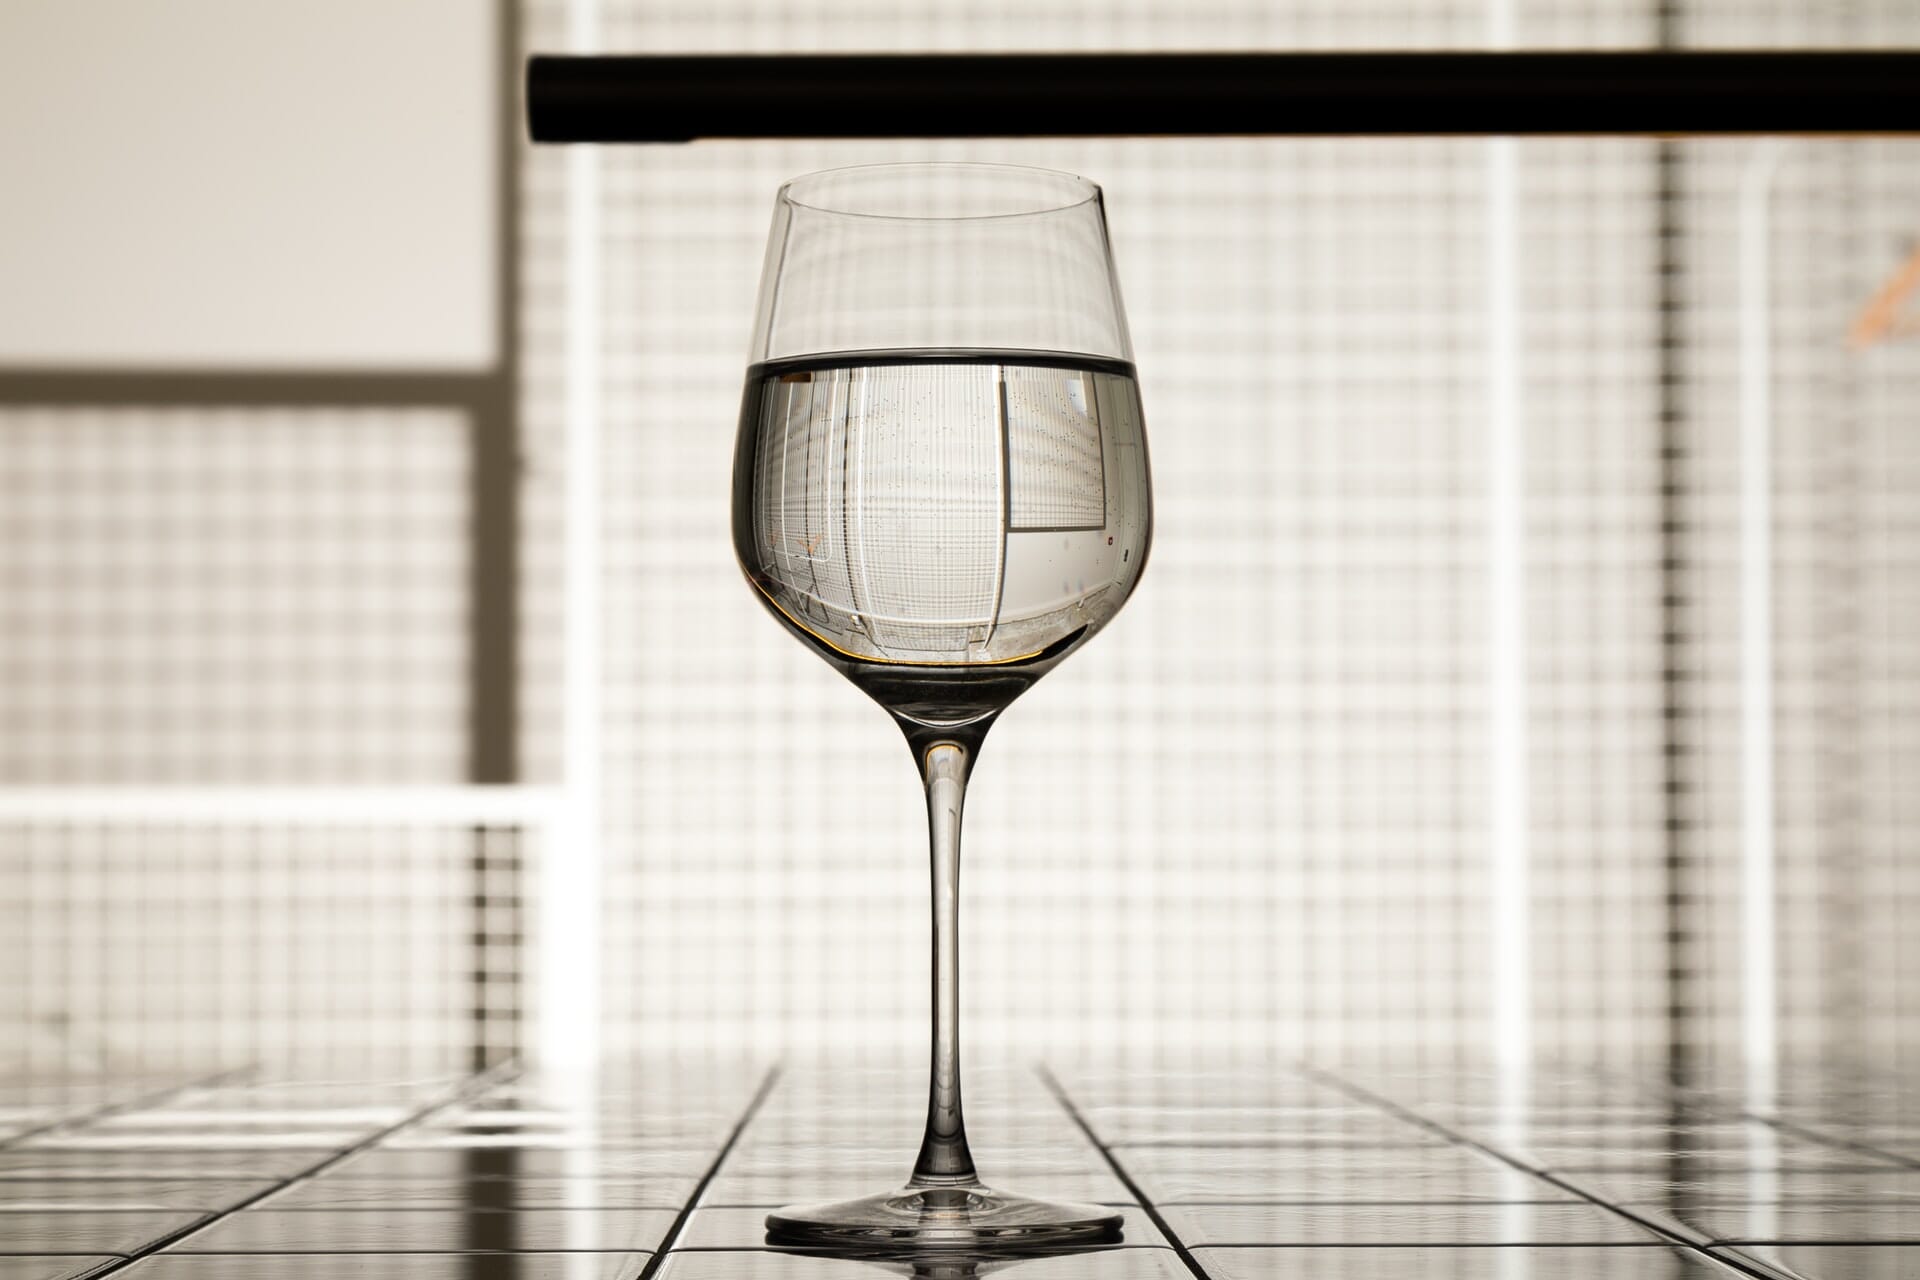
This fun photography idea will bend your mind! Light bends when it passes through water, and it changes the look of background objects in funky ways. You can use this refraction effect to get some really creative pictures.
You need a flashgun and a tripod along with clear glass bowls, vases, or drinking glasses. I’d also recommend a patterned background. Put the glass containers in front of the background, then fill them with water. Move the patterned background back and forth to get different effects.
9. Psychedelic Soap
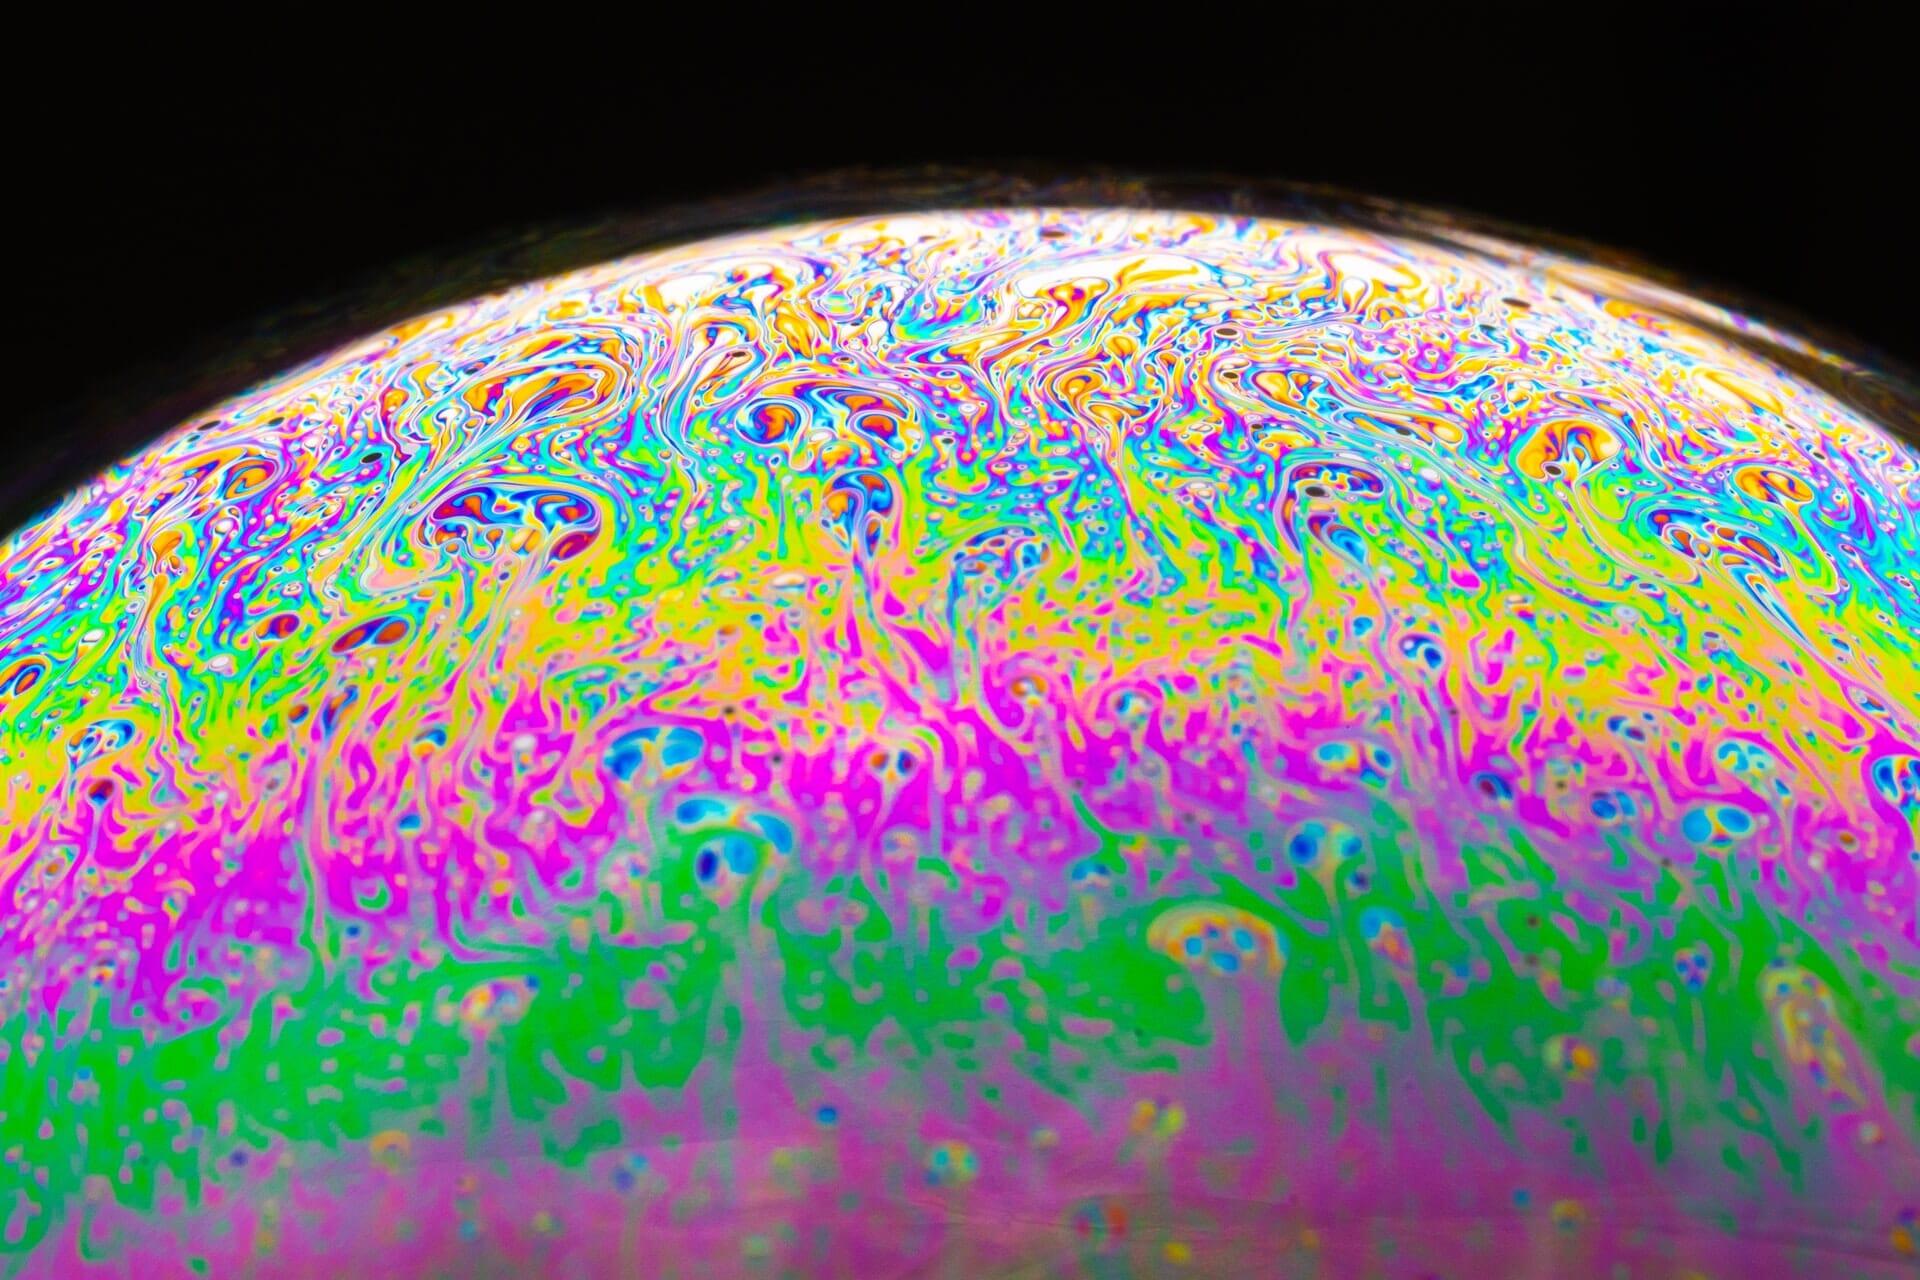
Groovy, man! Macro photography is always a winner when it comes to indoor photoshoot ideas, and you can create amazing abstract art with a few simple ingredients.
Here’s what you need:
- Glycerine, corn syrup, or honey
- Liquid soap (dish soap works well)
- A wire loop or bubble wand
- A tripod
- A black fabric background
- A macro lens capable of shooting at a minimum of 100mm
A softbox is also ideal, but in a pinch, you can shoot in front of a north-facing window.
Mix the liquid soap with the glycerine to create a durable soap film. A good ratio is one part soap to two parts water. Add some syrup to make the bubbles last longer.
Dip your wire loop in the soap solution until you have a film of soap covering it, and carefully bring it up toward your camera. Focus on the bubble and take some shots until it bursts.
10. Macro Feathers
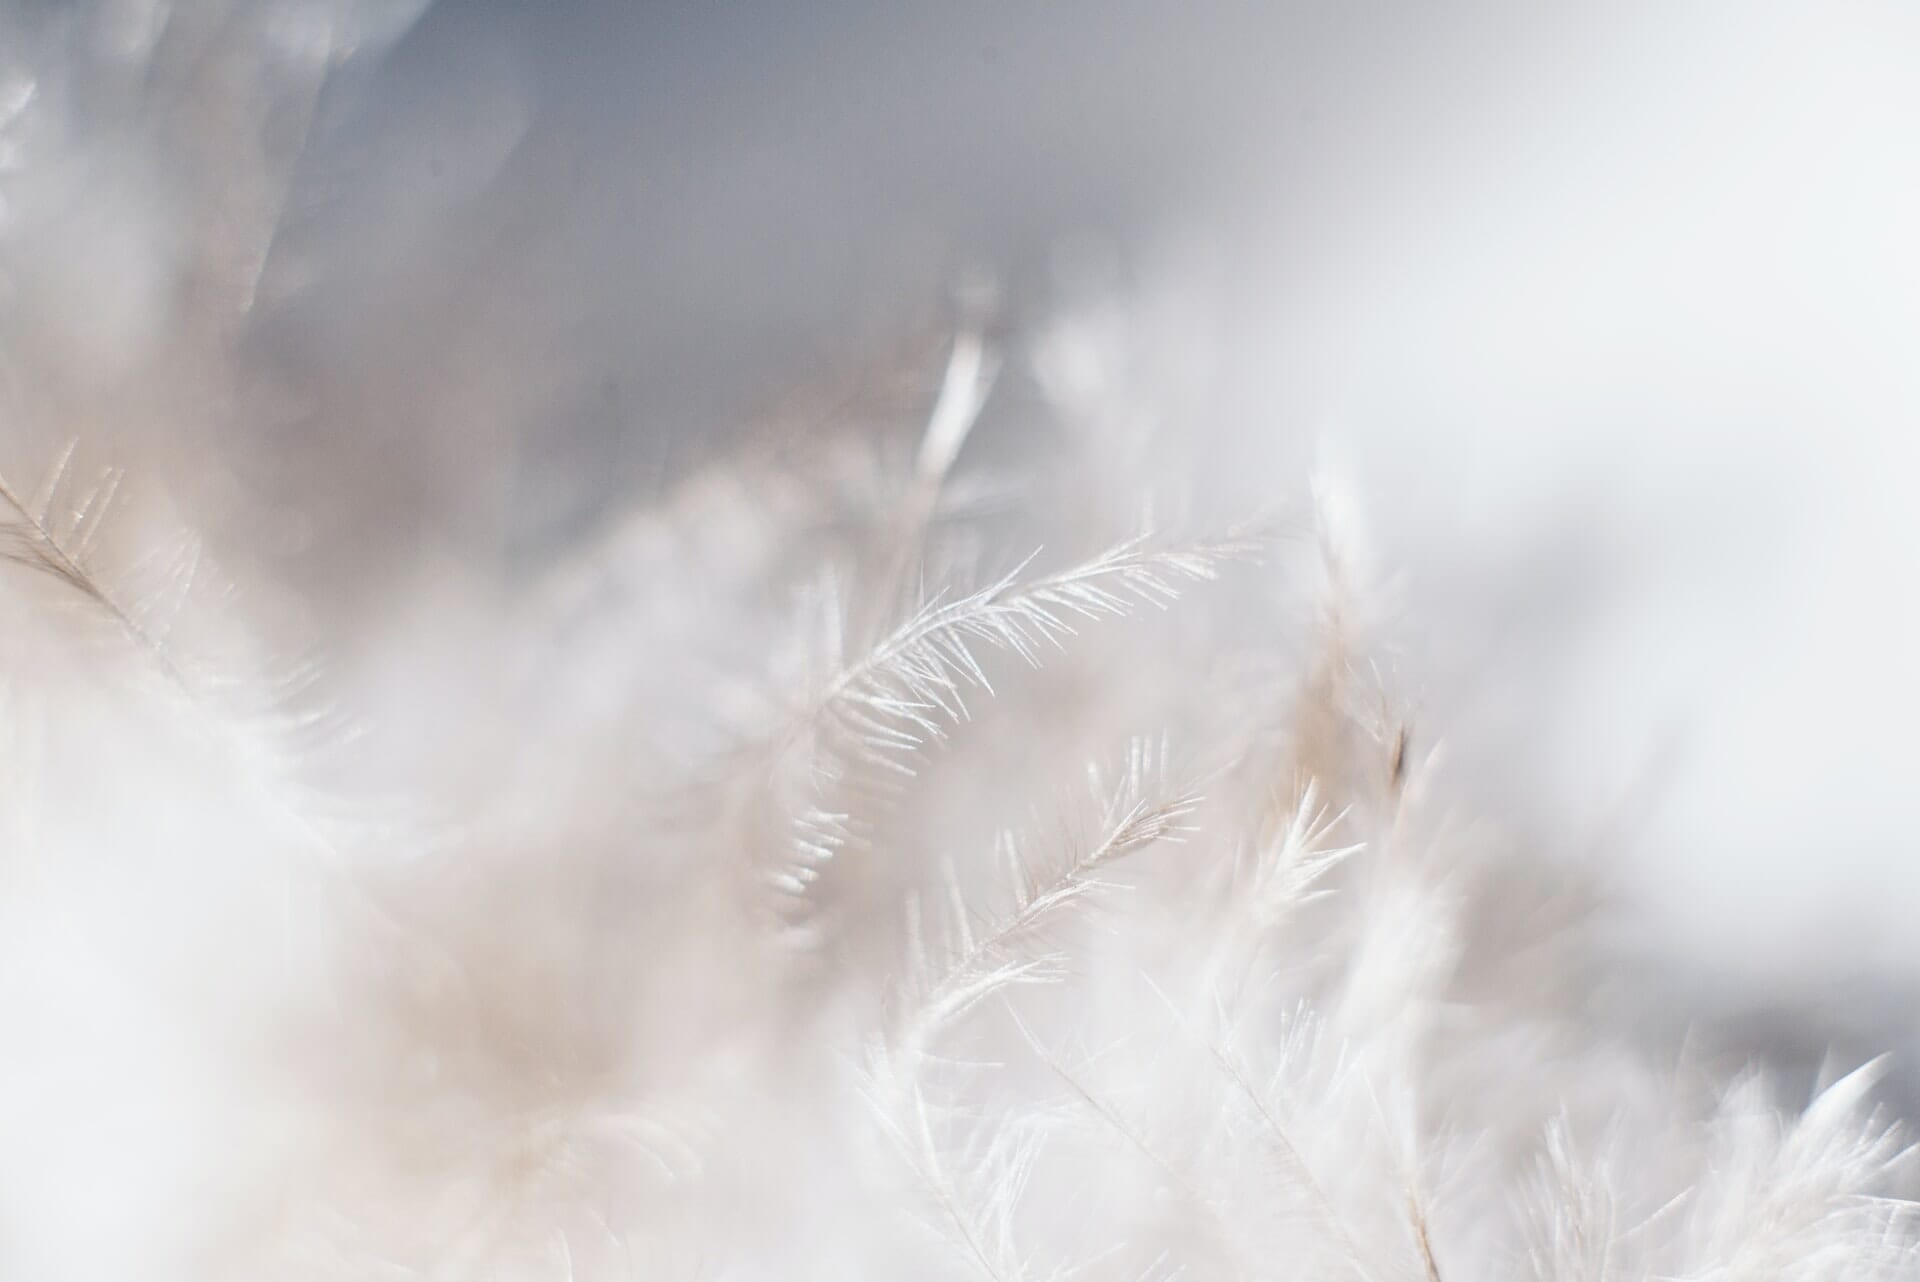
Extreme close-up shots of feathers look beautiful, especially when the center shaft creates a firm line and the tiny fronds of the feather give a contrasting soft texture.
You’ll need a macro lens and a tripod. You’ll also need a strobe with a softbox, a flashgun, or lots of natural light.
Use any kind of feather and experiment with different angles and focus points.
11. Rainy Window Shots
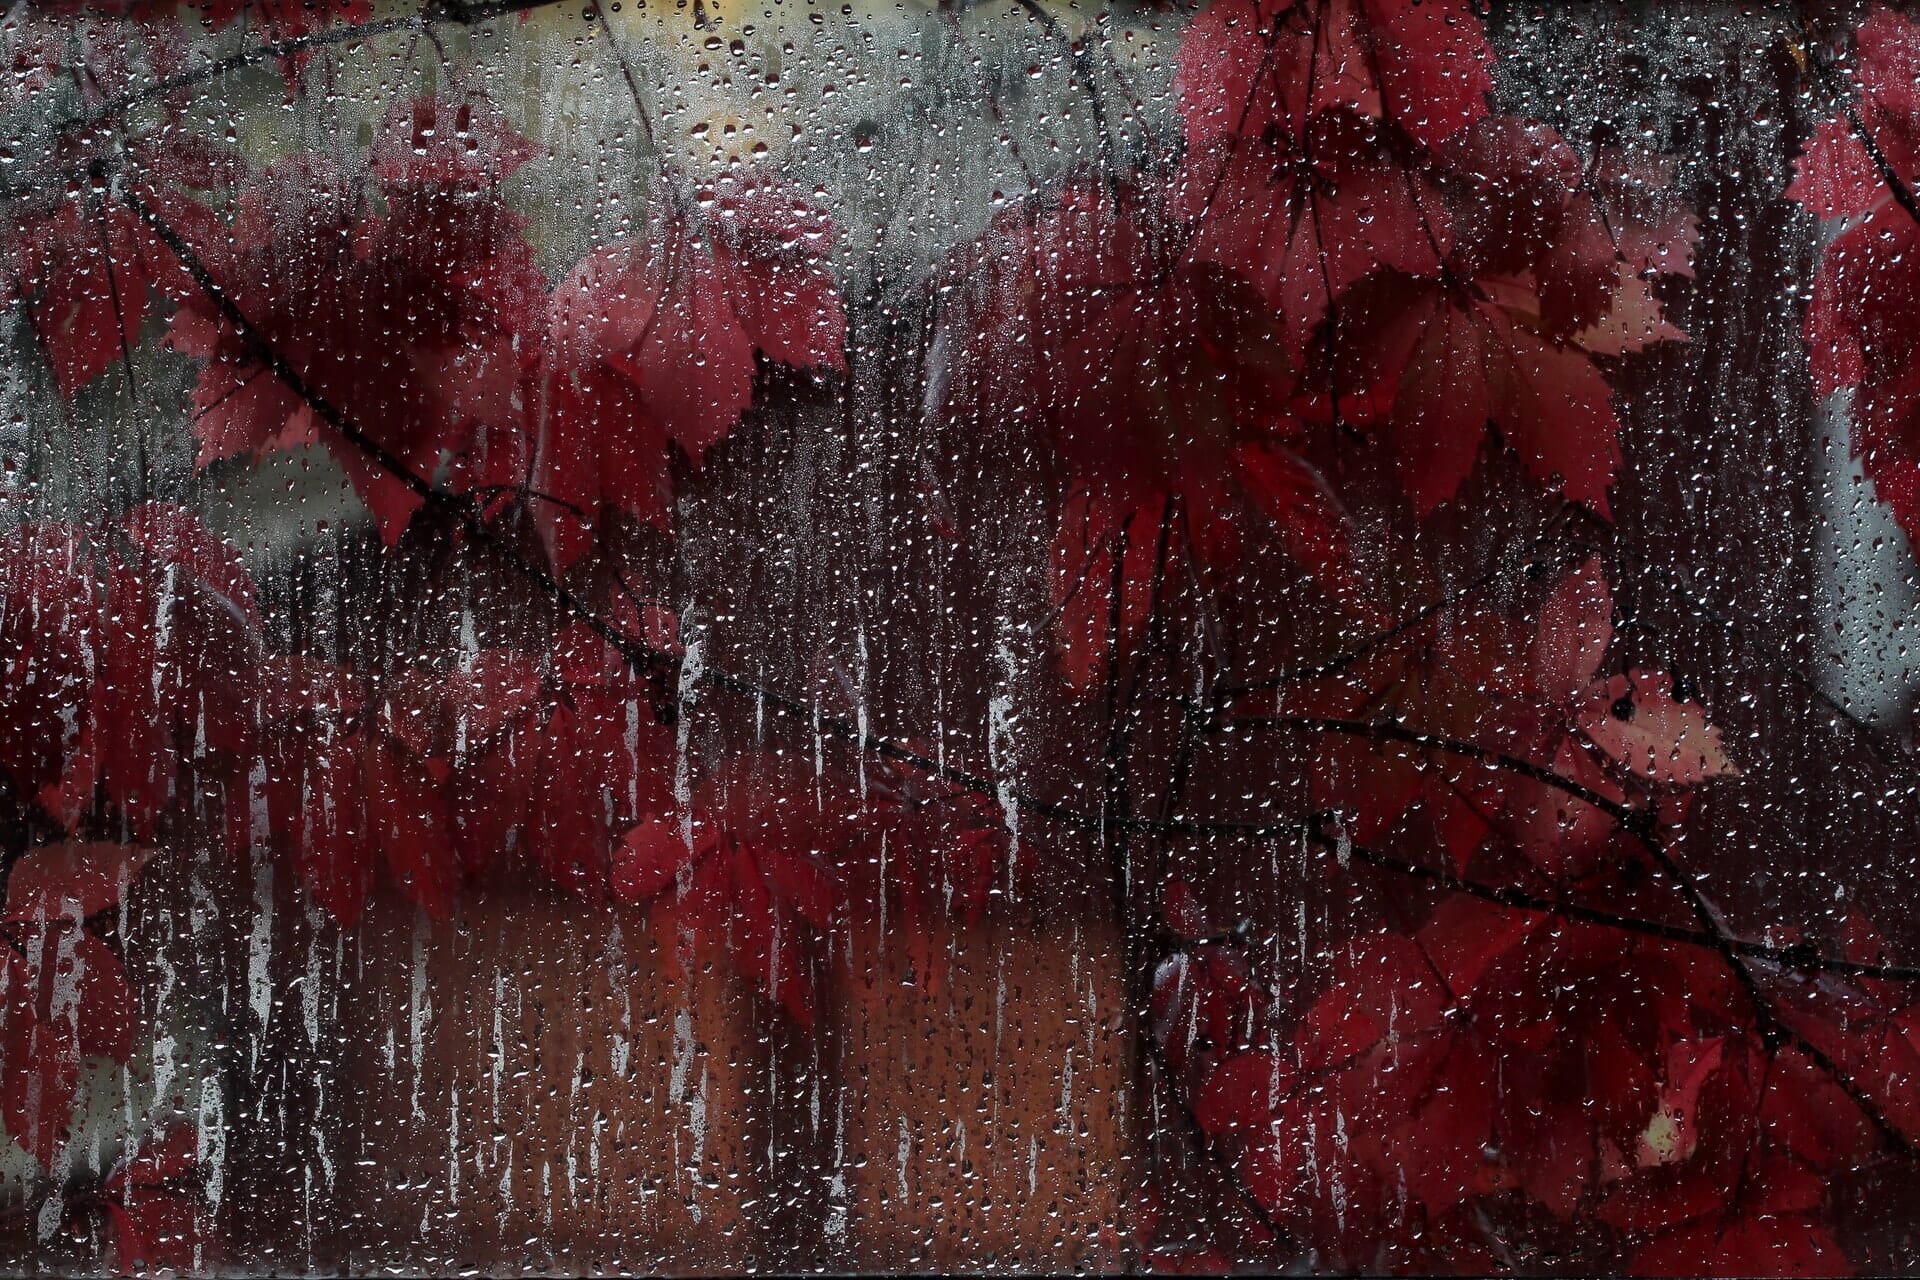
This is one of the simplest indoor photography ideas around, and it costs nothing. All you need is a window and some bad weather! Rain droplets, melting snowflakes, and even condensation can make really beautiful patterns and effects.
You need to get close to the window and use a shallow depth of field to blur the area outside the glass. Focus on the patterns and ignore the background scene.
Related Posts
12. Macro Fruits and Veggies
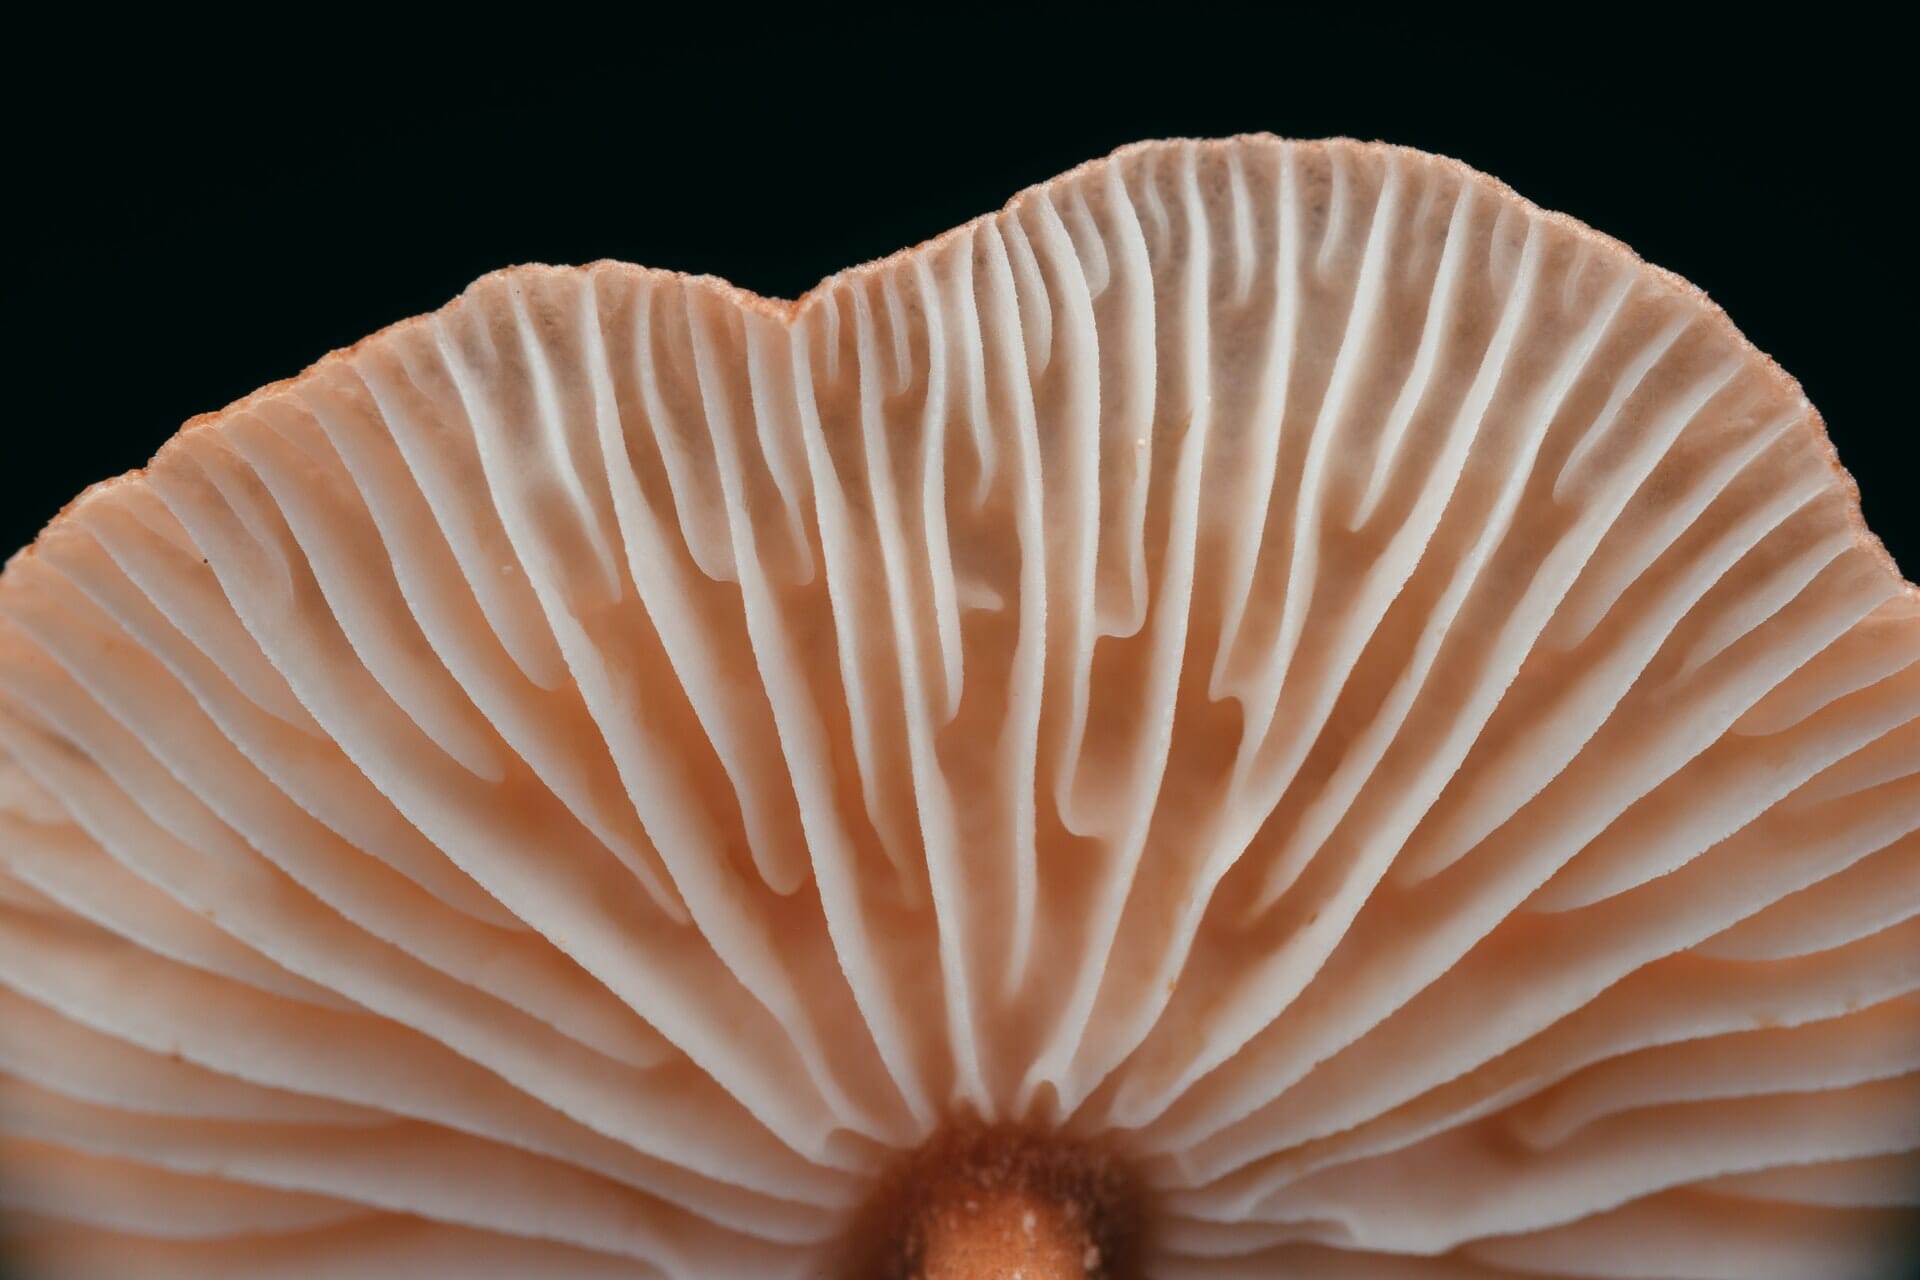
Have you ever looked carefully at a corn kernel, a fruit slice, or a mushroom’s gills? These miniature worlds make great macro subjects!
You will need a solid-colored background, a macro lens, and a tripod. A flashgun or a light tent will also be a big help.
13. Food Close-Ups
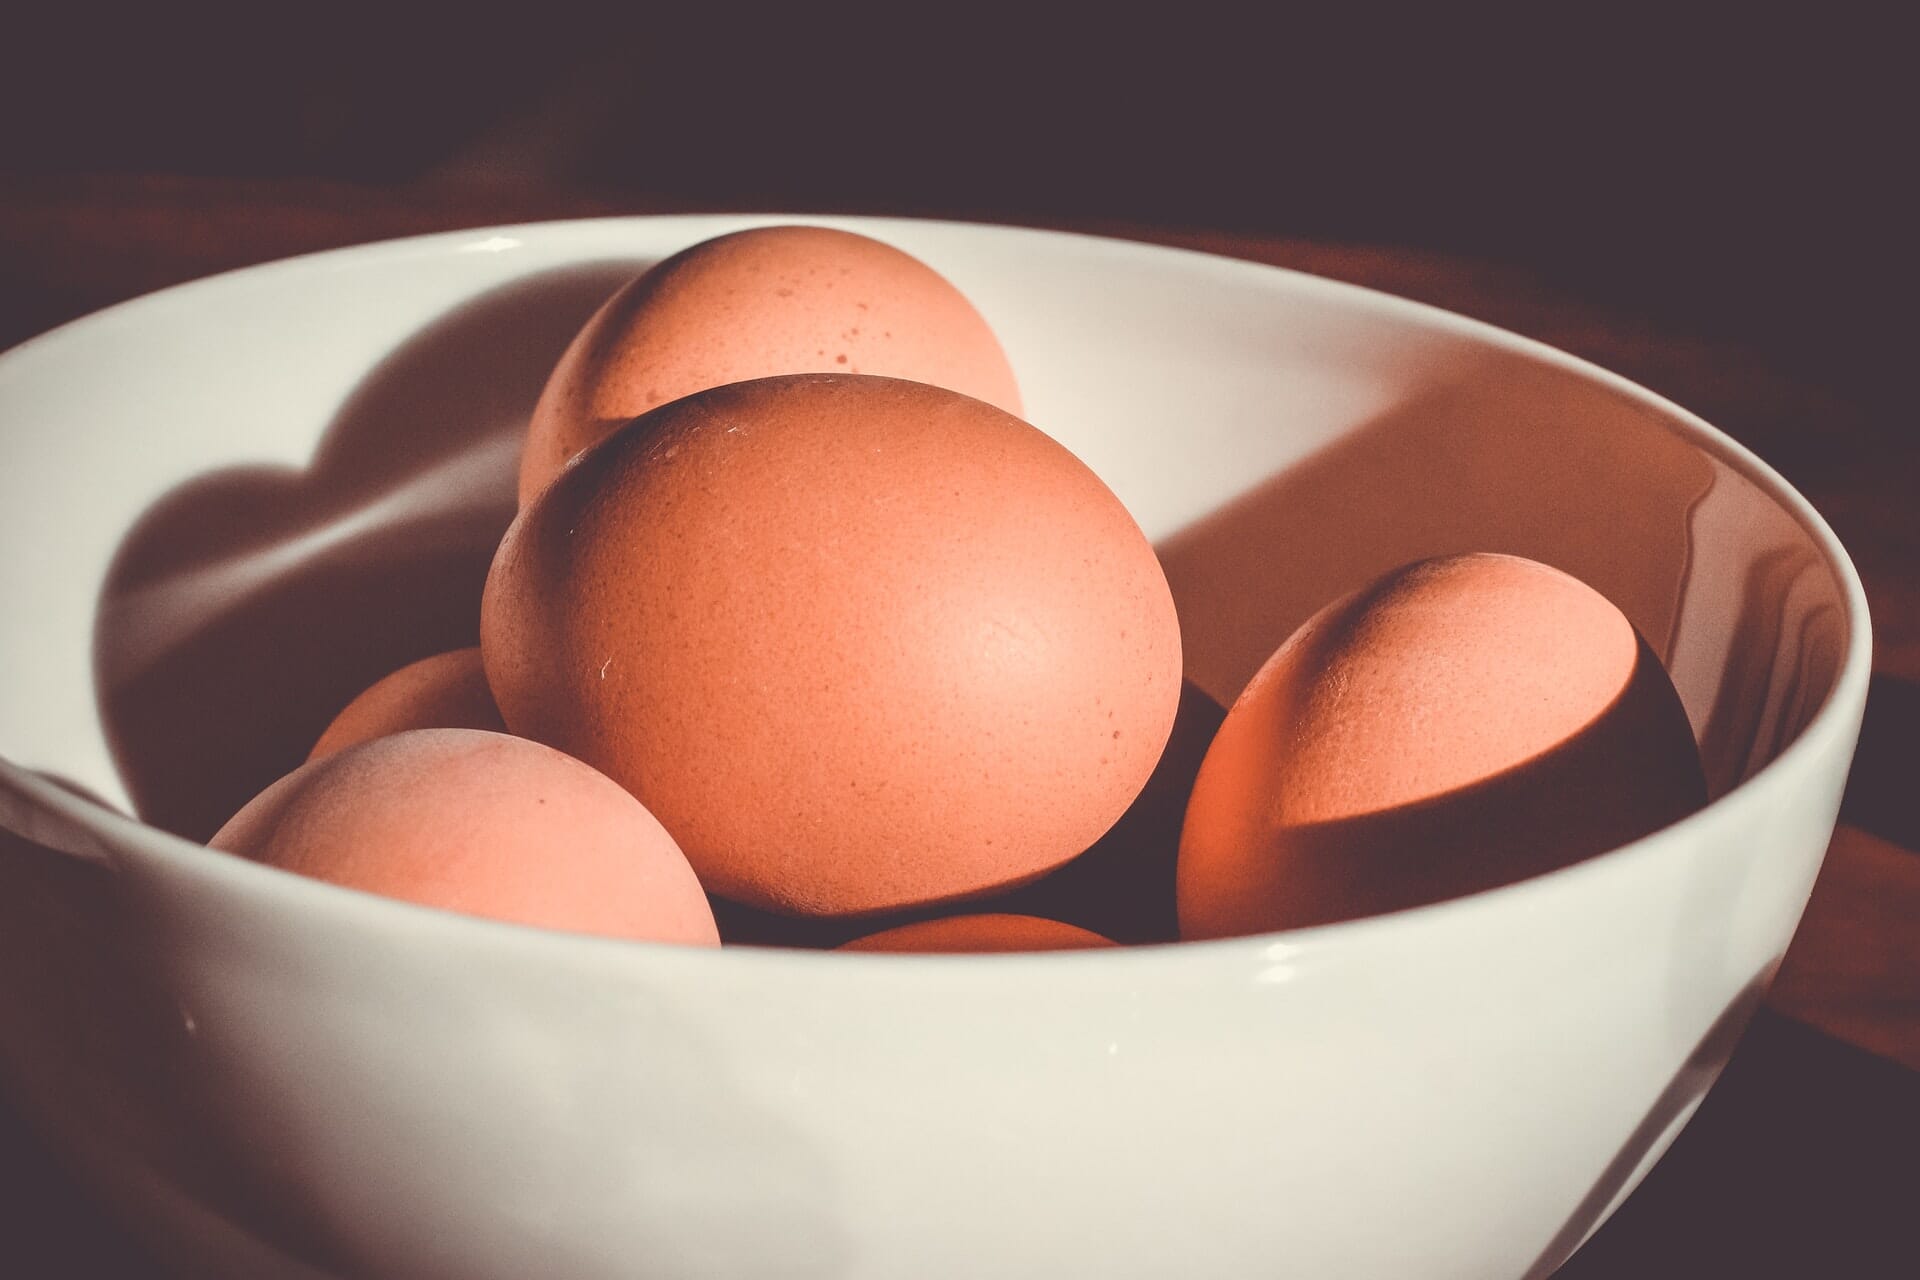
With a shallow depth of field technique, anything in your kitchen can become a beautiful subject – even cooking utensils!
Place some food items on a chopping board in a nice arrangement. Add some props like plates and napkins. Cheese and crackers, ice cream and fruit, or even a sandwich can look good when you get the right angle.
Food usually looks best when it’s lit from the back or the side. To get the best food photos, I’d also recommend placing a reflector at the front to bounce light back into the shadows.
14. Items in Ice
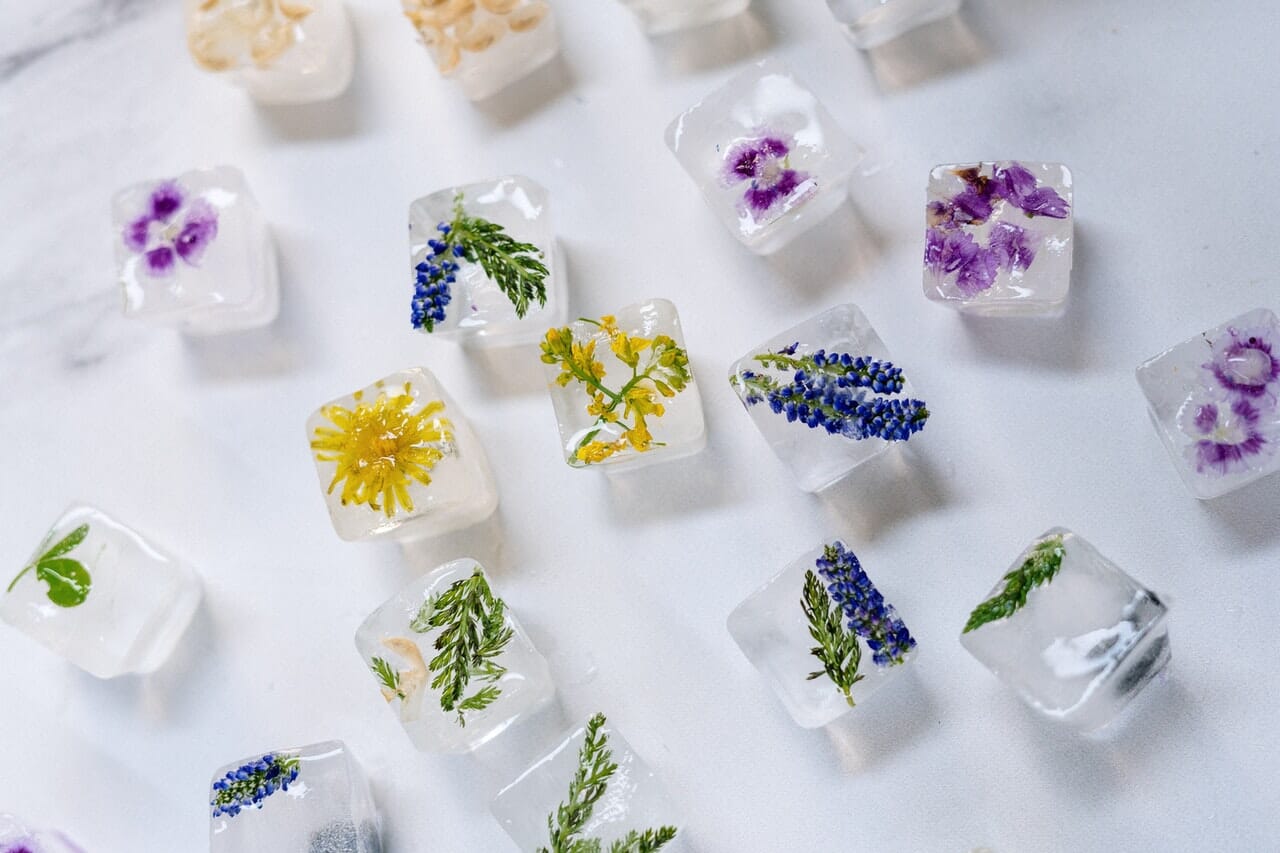
Have you seen images of flowers or fruit frozen in ice? Looks amazing, right?
To get started, grab some flowers or fruit slices. You’ll also need to get distilled water (tap water tends to go foggy when frozen).
Fill a container with an inch or two of water. Place your subjects face down in the water and arrange them for a nice effect. Pop the container in the freezer and leave. The small amount of water will freeze over and trap the subjects in the bottom layer. That way, they can’t float when you add more water.
Once the first layer of water has frozen, pour a few extra inches of cool water over the ice. Don’t add too much at once, as the ice below will thaw and release your subjects. Put the container back in the freezer, then when that layer is frozen, add more water – and so on, until you get a thick chunk of ice.
Once you’re ready to photograph your icy subjects, place the ice block on a table with a light source shining through from behind.
15. Retro Items
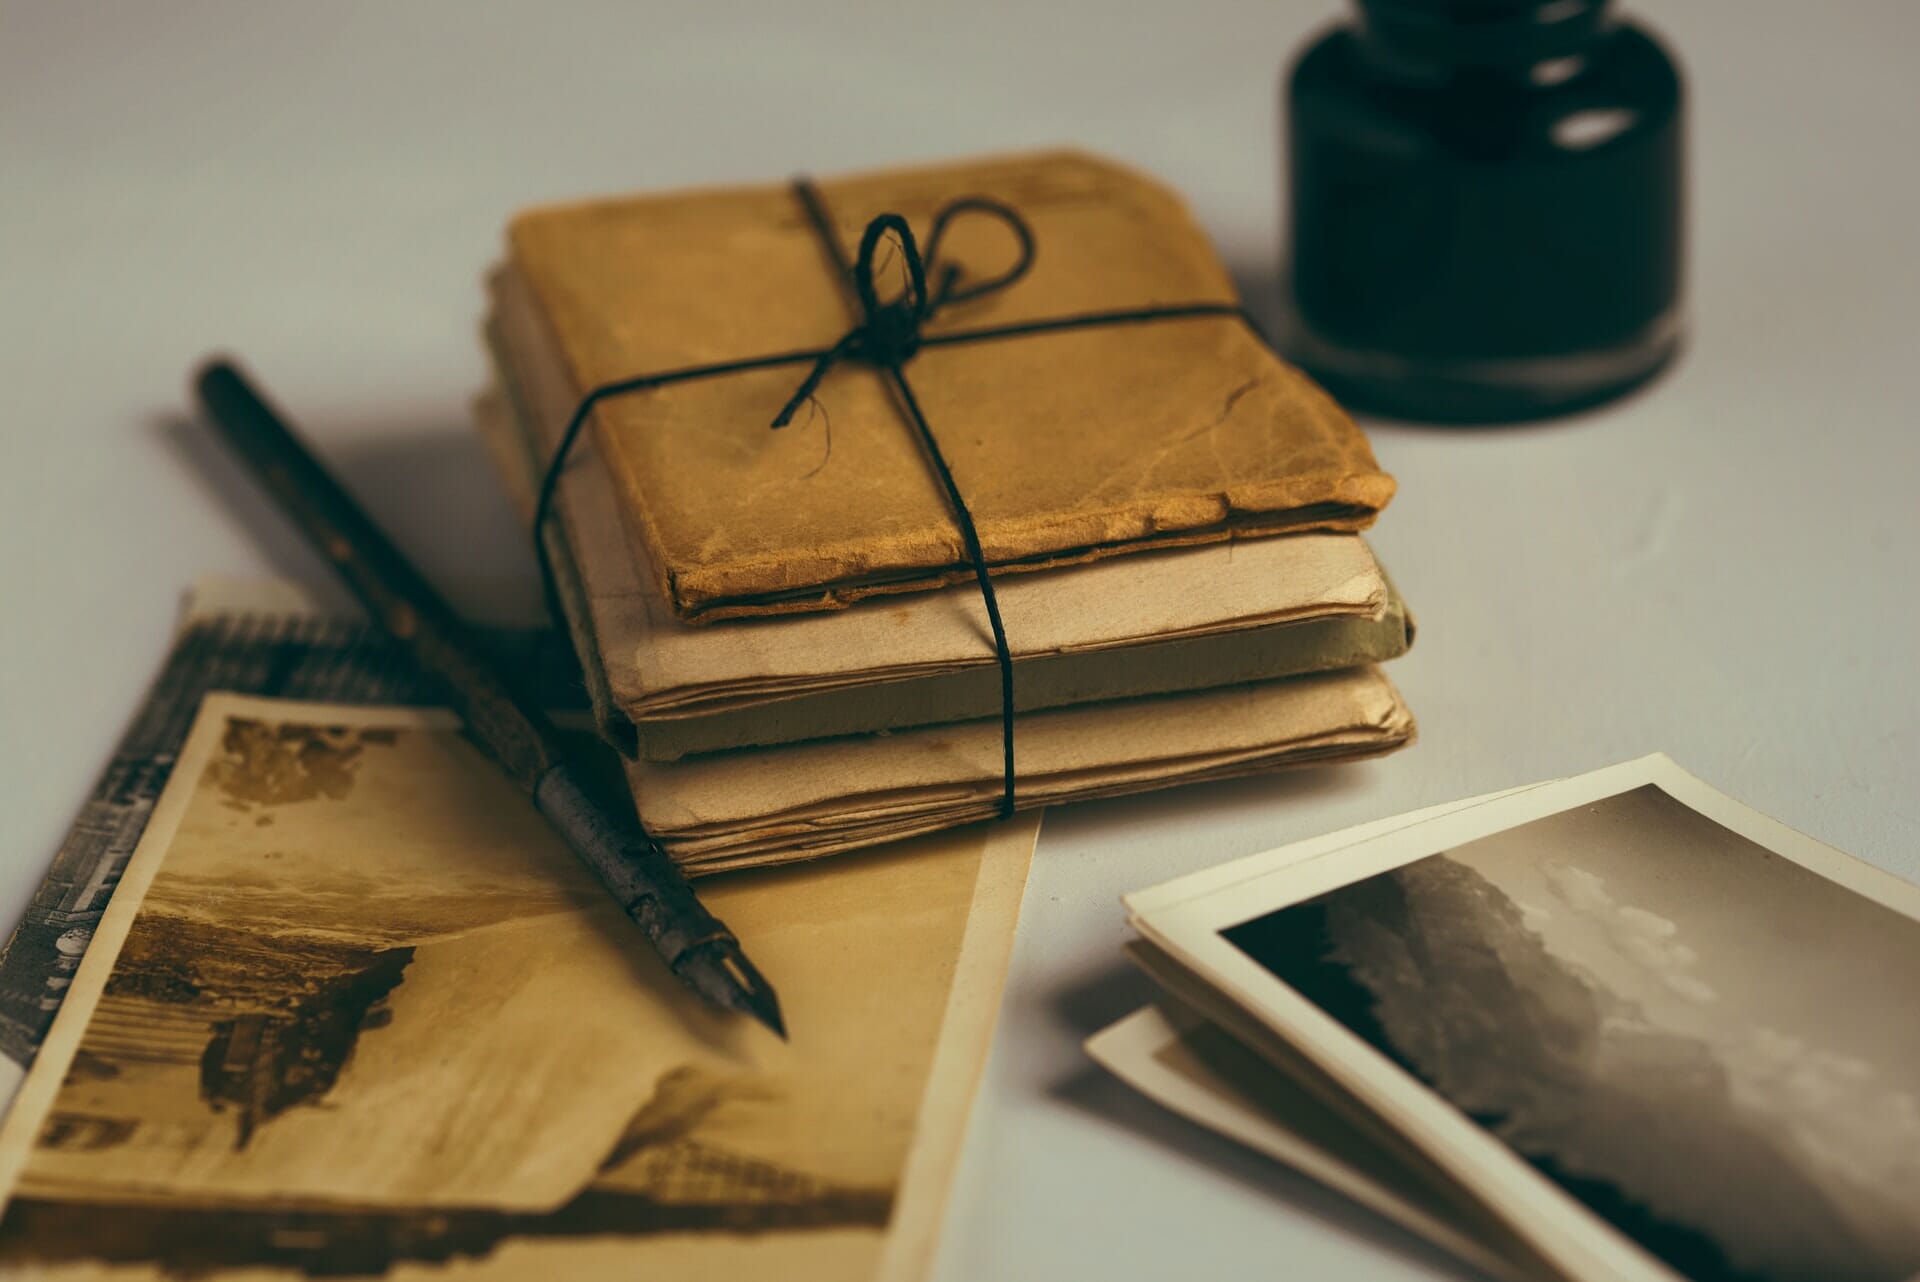
Do you have vintage or retro objects in your attic, such as watches, old electronics, or furniture? Use those items to create still-life photos with a nostalgic vibe.
You can even edit your images to look more vintage using sepia or other film-style filters and presets. Most image editing programs have a selection of built-in options, and you can find lots of free vintage presets for programs such as Lightroom.
16. Flower Arrangements
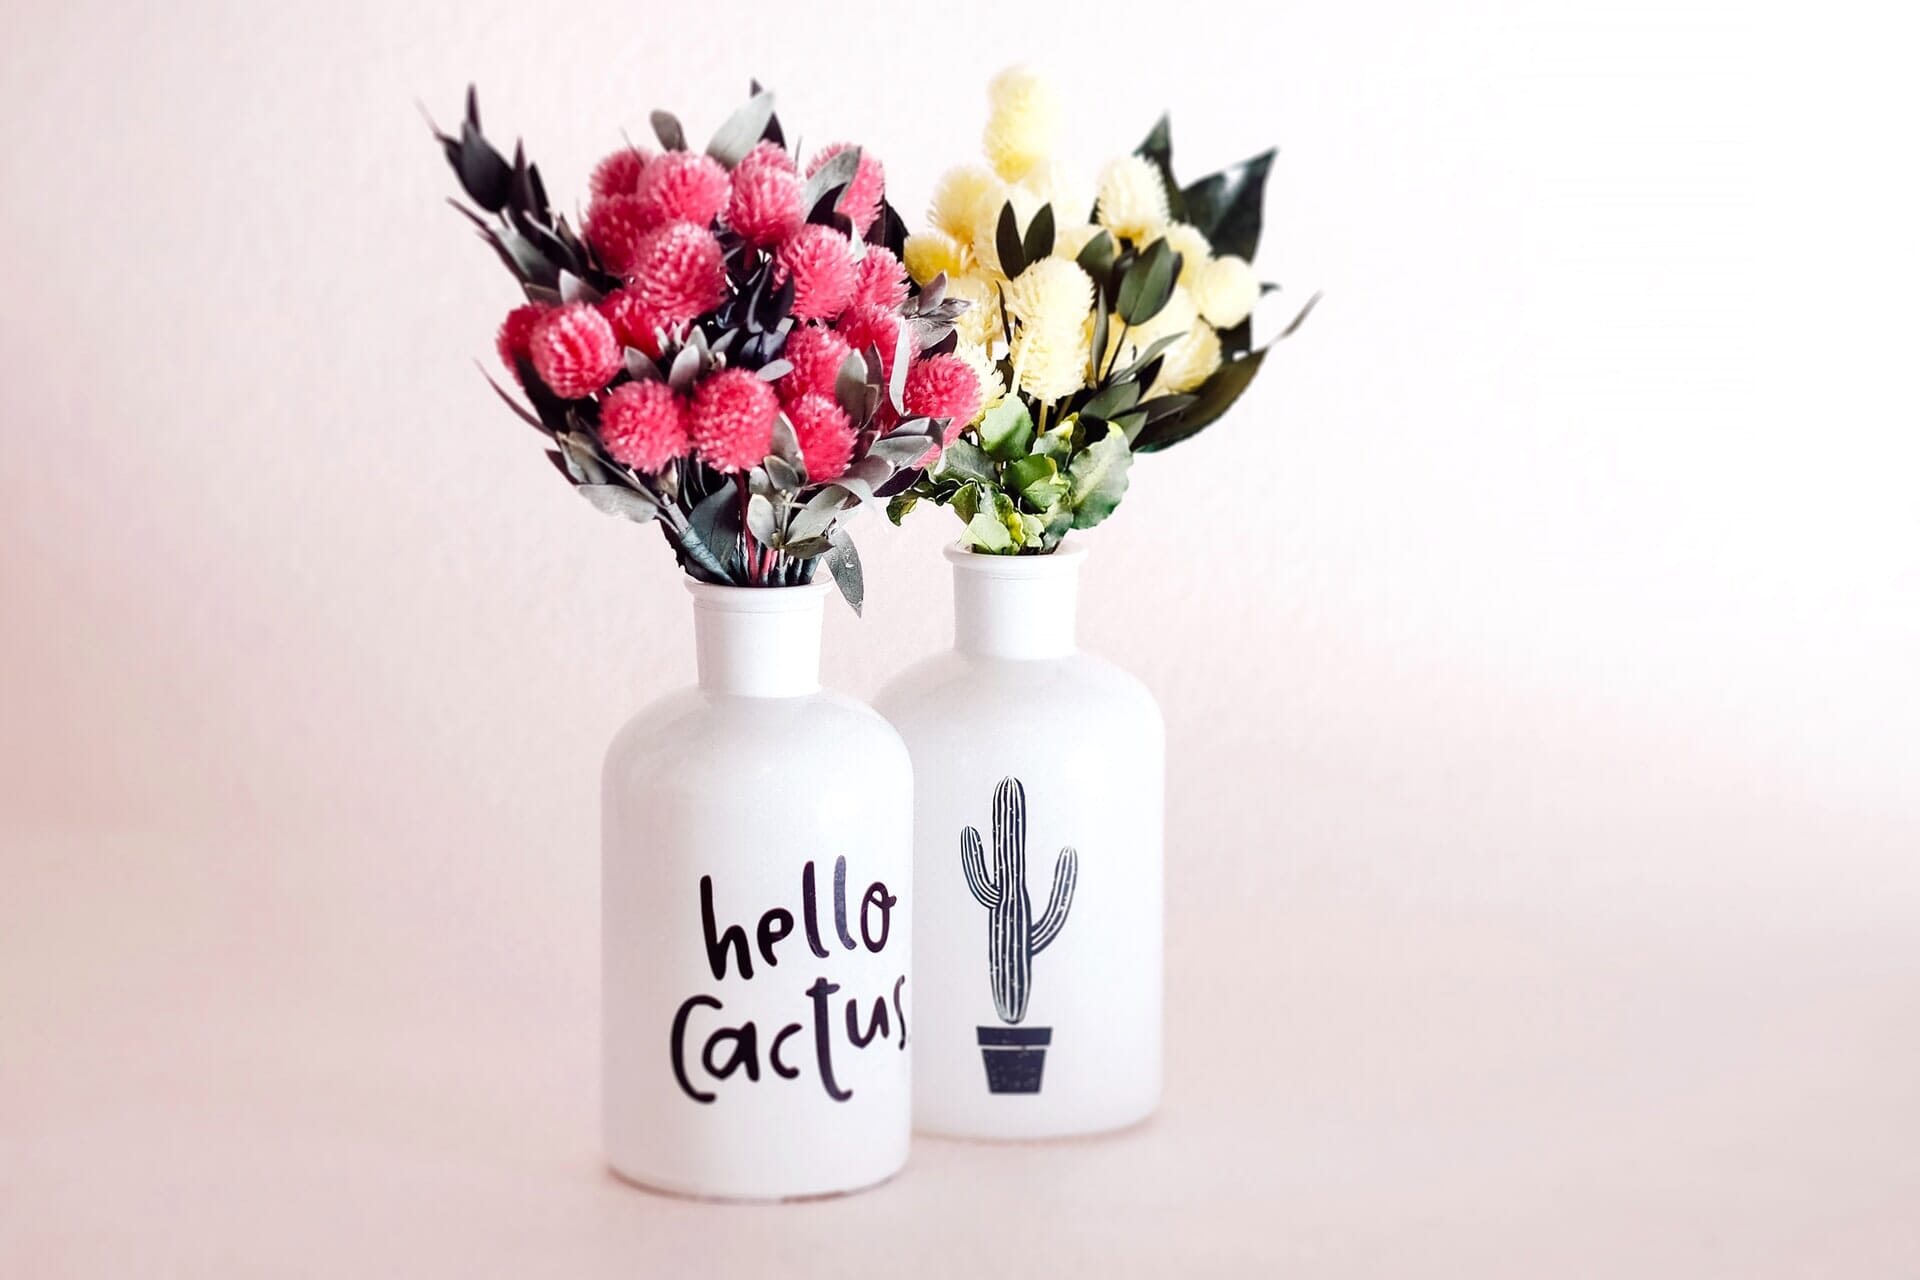
If it’s miserable outside, you won’t get many opportunities to shoot garden flowers. But you can get a beautiful bouquet from a local florist or grocery store, even in the depths of winter.
So buy a vibrant flower arrangement and place it in a nice vase. Find a good background, then use natural light and a tripod to shoot the flowers. Alternatively, use artificial light and experiment with different shutter speeds and apertures. Go for smaller apertures like f/8 to get all the flowers in focus, or open your lens to f/4 or even f/2.8 to emphasize one or two flowers.
17. Shoot Deliberately Unfocused
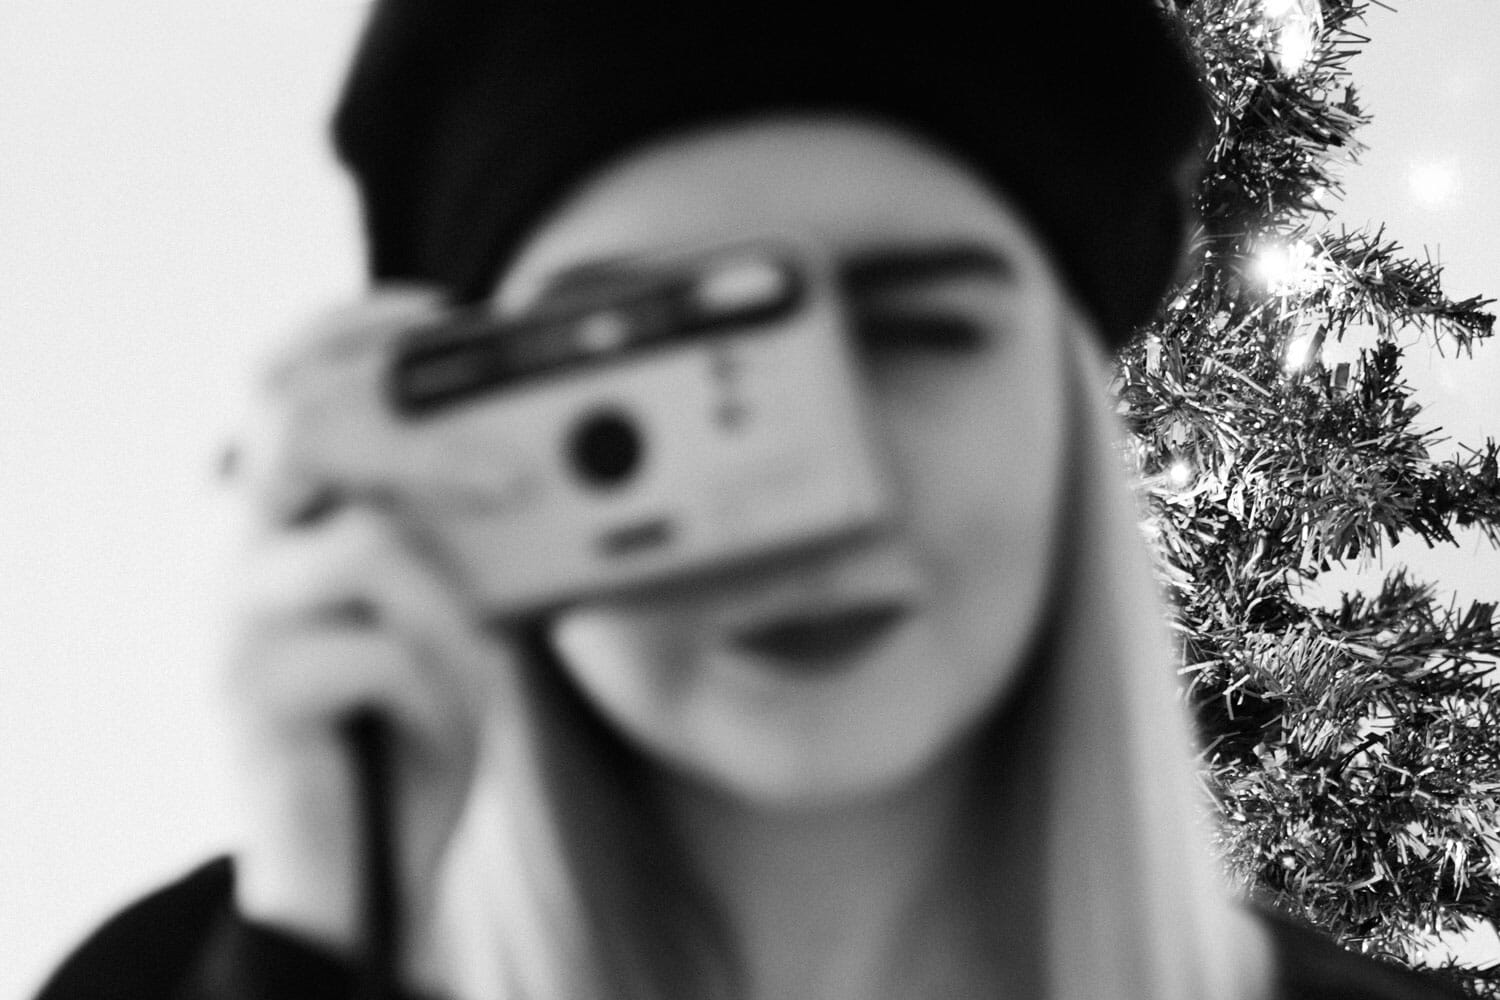
Sharpness doesn’t necessarily make a picture great, and deliberately unfocused images can look beautiful.
There are no rules for this one. Just find a pleasing scene in your home, set your camera to manual focus, and deliberately twist the focus ring until everything is blurry and soft.
18. Photograph Your Pets
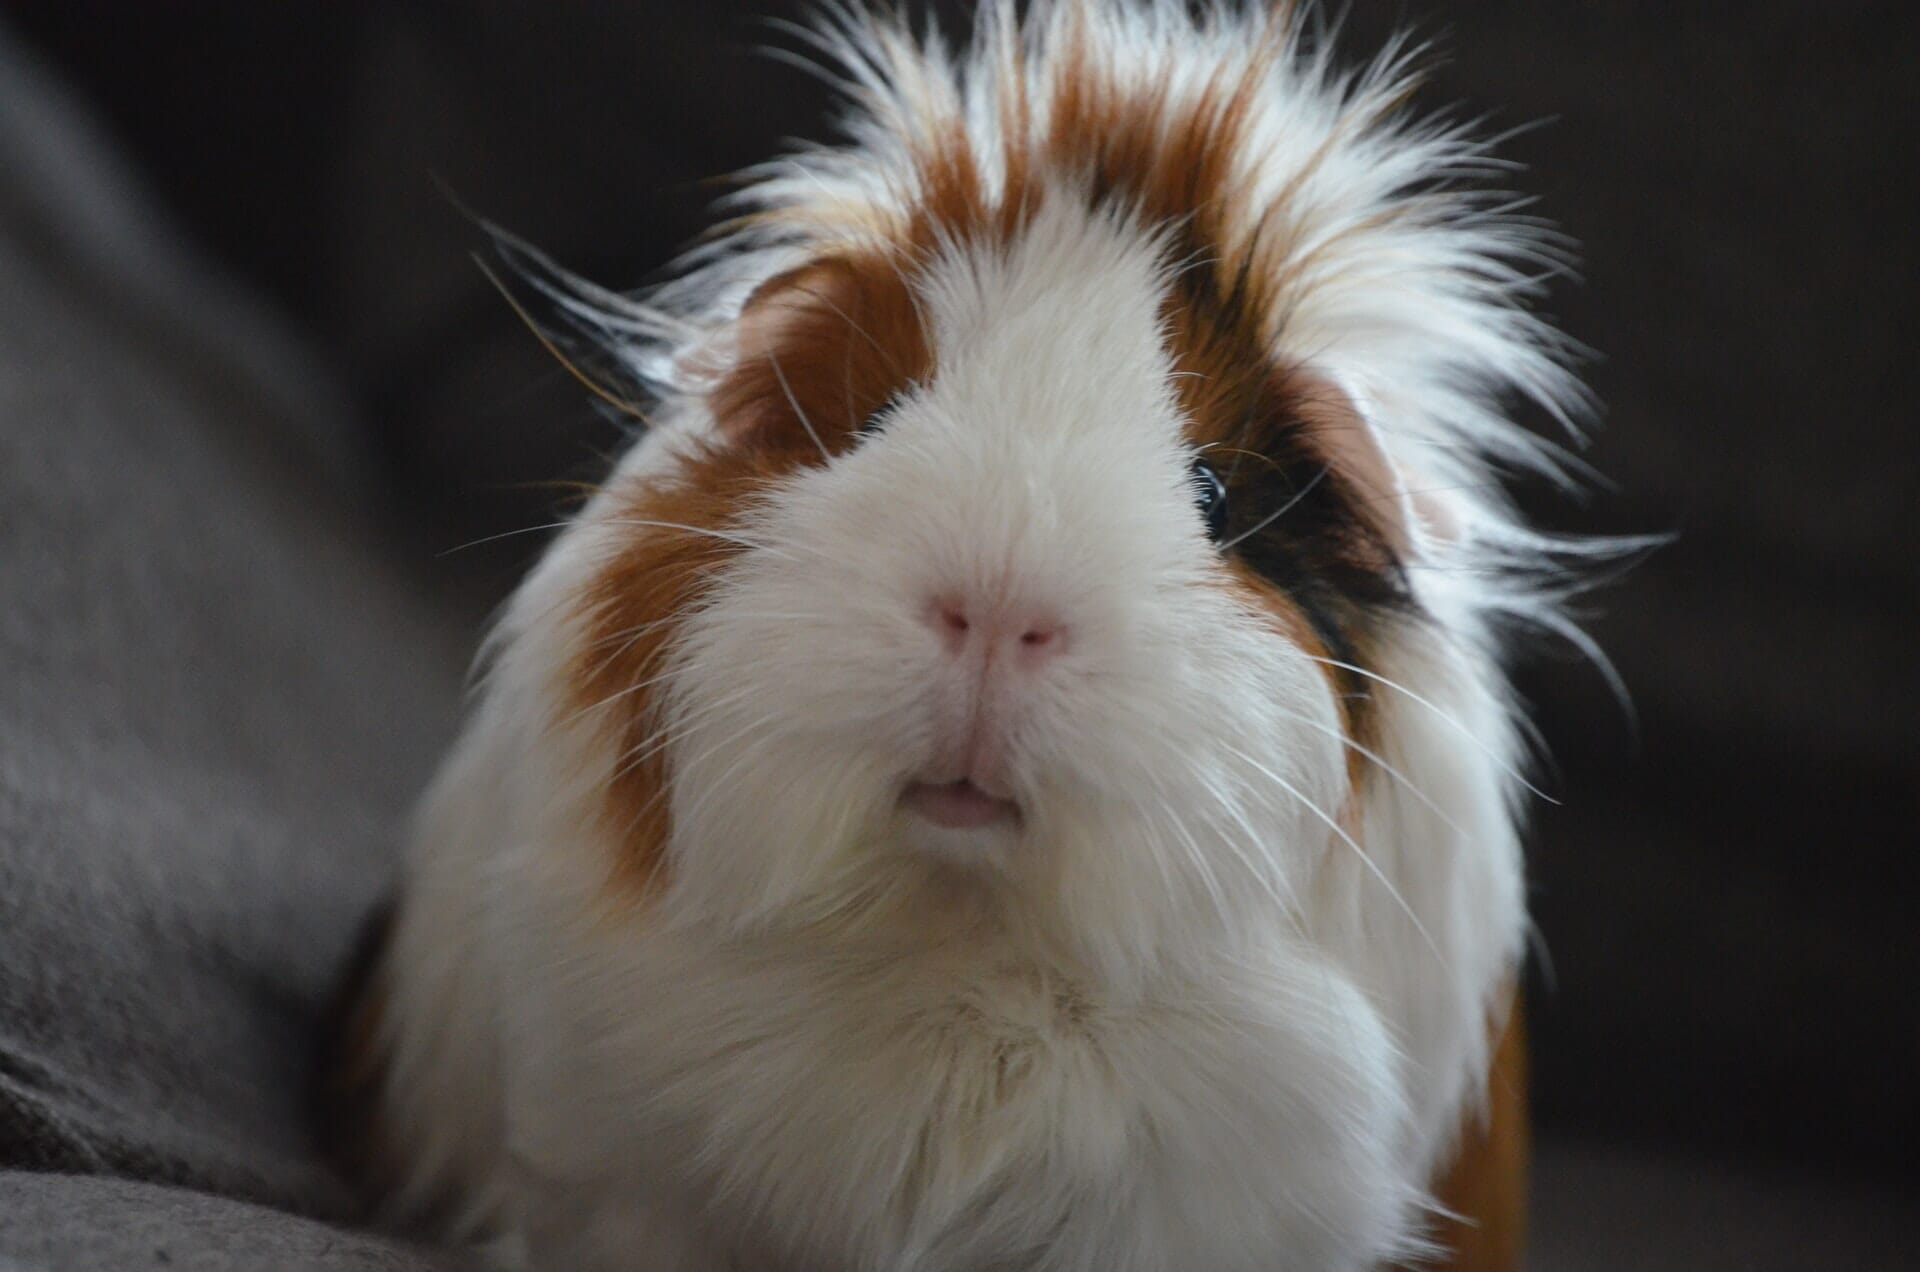
Even the humble goldfish can look good when photographed carefully! Alternatively, snap your dog or cat looking longingly out of the window on a wet day, as if wishing for fine weather.
Experiment with window light or flash (try not to spook your critters too much, though!). Use a shallow depth of field to emphasize your pet’s eyes – or if your pet doesn’t mind getting dressed up, go for a fun theme.
19. Family Portrait
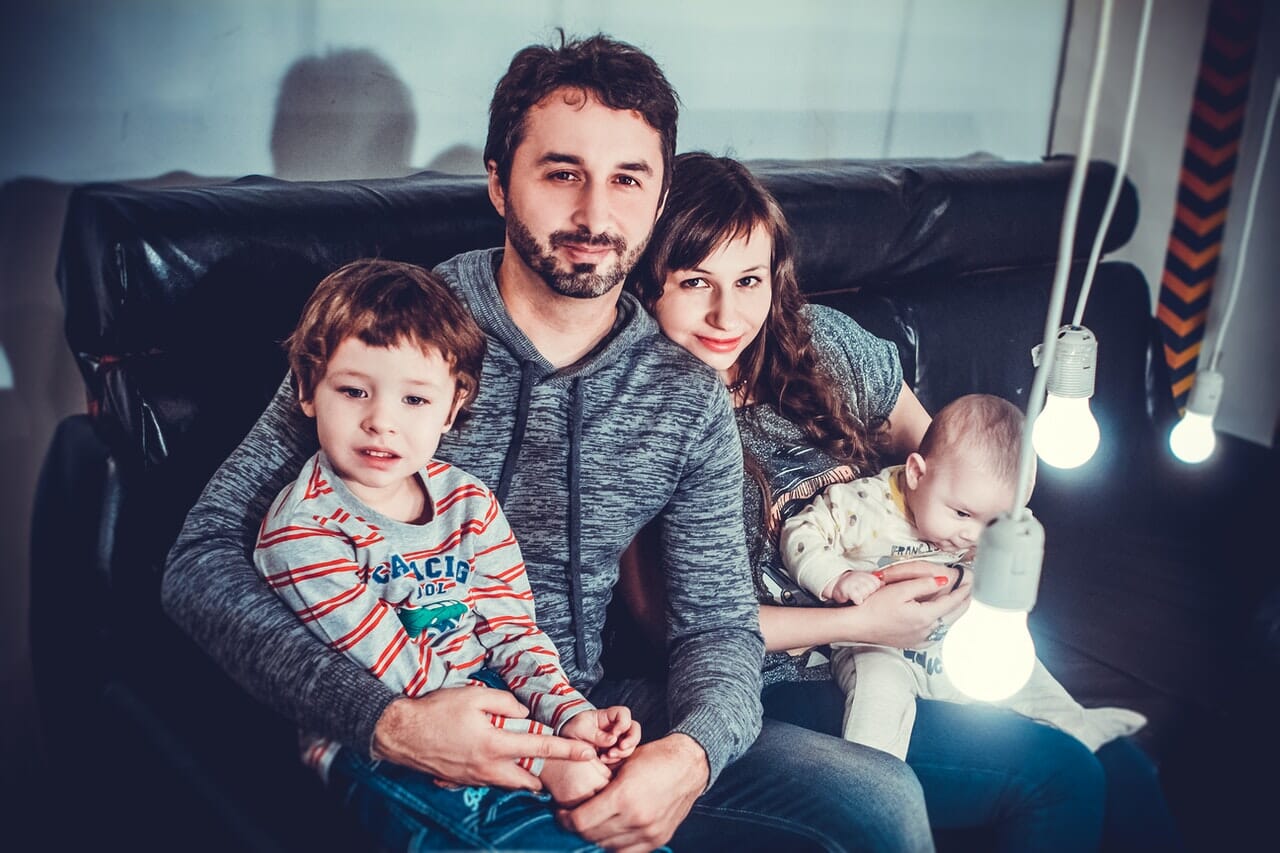
If you’re at home with your family, why not arrange a photoshoot? Most people enjoy having their photos taken, especially if you produce a well-composed and carefully lit result!
Choose a good spot in your home, set up your camera and tripod, and do some test shots to make sure the lighting and exposure are right. Get your family to pose (yes, that includes you!), then set your camera timer or use a remote to take several photos.
Last, do some post-processing to get the most pleasing look.
20. Shadow Patterns
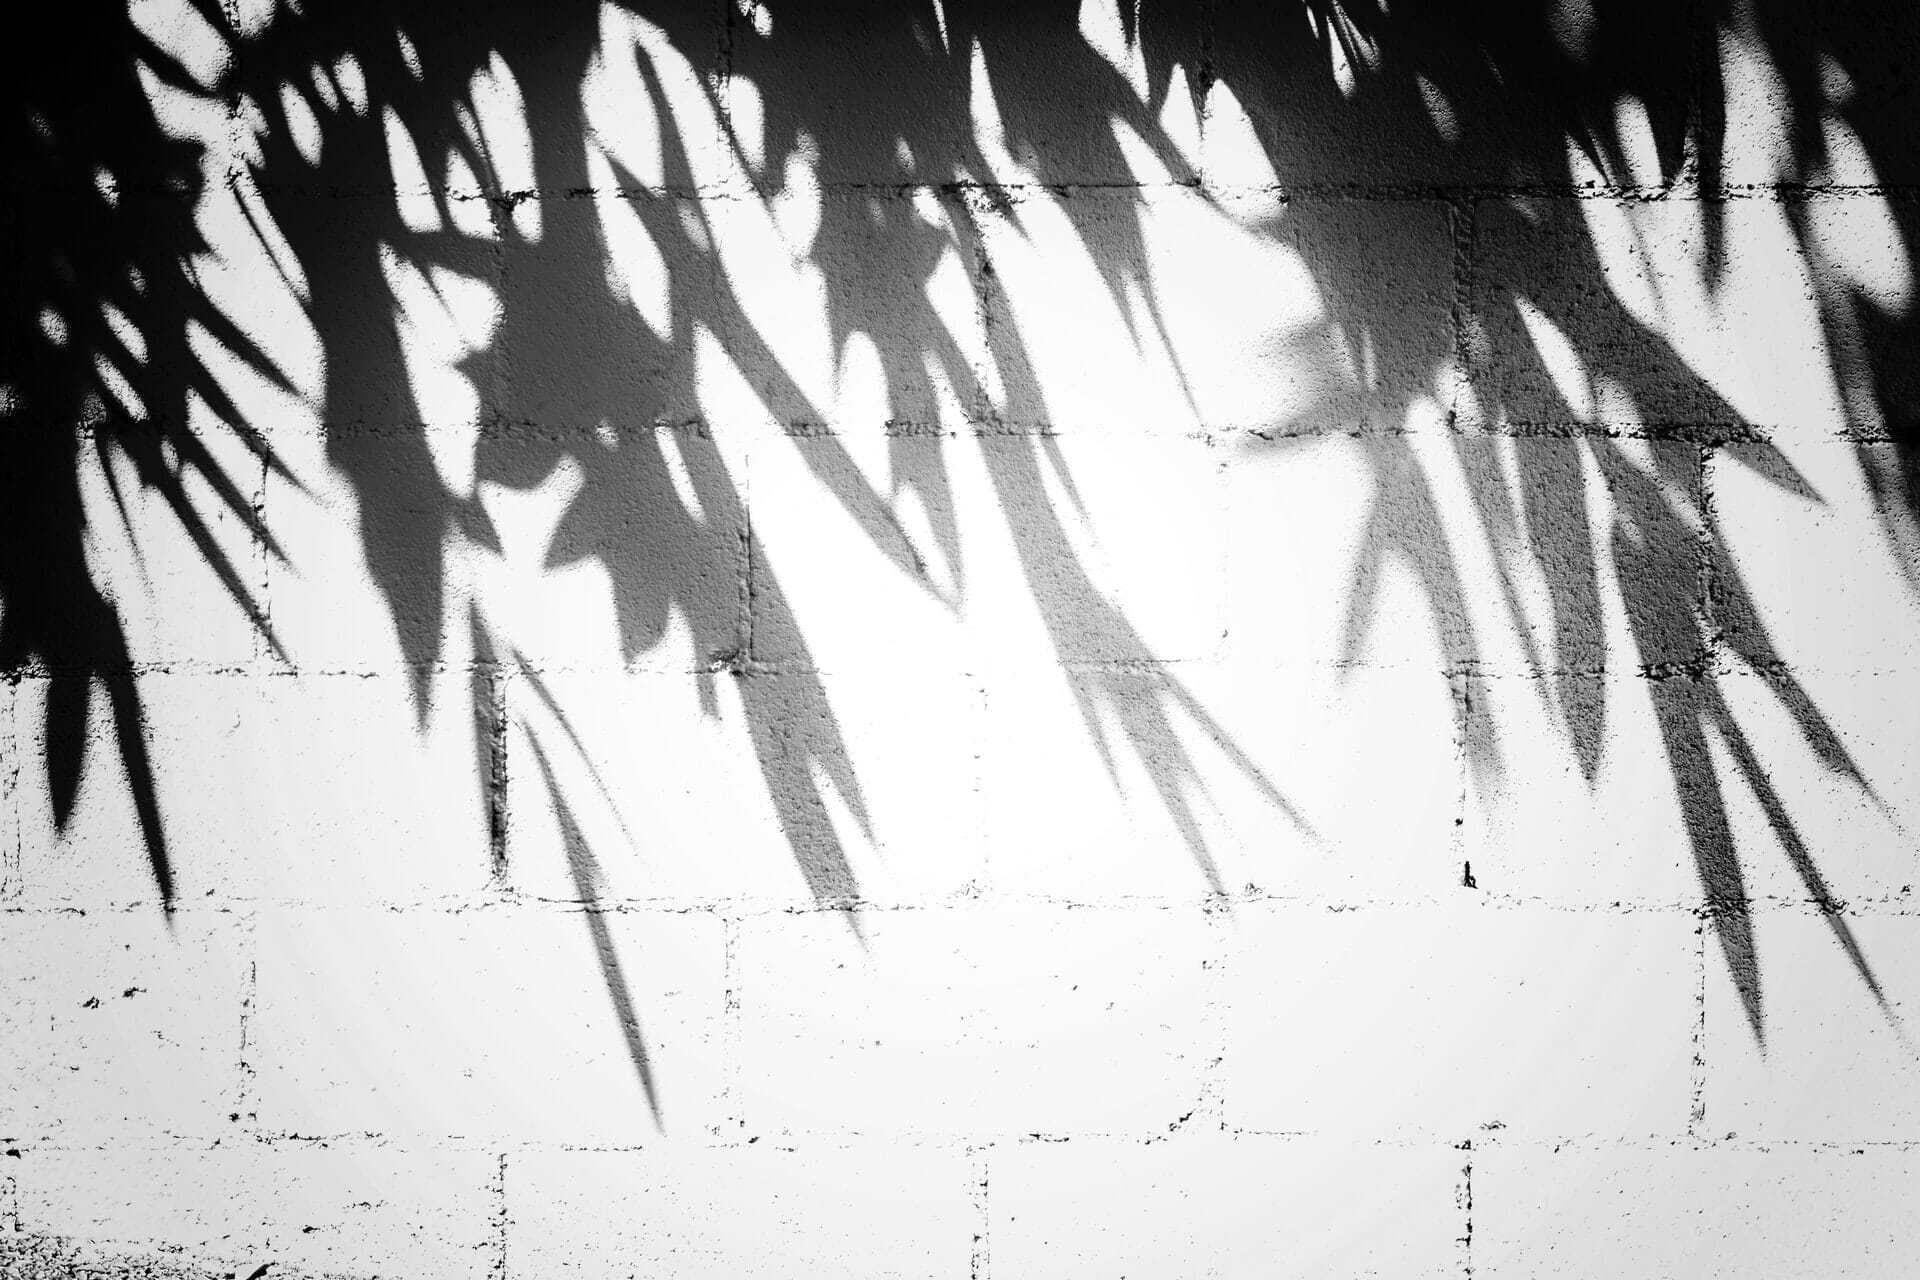
Use lace curtains or any other item that casts an interestingly patterned shadow. All you have to do is position your light source behind the shadow-casting material so it throws patterns across your subject.
Shadows look great in portraits – think Venetian blinds, lace, feathers, or even something simple like a colander from your kitchen. They all create interesting patterns when lit from behind!
21. Create a Collage
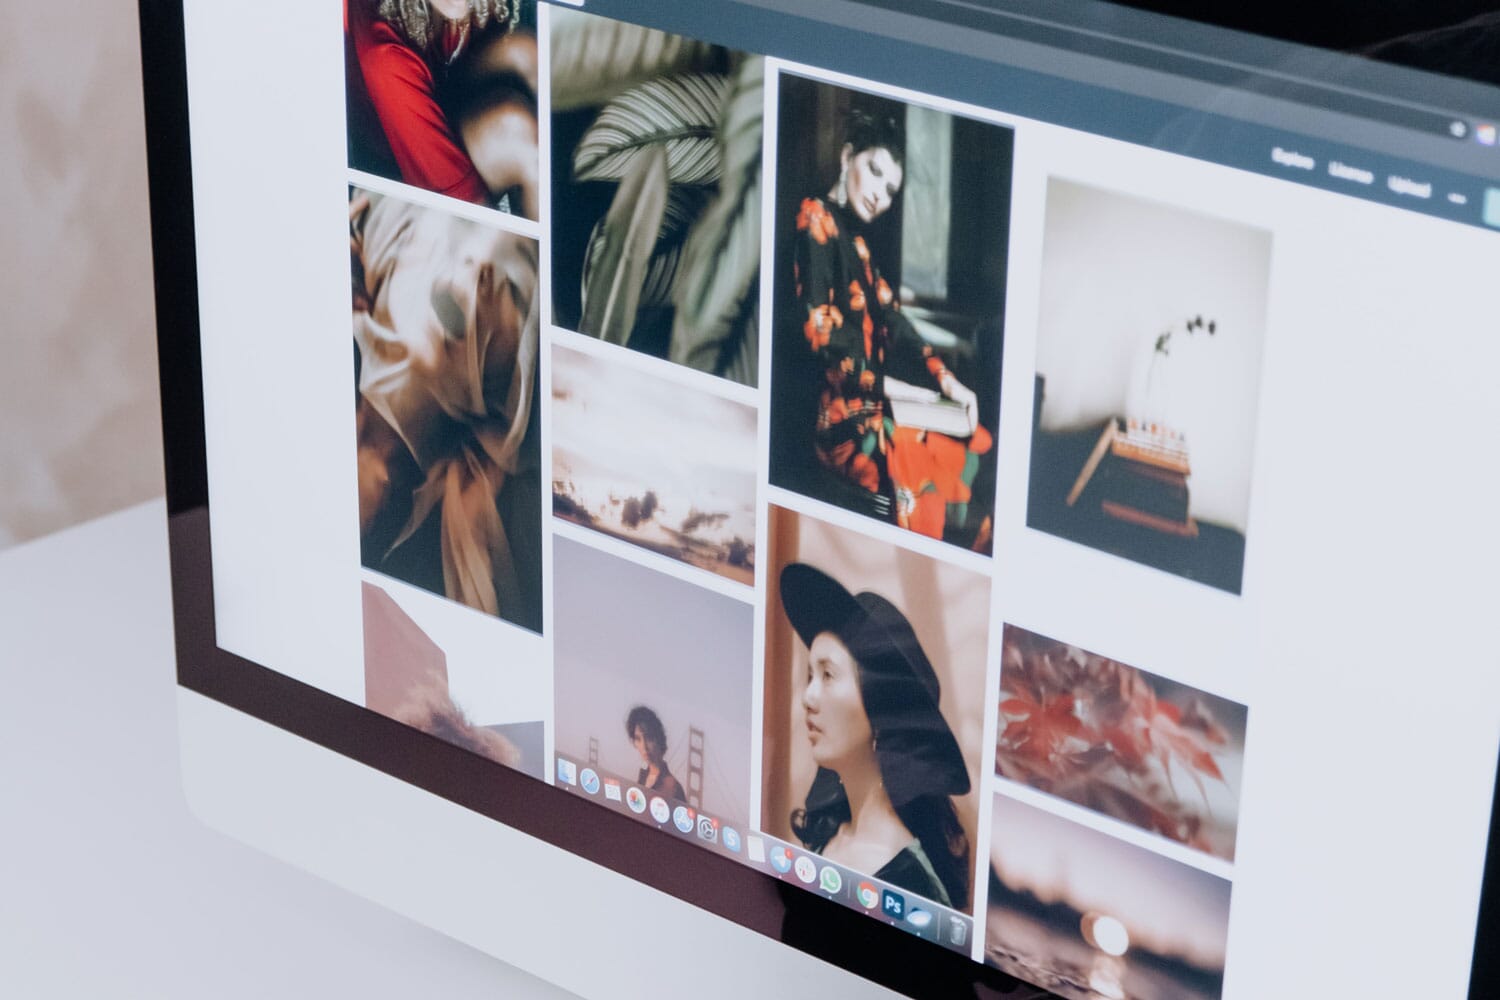
If you love social media, a collage is a great and interesting way to show the same subject from many different angles. You may have a Christmas tree with lots of decorations, a big flower arrangement, or even a room in your home you want to photograph.
Take a variety of images of your subject – from a distance and close up. Focus on little details of interest, then put all the images together in editing software. Photoshop is good for this, as it lets you create a blank background, copy-paste your images, and scale them with the Free Transform tool.
22. Cozy Fireside Feet
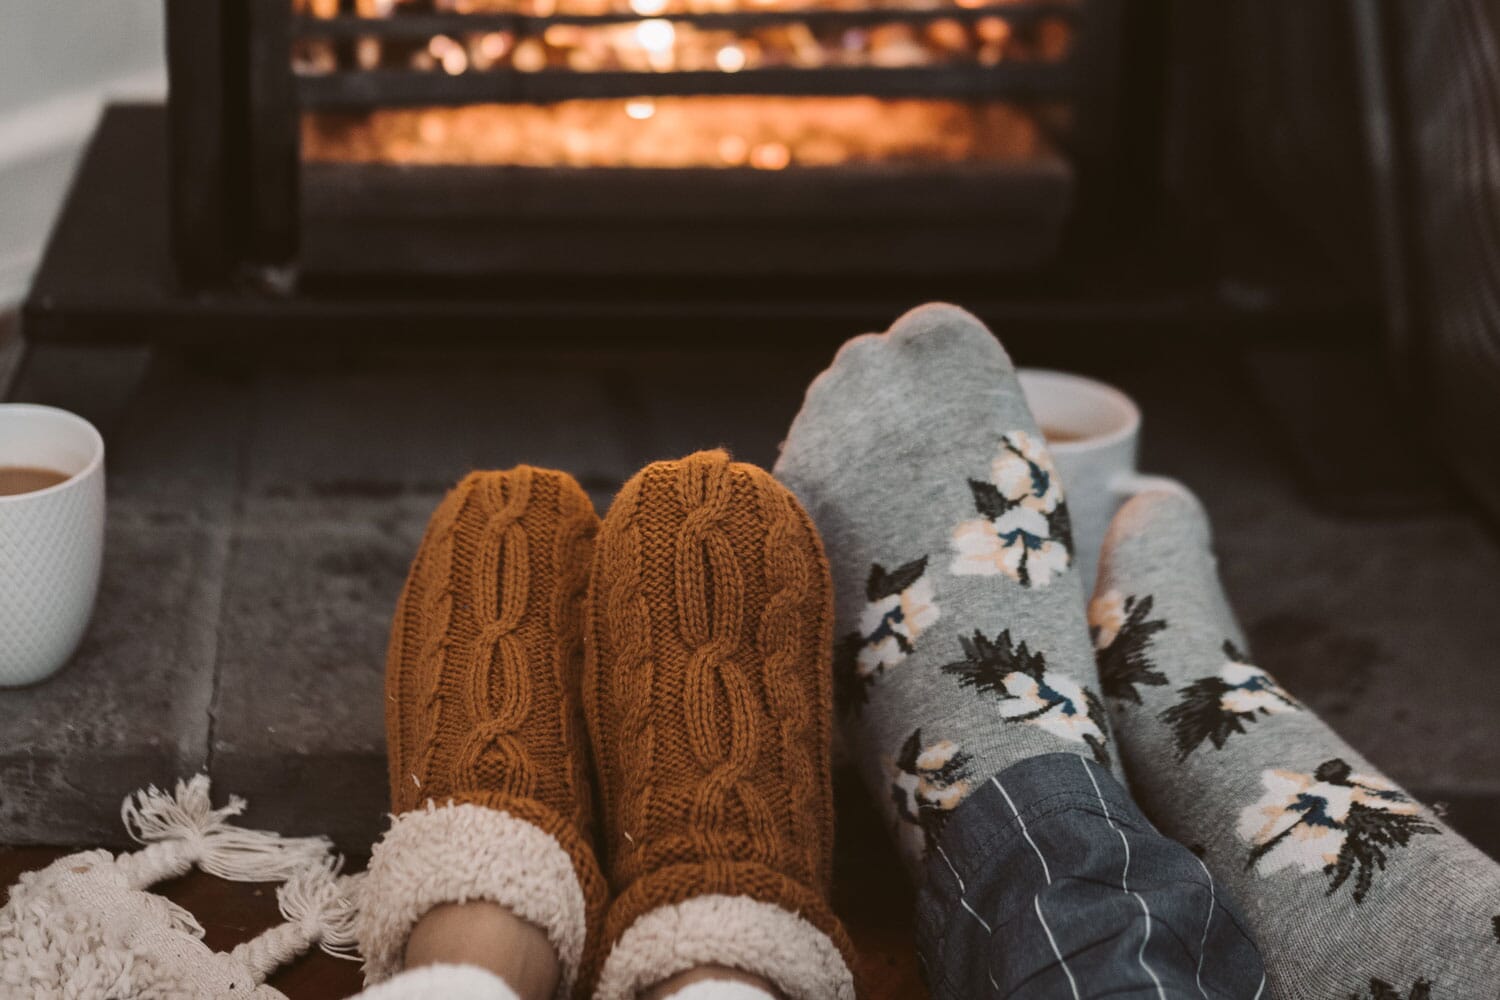
Here’s a nice idea for indoor winter photoshoots: Put on some patterned socks, get under a cozy blanket with your family, and take photos of your feet propped up on a coffee table.
Bonus points if you can include a roaring fire in the background and a mug or two of hot chocolate on the table!
Bonus Idea: Black and White
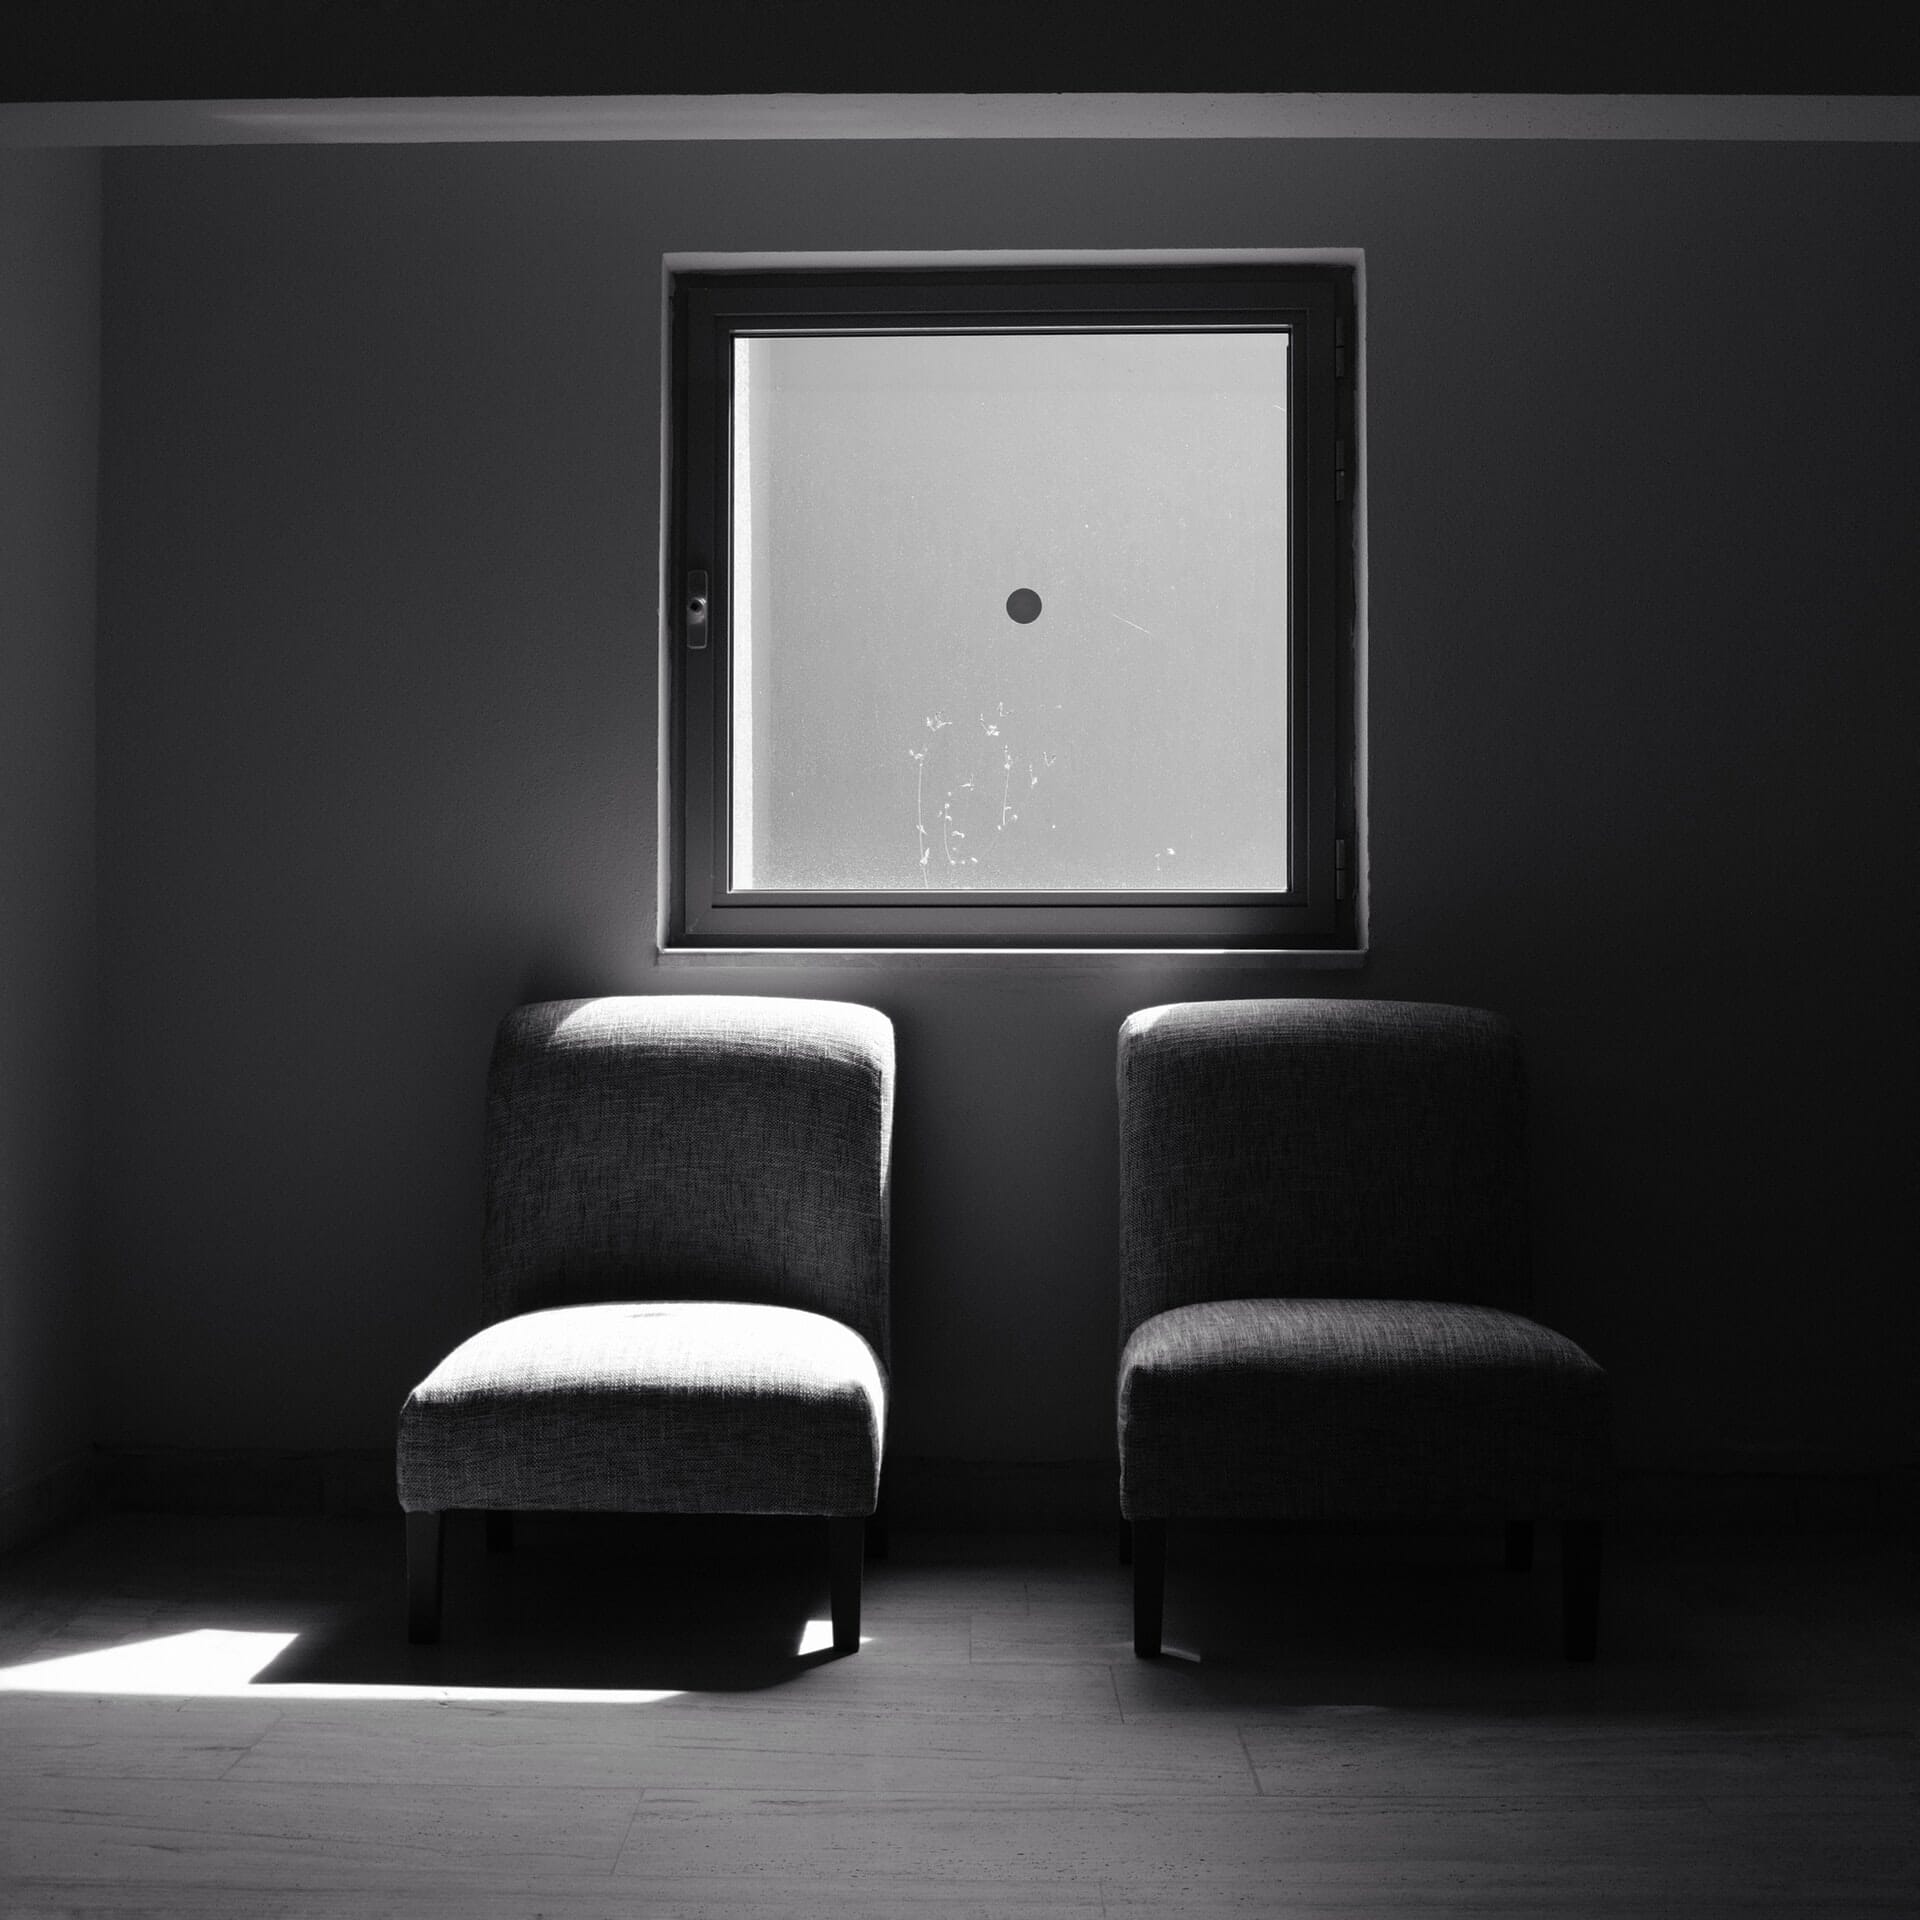
Our last photoshoot idea is often overlooked, but it’s a great way to improve your composition and lighting. The best black and white photography depends on a balance of light and shadow, plus strong lines and interesting subjects. You can find good abstract subjects around your home that will look great in black and white, or you can use a family member as a model next to a large window.
Shoot in color and convert your images to black and white later on. That way, you can choose the black and white style you want, and you can add film grain or extra contrast.
Pick an Indoor Photoshoot Idea and Get Started
I hope you enjoyed our ideas for indoor photos. Hopefully, you’re inspired to try out one or two. Let your creativity soar!
After all, who cares about the bad weather when you’ve got cool stuff to shoot in the comfort of your own home?
