If you want your camera equipment to stay in tip-top shape, you must clean it regularly — and you should also be keeping it safe to begin with.
In this article, I’m going to give you some simple tips on how you can ensure your camera and lenses remain free of dirt, dust, and more. Then I will give you step-by-step instructions for cleaning debris off your camera (because, let’s face it, it’ll probably happen eventually!).
Let’s dive right in.
How to Clean Cameras:
Start With Proper Camera Care
What’s the best way to clean your camera? Prevent it from becoming dirty in the first place.
So in the following sections, I’m going to share my best tips for keeping your camera and lenses safe in tough environments, starting with:
Rain and Snow
Camera equipment and water (either rain or snow) don’t mix. Rain, in particular, can be hazardous to your equipment, especially if it’s coming down hard.
Fortunately, there’s a simple fix: Use a waterproof cover.
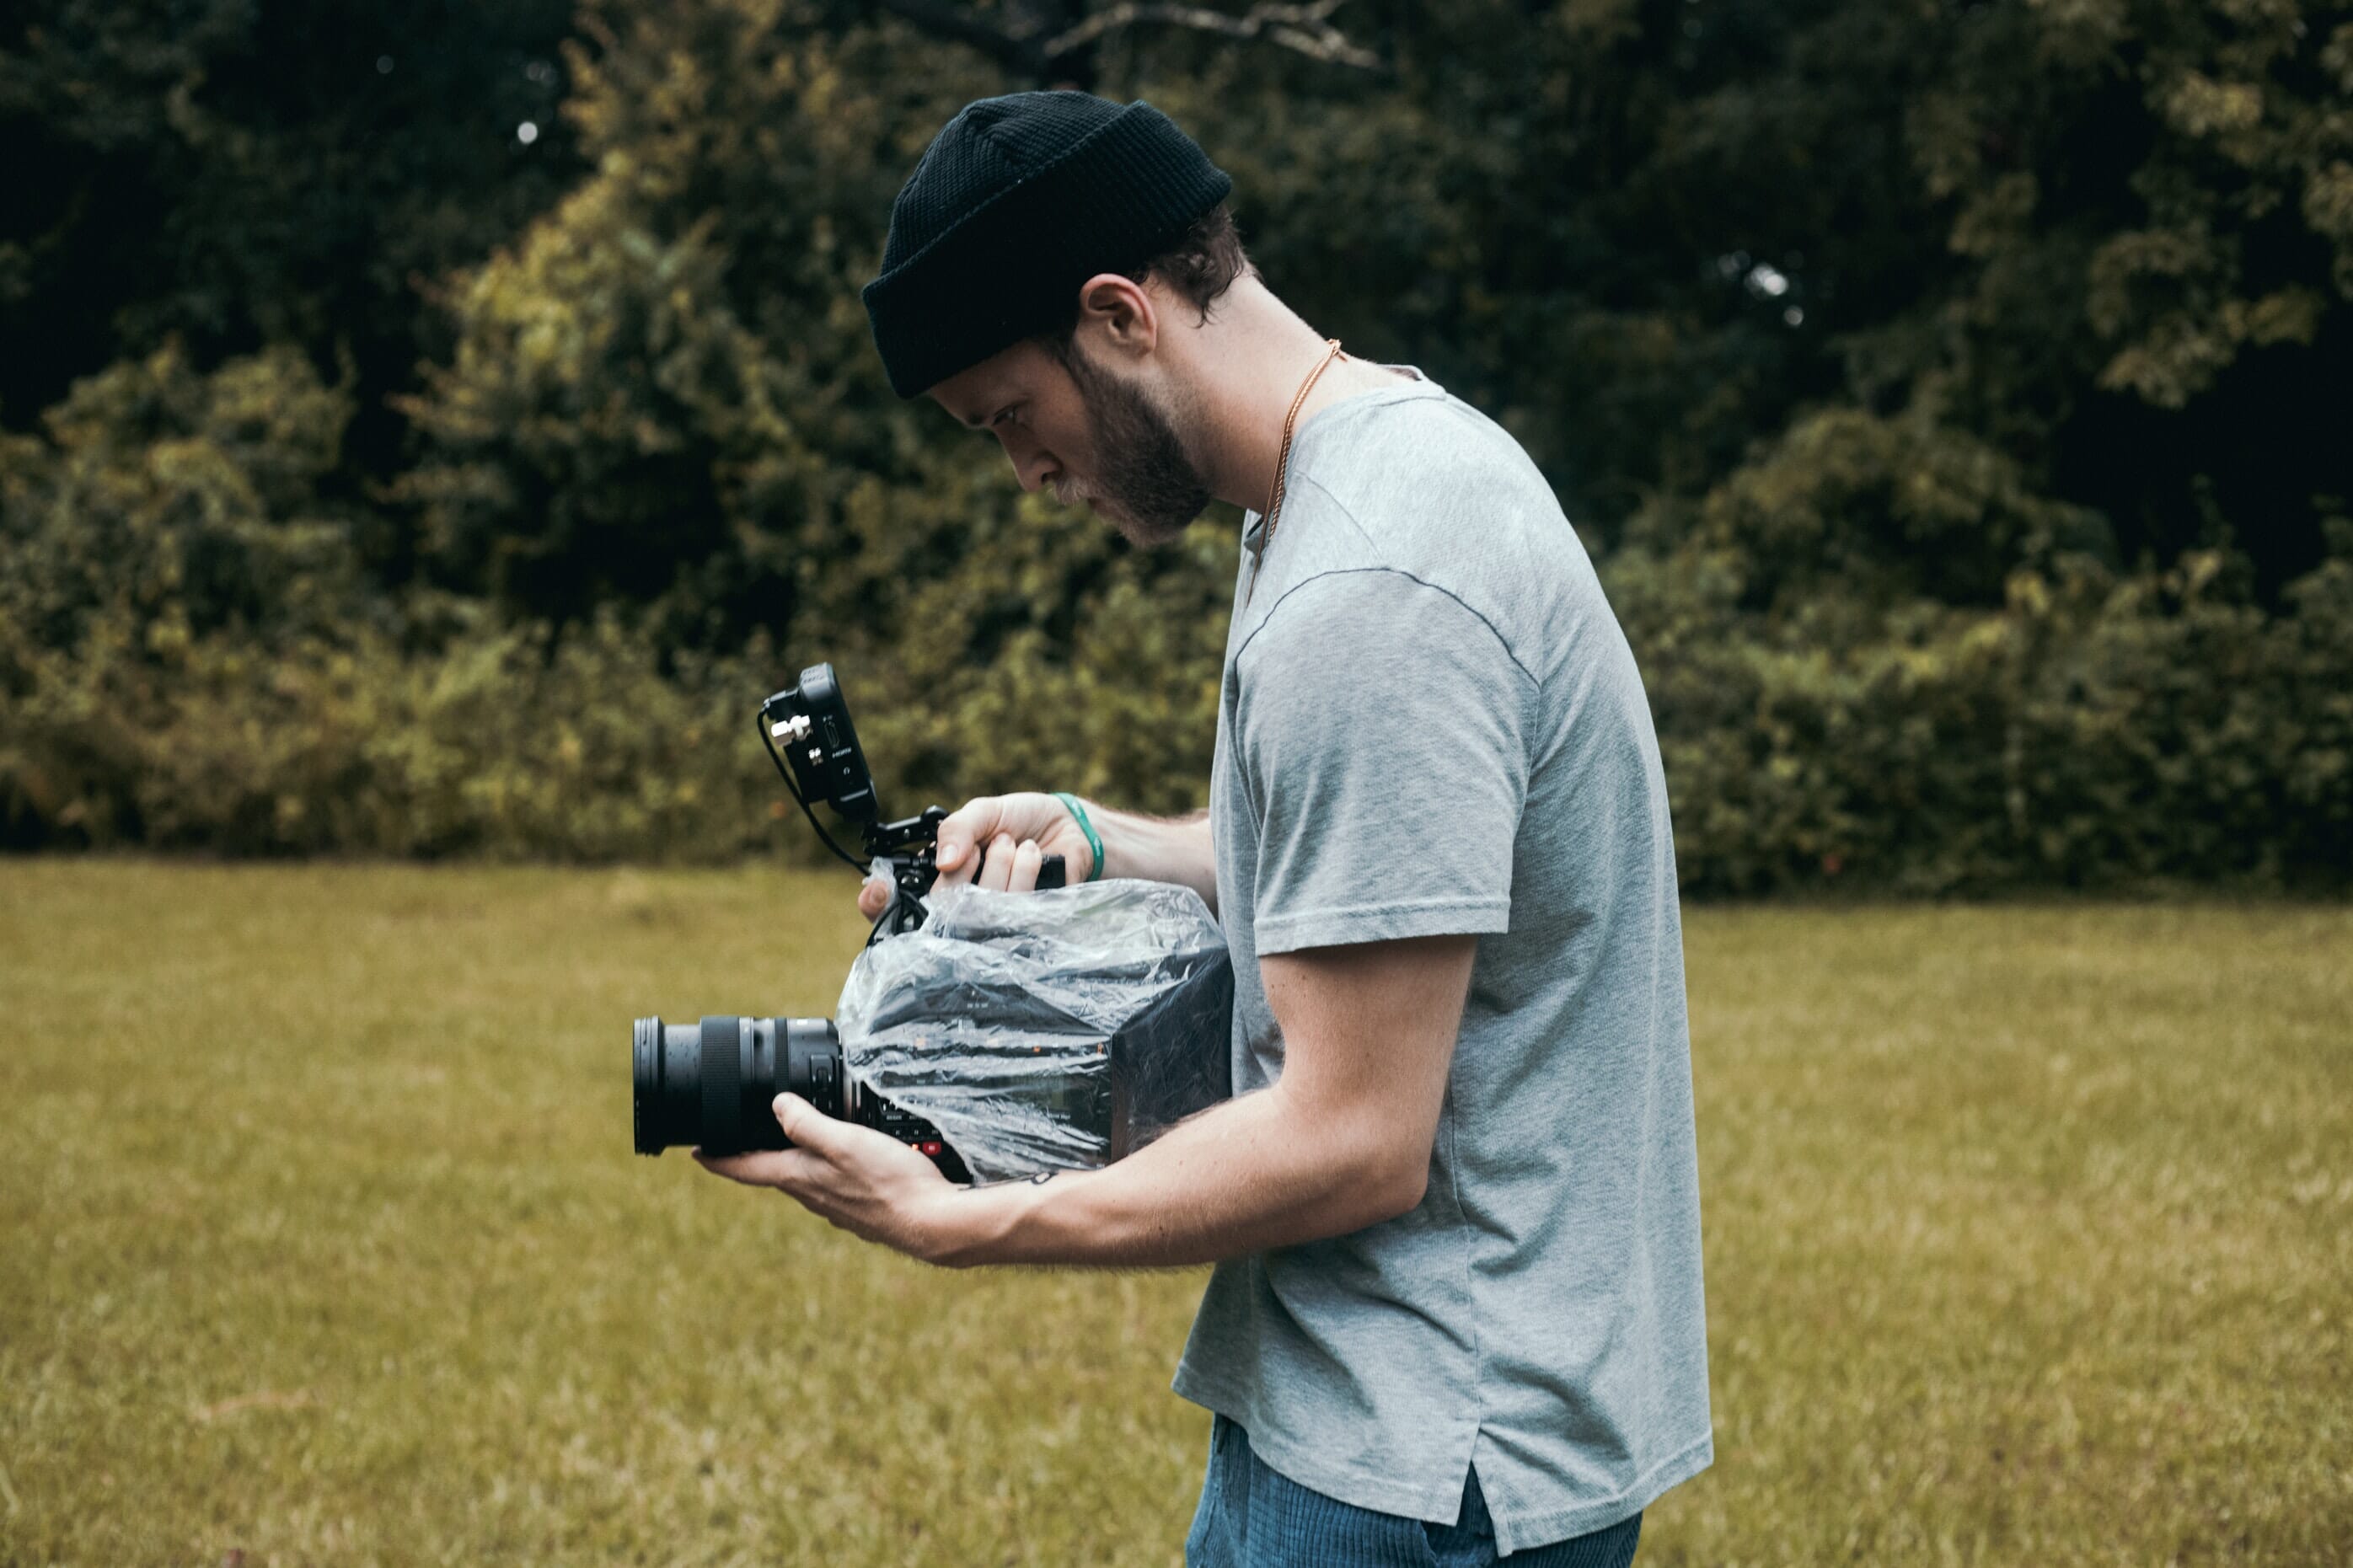
This fits around your camera setup and protects it from the elements (though it leaves a hole in the front for your lens, and will have openings in the side for your hands so that you can access your camera settings easily).
Waterproof covers are also quite inexpensive, which means that you don’t have to spend lots of money protecting your equipment.
Are they perfect?
No. They’re inconvenient to work with because it’s tough to access your lens’s zoom ring or focus ring. And it can be difficult to use a waterproof cover while looking through your camera’s viewfinder.
But it’s worth the inconvenience, given the alternative.
Cold Environments
While cameras are often built to withstand significant cold, there’s one big problem that can cause significant equipment damage:
Condensation.
When your setup has been out in the cold and then suddenly moves back into a warm environment, condensation will form on the front of the lens.
This is bad for a few reasons. First, if you intend to do more photography, you won’t be able to capture a sharp image. But more importantly, moisture on your lens can linger (plus, in worst-case scenarios, it can help fungus to form).
That’s why you want to avoid condensation in the first place.
So, what should you do?
First, when preparing to come back inside after time in the cold, put your equipment in your (tightly sealed) camera bag. Then let the air in the camera bag adjust to the new temperature for a few hours. Once the process has finished, you can open up your camera bag — knowing that your equipment remains free of condensation.
Second, when you’re out in the cold, refrain from putting your camera setup under your coat or in a pocket. Sticking a cold camera under your warm coat is similar to heading indoors, and the cold-to-warm movement is a condensation risk.
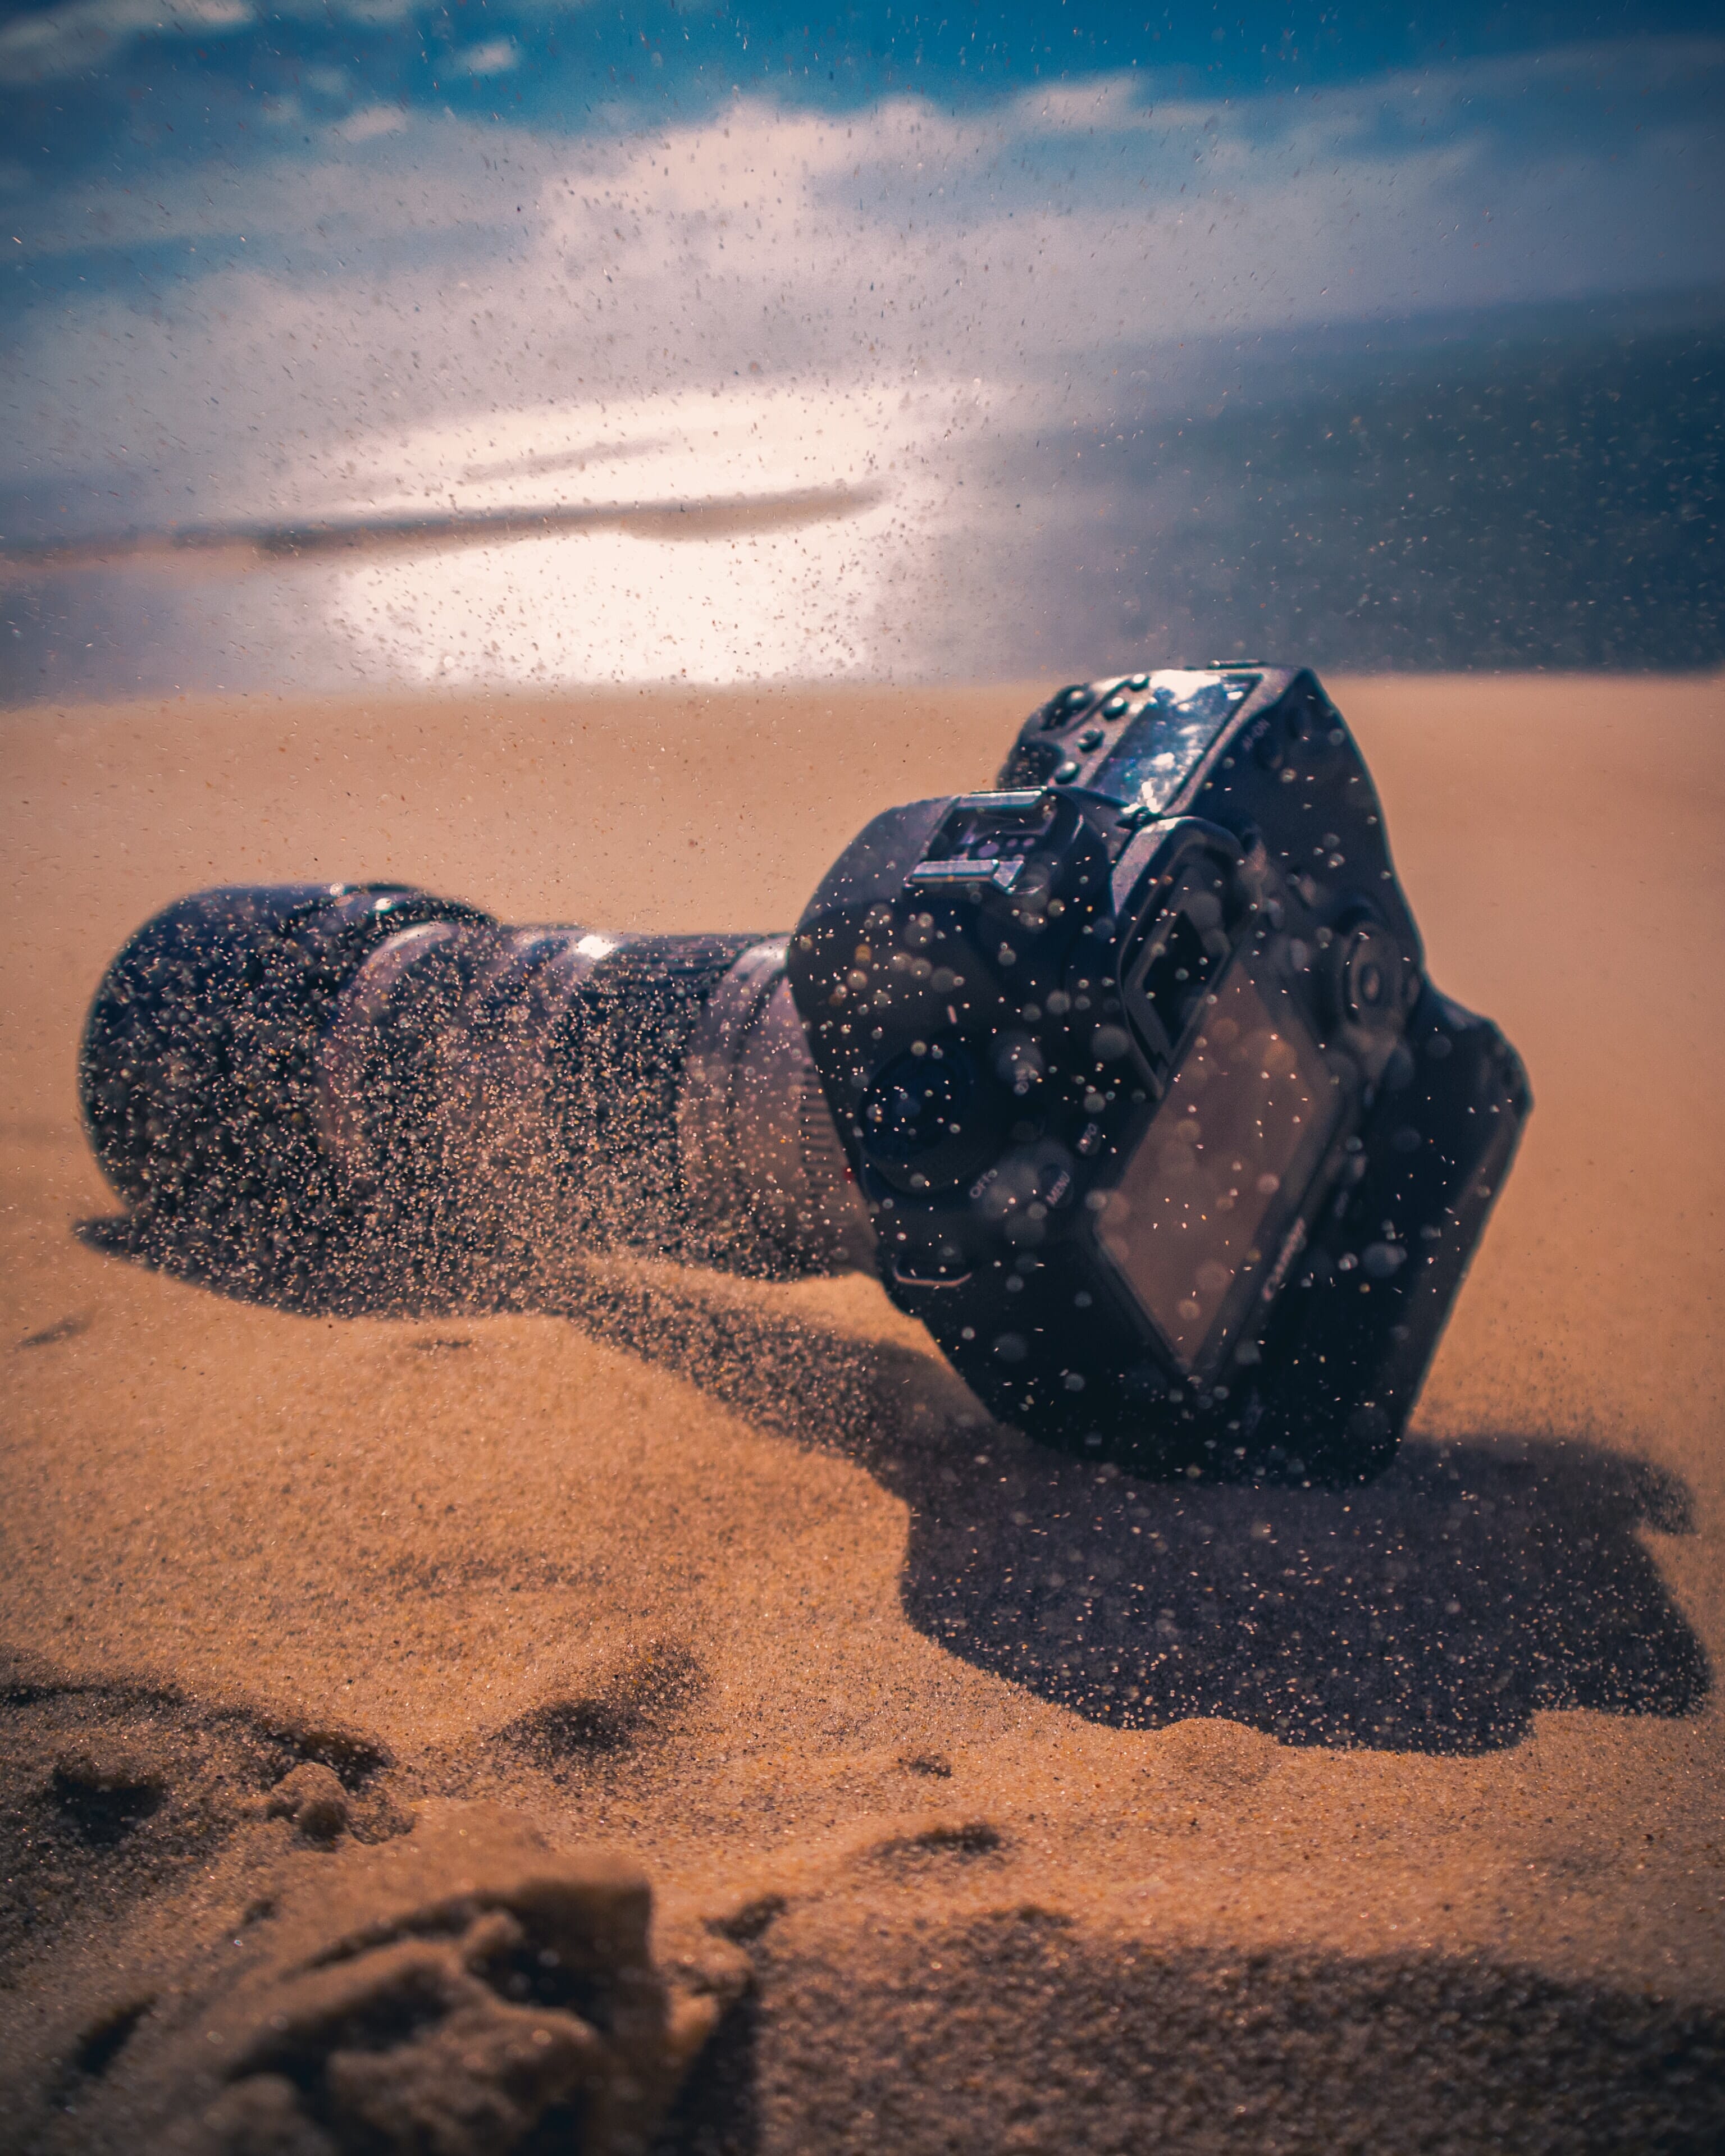
Sand
As a photographer, I despise sand. And if you’ve ever photographed in a sandy environment, I’m guessing that you do, too.
Sand just seems to get everywhere — and it’s very, very harmful to your equipment. It can get into the buttons of your camera and stop them from working. And it can get into the openings of your lens and wear down the mechanics.
So, when you’re out in the field, you must be extremely vigilant. For one, you should never touch the sand. And if one of your hands does come in contact with sand, wipe it off immediately (and as thoroughly as possible). Only then can you comfortably touch your camera/lens with that hand.
You should also never rest your camera in the sand, nor should you set your camera bag in the sand unless you absolutely have to.
Oh, and if sand is blowing, feel free to use a waterproof cover; it’ll save you a lot of headache (and potentially money!) later.
Then, once you’ve finished shooting in the sand, take your equipment home and give it a good cleaning (using the steps I outline below).
Rushing Water and Sea Spray
If you’ve ever tried to photograph a waterfall or breaking waves, then you’ll know that the water sprays everywhere. Even if you think you’re far enough away that you’ll be able to avoid the spray, you’re probably wrong.
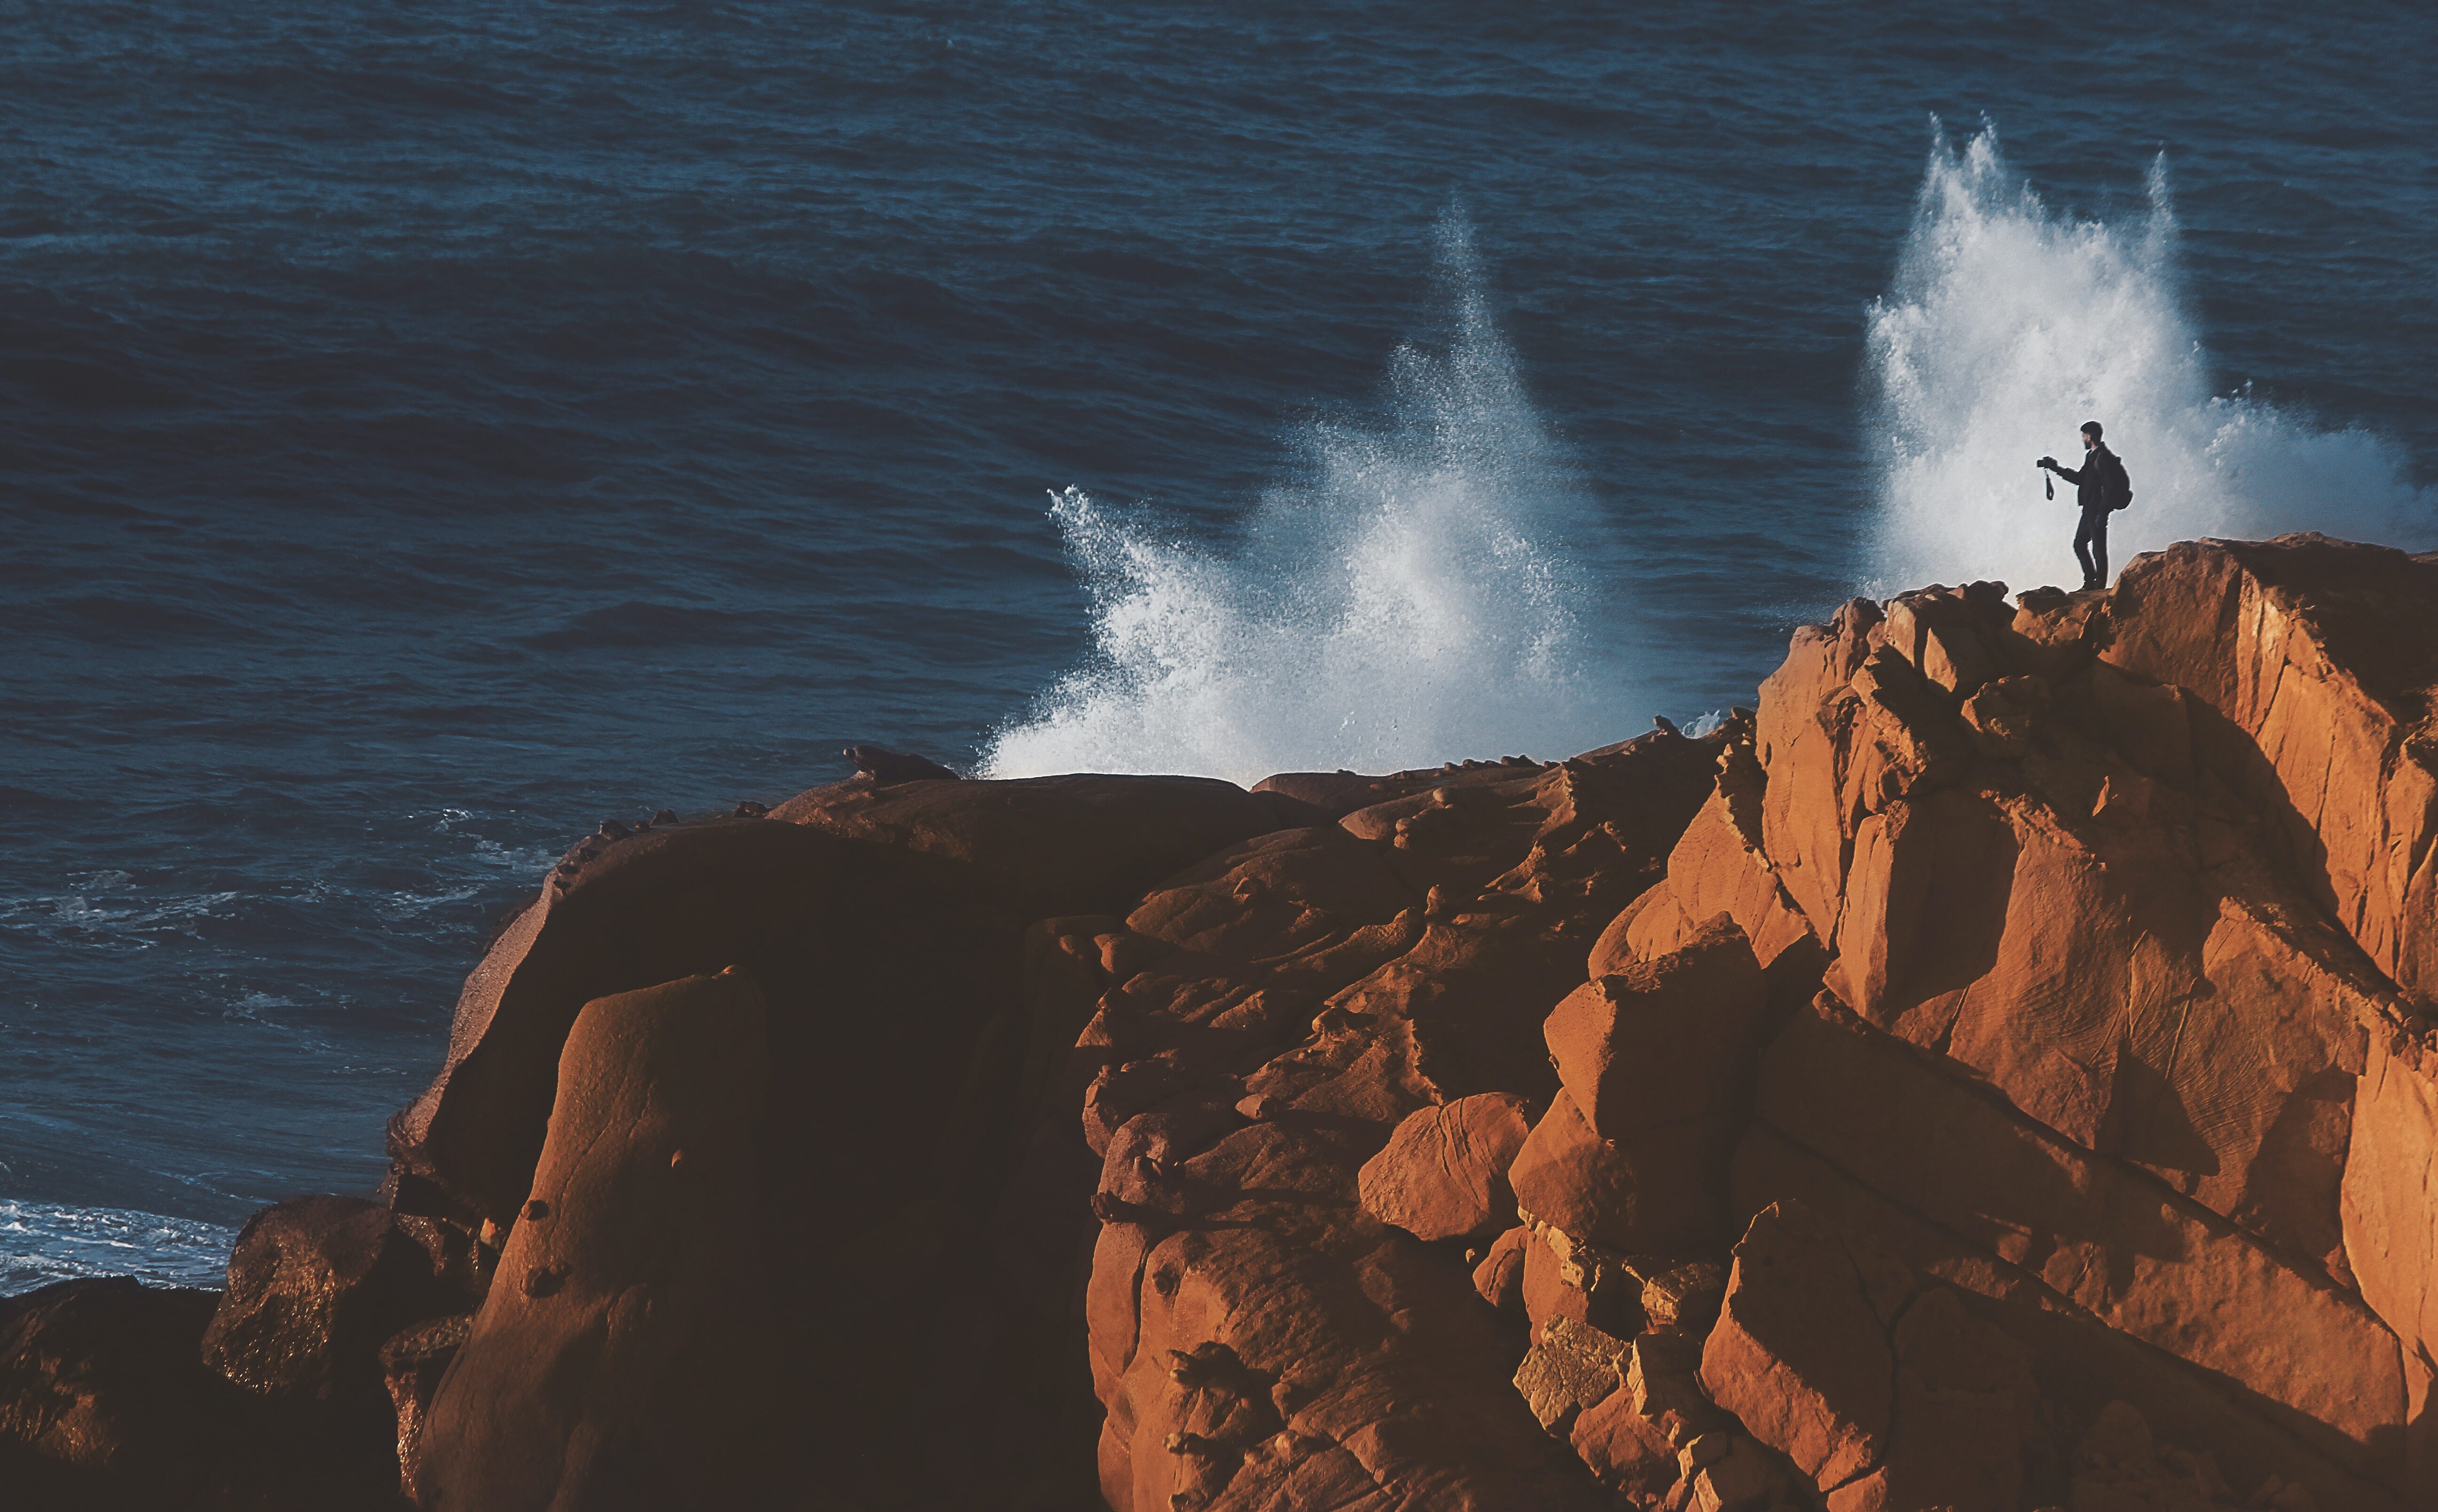
Now, saltwater is far more damaging to your camera gear than freshwater, which is why you should be extra careful when shooting by the ocean.
Regardless, I’d recommend working with a waterproof cover. But I’d also suggest you take an extra step:
When not actively shooting, cover the front of your lens with some type of protection.
For instance, you can put a plastic bag on the front of the lens. Then, when it comes time to shoot an image, you pull the plastic bag off, take your shot, and put the plastic bag on once again.
Otherwise, you’re going to end up with a very wet front lens element, which — while not life-threatening — will make your images blurry.
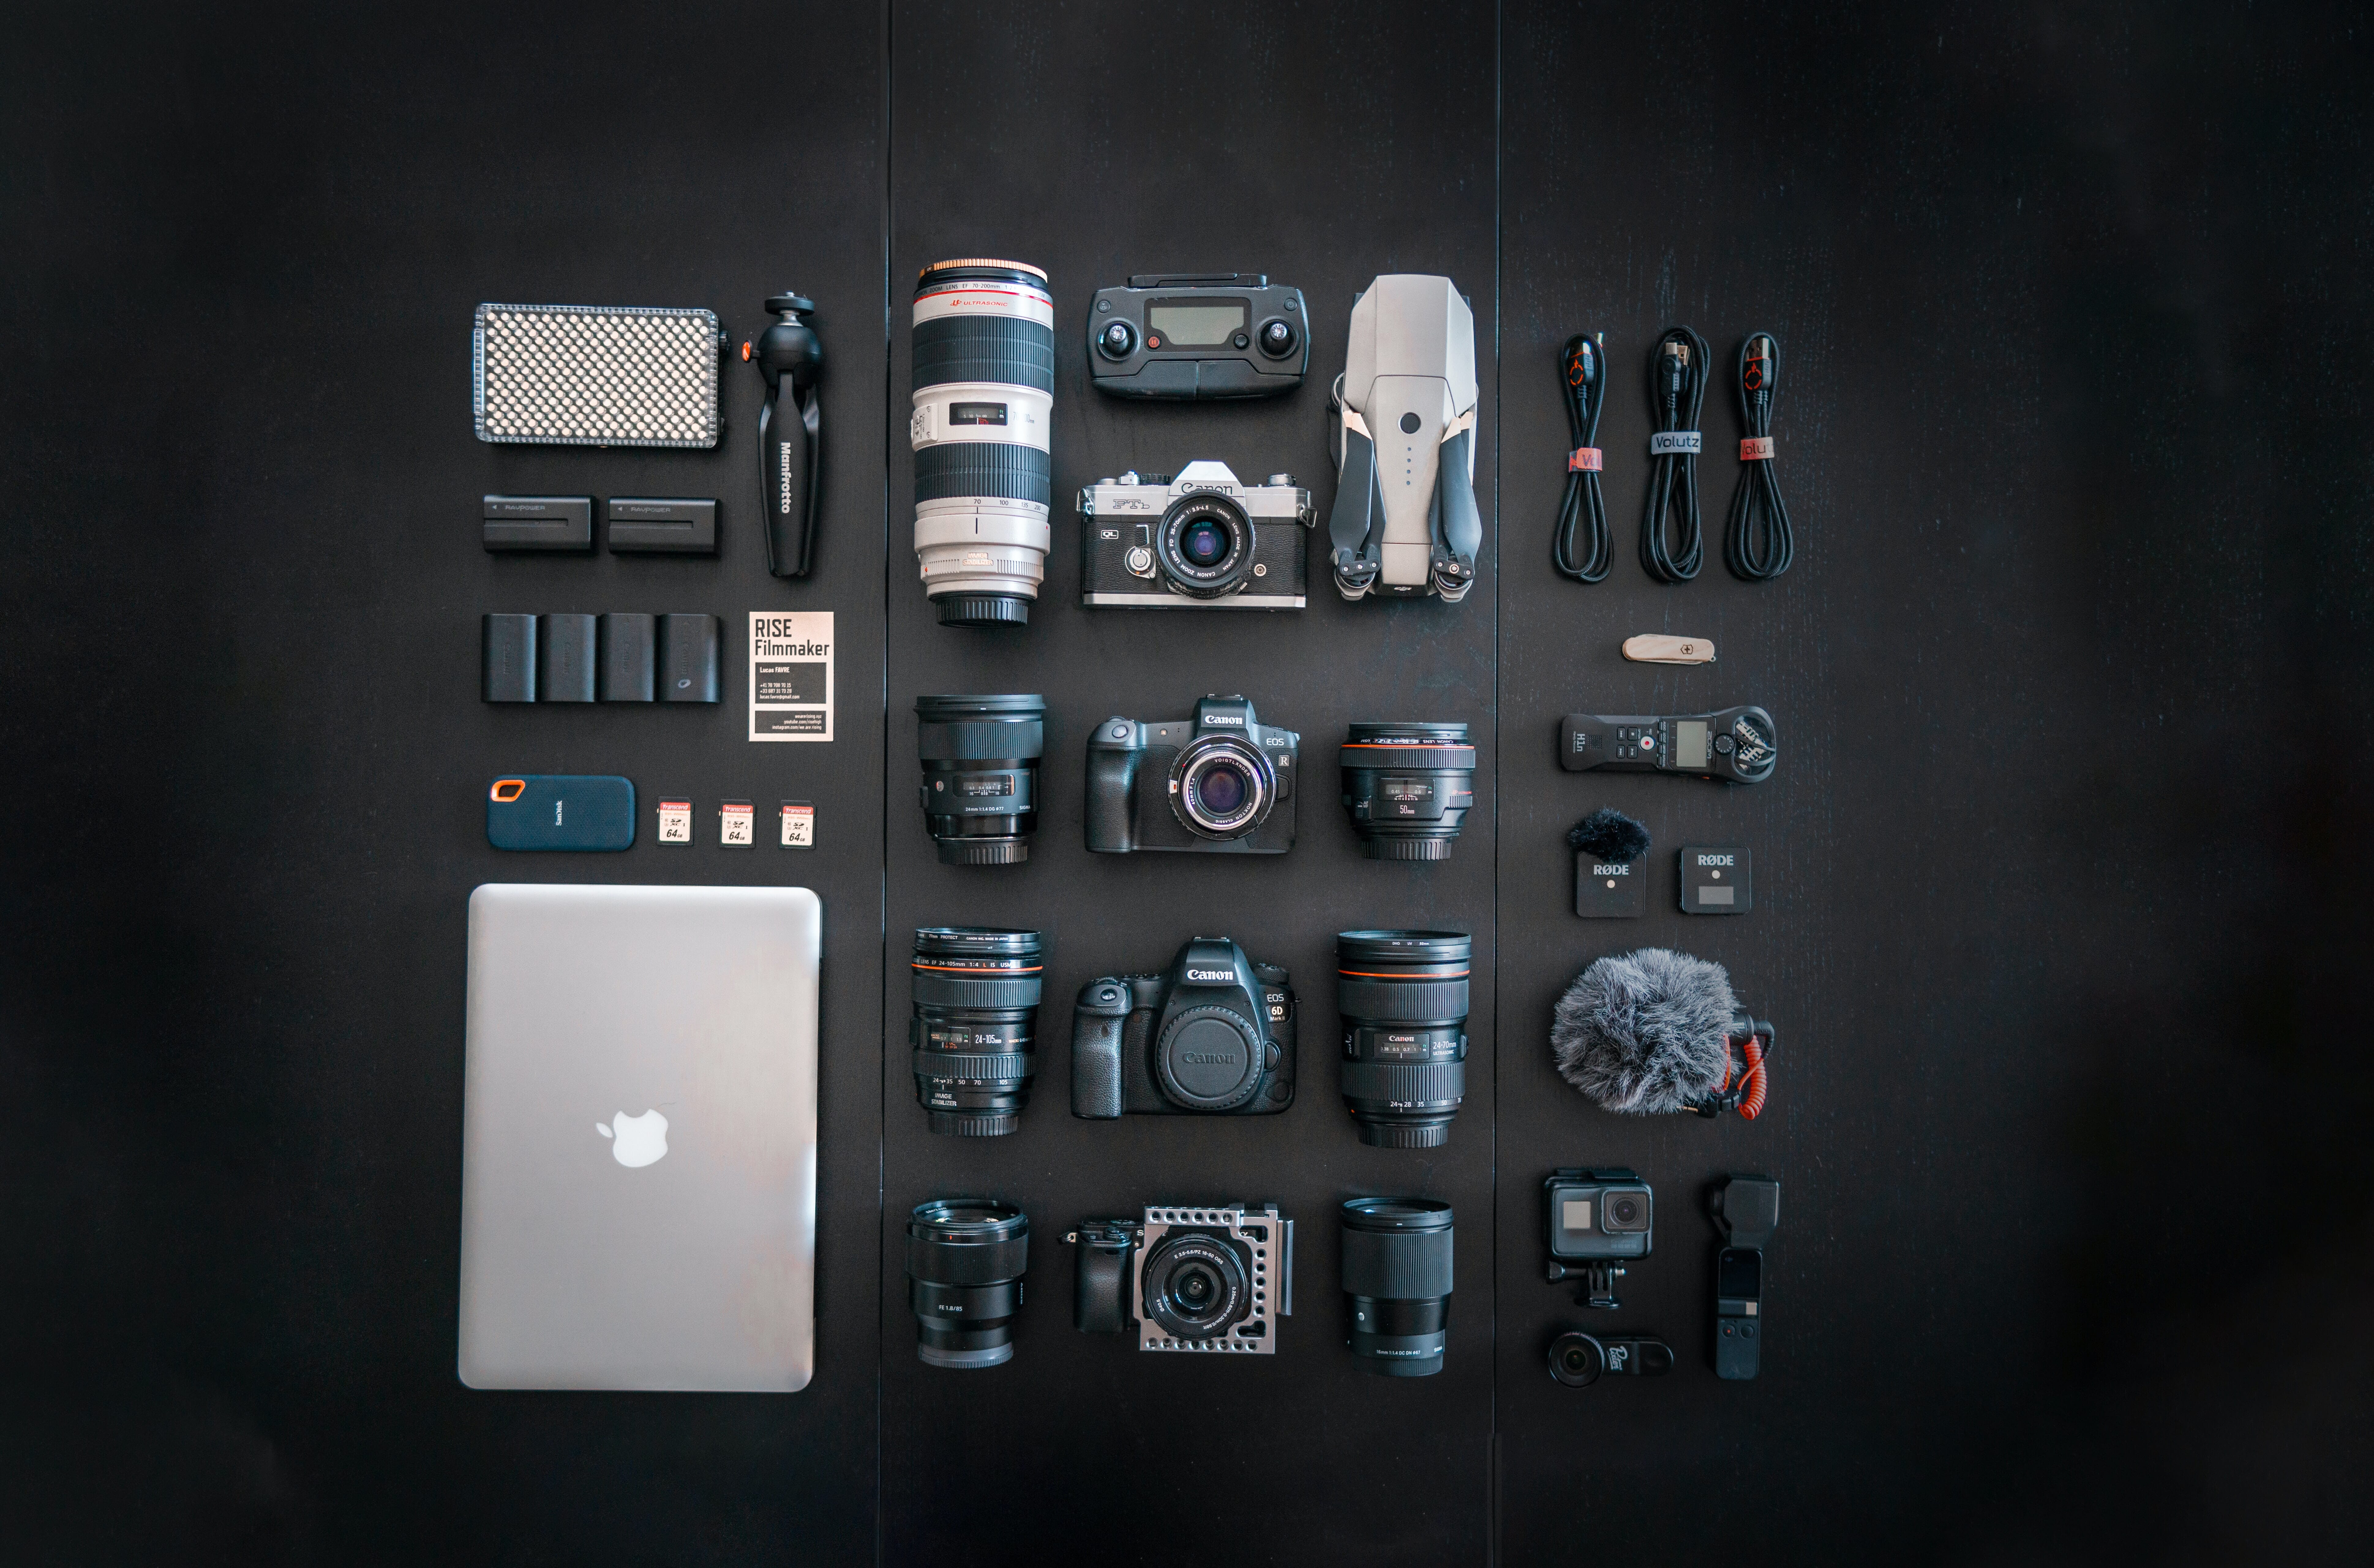
How to Clean Your Camera and Lenses: Equipment
Now you know how to keep your camera equipment as clean as possible. But what do you do when your camera inevitably gets dirty?
In most cases, cleaning your camera and lens is actually pretty easy — but I do recommend you get the right equipment so that you’re able to clean delicate lens elements without causing any accidental damage. Here are my (inexpensive) cleaning supply suggestions:
Rocket Blower
Rocket blowers are very inexpensive. They’re also extremely effective — at removing dust, at removing sand, and at removing dirt.
That’s why you should always, always, always carry a rocket blower with you in your camera bag, and you should also have a rocket blower as part of your cleaning kit at home.
Brush
Brushes are simple, they’re easy to use, and they’re a great accessory for cleaning the outside parts of your camera and lenses.
There are special camera brushes that you can buy, though you can also use a standard makeup brush.
Related Posts
I’d advise against paintbrushes, however, unless the hairs are very fine (because you want to be able to grab tiny pieces of sand and dirt before they make their way inside your equipment).
LensPen
LensPens are neat little gadgets designed specifically to clean camera lenses.
One end contains a special fabric tip, and the other end sports a brush.
I love LensPens and, like everything else on this list, they’re very inexpensive. I’d recommend you keep one in your camera bag (or two, in case the first gets lost!).
Lens Cleaning Solution or Lens Wipes
When it comes to cleaning your lens elements, it’s important to be careful.
The wrong cleaning equipment will leave scratches or smudges. And the wrong cleaning fluid will leave small marks.
That’s why, if you plan to clean your lens with fluid, you should make sure that you only purchase a dedicated lens cleaning solution.
You also have the option of purchasing lens wipes, which already have the fluid applied and can be quickly disposed of once you’re done.
Microfiber Cloth
Microfiber cloths are designed to gently and effectively clean objects, which is why they’re great to have on hand when your camera gets dirty.
In fact, I keep a couple of microfiber cloths in my camera bag at all times. They’re great for getting off dirt and sand, plus they do an impressive job of absorbing water.
It is important to keep different cloths separated (i.e., if you’ve used one cloth to clean your tripod feet, don’t use that same cloth on lenses or filters because it may scratch or wear down the glass).
If you plan to use a microfiber cloth to clean lens elements, by the way, it’s important you purchase one that’s designed to handle lenses. There’s nothing worse than trying to clean your lens and accidentally leaving marks or scratches.
Towel
If you plan to shoot in rain, snow, or sea spray, a towel is invaluable. In fact, I’d recommend you keep one in your camera bag at all times.
That way, when the rain starts pouring down and your camera accidentally gets wet, you can whip out the towel and dry it off — before any water damage sets in.
(And if you’re shooting without a rain cover, you can wipe your camera every few minutes to keep the water at bay.)
How to Clean Your Camera and Lens: A Step-By-Step Guide
Total Time: 10 minutes
If Your Gear Is Wet, Towel It Off
When you’ve come in with a wet camera and/or lens after shooting in the rain or snow, I recommend you start by drying whatever you can. For this, you can use a standard towel, but you can use a microfiber cloth to get in some of the more difficult crevasses.
On this first pass, make sure you avoid touching any lens elements with the towel (you’ll take care of these in a moment).
Use Your Rocket Blower and Brush to Get Rid of Sand and Dirt
I like to start with a rocket blower and do a thorough round of blows. Shoot some air down all the small areas where sand and dirt like to hide, and even open your battery compartment and memory card compartment to ensure they’re free of debris. You should also blow away any stray dust and sand on the front element of your lens.
Then go in and remove more stubborn sand and dirt particles with a brush. Check all the seams of your lens, such as the area around the zoom ring, the focus ring, and the aperture ring.
By the way, I recommend you don’t rotate any lens mechanisms (such as zoom rings or focus rings) until you’ve done a good cleaning with the rocket blower and the brush. If there’s sand stuck in either of those areas, turning a ring could easily ensure that the sand goes deeper, which is what you absolutely want to avoid.
Use the LensPen or Microfiber Cloth to Carefully Clean Your Lens Element
Personally, I’d recommend going with a LensPen here (using the small, carefully-constructed tip), but a microfiber cloth works, too.
Don’t apply any cleaning solution, but instead gently “paint” in circular motions, starting in the middle of the glass and moving outward.
I recommend checking both your front element and rear lens element to make sure they’re clean, because both can accumulate dirt!
Use a Solution to Clean Your Lens (With Lens Wipes or a Special Microfiber Cloth)
This step is optional, and you should only proceed if you’ve noticed some areas of lens glass that are still dirty but haven’t responded to the techniques described above.
So grab a cleaning solution and a microfiber cloth made for lenses. Then apply a small amount of cleaning solution to the cloth–to the cloth, not to the lens itself!–and use circular motions on the lens, starting from the inside and moving out.
A final note: If you’re ever cleaning your lens elements and you start to feel like something is wrong–if they feel gritty, or you’re leaving stains that you can’t seem to get rid of–then stop what you’re doing immediately. Take your lens to a camera repair store, where they deal with these sorts of problems all the time because it’s not worth endangering your lenses just to get the cleaning done quickly and cheaply.
Estimated Cost: 10 USD
Supply:
- Microfibre Cloth
- Cleaning Solution
Tools:
- Rocket Blower
- Lens Pen
Materials: Microfier cloth
What About Cleaning Your Camera Sensor?
The camera sensor sits inside your camera–but dust can still creep in from the outside environment. Oftentimes, the dust isn’t noticeable, especially if you shoot at a wide aperture.

But you will start to see some dust spots in your images if you use a narrow aperture and shoot against bright backgrounds, such as the sky.
If this happens, don’t panic! Dust spots are very easily removed in programs like Adobe Lightroom, so your images won’t be at all compromised.
And plenty of photographers, including professionals, let their dust spots sit on the camera sensor for years without doing any cleaning at all.
However, you may eventually want to clean your sensor.
Unfortunately, camera sensors are extremely delicate and also very costly to replace, which is why I recommend you don’t do this yourself. Getting a professional sensor clean doesn’t cost a ton, and it’s a lot safer than trying to do the sensor cleaning on your own.
How to Clean My Camera: Conclusion
As I explained above, the best way to clean your camera and lenses is to keep it from getting dirty in the first place.
But if you do have to clean your equipment, there are some special techniques and accessories you can use to keep it looking brand new.
So make sure you grab a rocket blower, a LensPen, and remember the techniques I shared.
Can I take my camera out in rain?
That depends! It’s safe to take your camera out in the rain as long as you take proper precautions. First, even if your camera is weather-sealed, you’ll want to use a rain cover of some sort. Second, make sure that you take a towel, and as soon as your camera (or lens) gets wet, dry it off.
How do I clean sand out of my camera equipment?
Wipe away whatever you can with a soft brush. You should be careful with using a rocket blower, because it can force the sand grains deeper into your equipment. I often go over all the crevices in my camera with small paper fragments or the edge of a playing card to ensure that no sand is left over.
When it comes to sand in a lens zoom ring or focus ring, however, there’s not much that can be done aside from sending it in for a professional clean. If you do hear or feel sand inside your lens, stop using the lens immediately and send it in for professional cleaning; it’s very easy for the sand to break down and cause issues to your lens’s internal technology.
Is it safe to clean my camera sensor?
I don’t recommend it; camera sensors are delicate, and one wrong move can leave you with a useless camera. That’s why I’d suggest you send your camera to a professional for cleaning–this won’t cost much, but it’ll save you a whole lot of potential frustration.
What do I need to use to clean my camera?
Always having a rocket blower, a Lens Pen, a towel, and lens wipes (or lens cleaning solution plus a special microfiber cloth). Make sure that you always approach your equipment gently and use nothing but the suggested cleaning materials.
How do I protect my camera from snow?
Snow is actually a lot easier to manage than rain or sand, but I still recommend you take precautions when taking your camera out into falling snow.
If the snow is light, then you can simply brush it off with your hand as it accumulates on your camera. In heavy snow, you’ll want to use a waterproof cover of some sort.
Then, once you’ve finished shooting, give your camera a thorough clean with a rocket blower, a brush, and then a towel. Finally, put your camera in its bag before bringing it into a warm area (this is to prevent condensation), and let it acclimate to the air for at least an hour or two.