Camera filters may seem like unimportant accessories, but the truth is that the careful use of certain filters can make a huge difference to your images. They’ll help you achieve various interesting effects, such as vibrant colors or streaky clouds, that cannot be easily achieved in post-processing, and they’ll also protect your lenses from physical harm.
However, not all filters are suited for every situation. And when used incorrectly, certain filters can actually harm your images rather than enhance them. That’s why it’s important that you understand your main options, how they affect your photos, and whether they’re right for you.
In this article, I’m going to give you a rundown of every key type of camera filter – including polarizers, neutral density filters, and UV filters – so you know which products can genuinely improve your images (and which are best avoided)!
Must Have Filters for Photography:
When you buy through links on our site, we may earn a commission at no cost to you. We evaluate products independently. Commissions do not affect our evaluations. As an Amazon Associate, we earn from qualifying purchases.
Key Filters: The Big Three (Plus One)
There are literally dozens of camera filters on the market today, but most of them are irrelevant for digital photographers.
For instance, some filters – such as warming and cooling filters – are designed to give your image a particular color cast. However, with today’s post-processing programs, there’s no real need to bother with those filters; you can make an identical adjustment in Lightroom with a single click of the mouse.
That said, there are three major filters that every photographer should be familiar with. Depending on the type of photography you do, some (or all) of these camera accessories should go into your bag:
- Polarizing filters
- Neutral density filters
- Clear (and UV) filters
There’s also one other type of filter, the graduated neutral density filter, that’s worth considering. As I explain later in this article, GND filters can be useful for particular types of photography, but their effects can be replicated in post-processing.
Note that each of these filters has a very distinct effect, and whether they work for you will depend heavily on the type of subjects you shoot and your shooting style. If you’re a landscape photographer, you’ll one-hundred percent need a polarizing filter, but if you’re a portrait photographer, it’s a lot less essential (and often harmful rather than helpful).
In other words, make sure to learn what filters you need – and what filters you don’t. That way, you’ll have the best-possible kit without spending more than necessary.
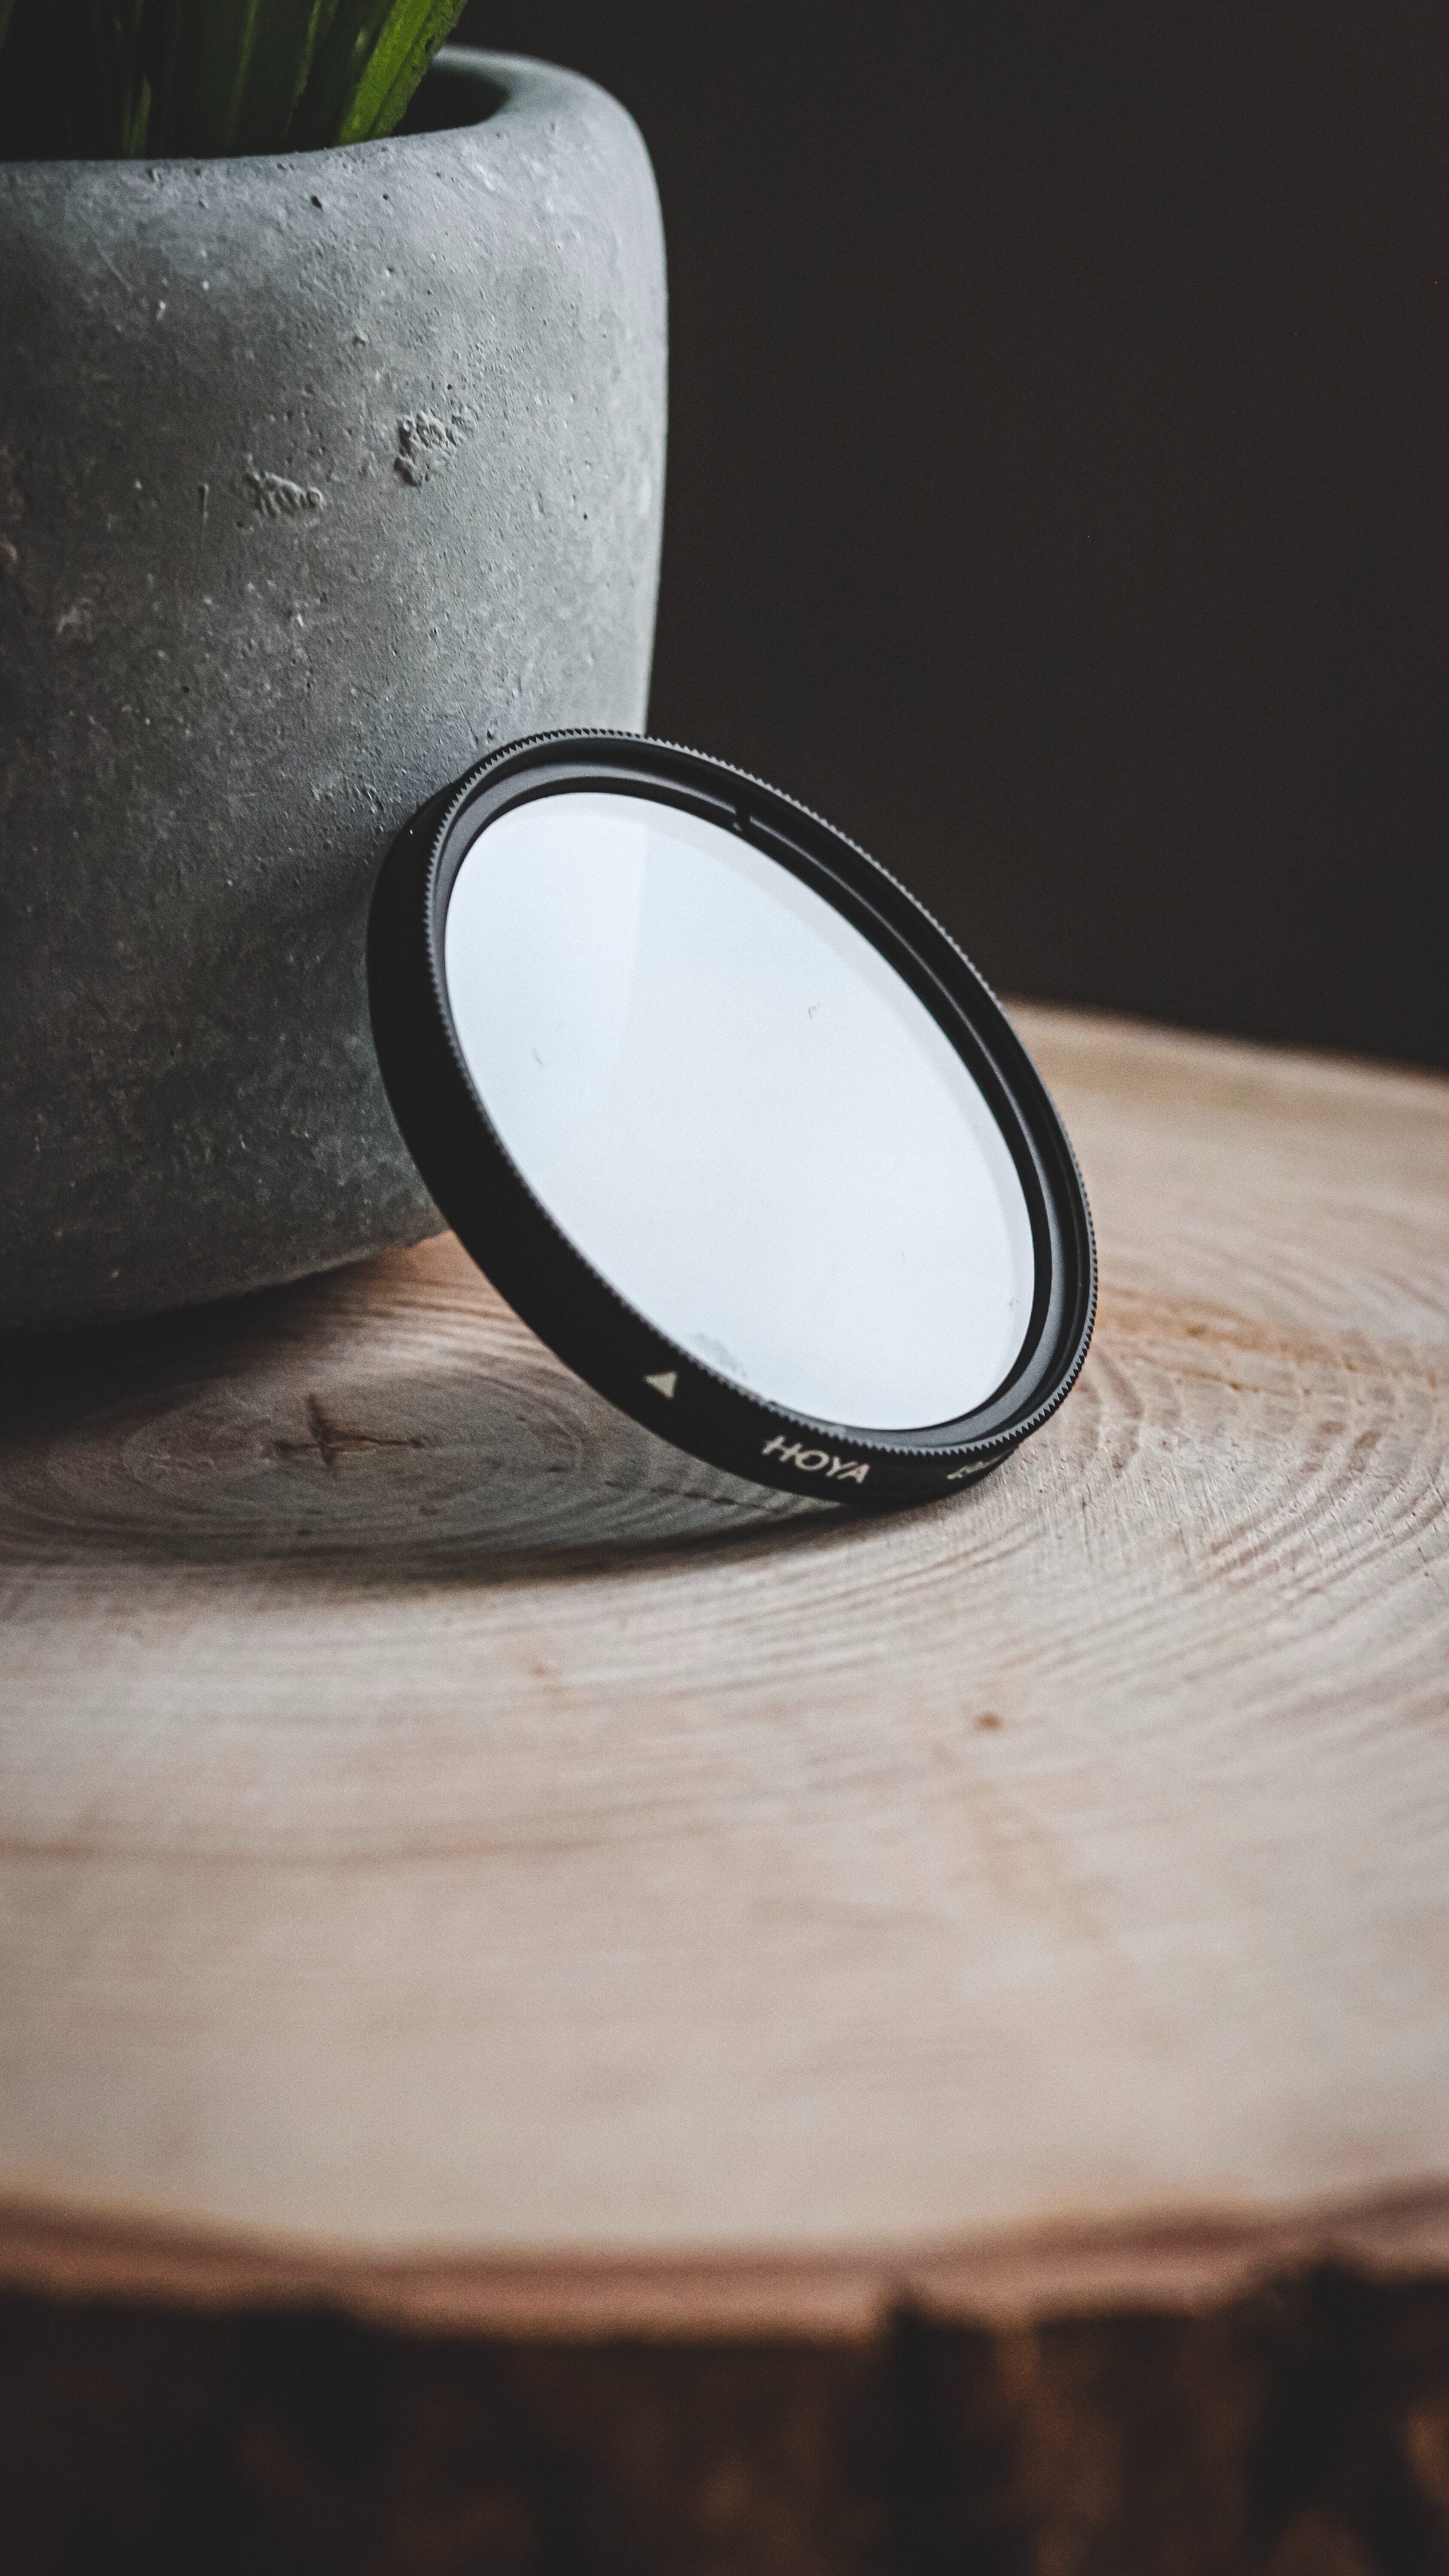
Polarizing Filters
Polarizing filters are wildly popular among landscape photographers because they reduce glare, reflections, and haze. In the process, they make your photos look colorful, saturated, and just all-around great. In fact, plenty of landscape photographers argue that you should never leave home without a polarizer.
A polarizer is especially critical if you plan to shoot images with water because it’ll dramatically cut down on distracting reflections. Polarizers enhance skies, too; pop a polarizer on the front of your lens, and the sky will suddenly become the deepest blue.
You can also use polarizers to photograph through windows because they cut down on reflections. (This is a trick that some street photographers and portrait photographers use to come up with some very cool, through-the-window type shots.)
But a polarizer does come with some drawbacks. For one, modern polarizers reduce the light transmitted through your lens. So you’ll need to lengthen your shutter speed (or raise your ISO or widen your aperture) to compensate for a loss of light.
And polarizers don’t act on a scene evenly; they polarize areas 90 degrees from the sun most strongly, so you’ll sometimes end up with inconsistent polarization, especially in the sky (this is often most noticeable when shooting with wide-angle lenses).
Also, a good polarizer can be expensive. But for landscape photographers in particular, a polarizer is essential.
Neutral Density Filters
Neutral density filters simply make your lens darker. (For this reason, ND filters are sometimes described as lens sunglasses.)
You see, a neutral density filter blocks light from hitting the camera sensor, which gives you the freedom to adjust certain camera settings.
For instance, in normal circumstances, you can’t shoot below 1/30s at ISO 100 and f/16, even if it’s pretty cloudy. But what if you want to use a long shutter speed to create silky waterfalls? Or streaking clouds? That’s where a neutral density filter is helpful.
With an ND filter, you can lengthen your shutter speed to achieve the exact look you’re after even in bright light. Landscape photographers use neutral density filters all the time, especially when shooting water or dramatic skies:
Portrait photographers also use ND filters because in bright light it’s tough to widen the lens aperture down to, say, f/1.8 without causing serious overexposure. And portrait photographers love shooting at f/1.8 (and wider) thanks to the beautiful background bokeh it offers.
So they put an ND filter over the lens, which blocks light and allows them to shoot at whatever aperture they please.
Note that ND filters come with different numbers of “stops” built-in (where “stops” correspond to “levels of darkness”). A 3-stop ND filter lets you increase your shutter speed or widen your aperture by three stops of light, whereas a 10-stop ND filter is far stronger, and gives you ten stops to work with.
Neutral density filters are very useful – but they can also be frustrating to work with. They darken the lens, which can make focusing tough (especially if you’re using, say, a 10-stop ND filter). So you often have to focus manually in advance, then screw on the ND filter before taking your shot.
But if you’re a landscape photographer after beautiful water motion, you’re an architectural photographer after beautiful cloud streaks, or you’re a portrait photographer after a shallow depth of field effect in bright light, a neutral density filter is a huge help.
Clear (and UV) Filters
Clear filters are controversial in certain photography circles. They’re essentially just glass that goes in front of your lens, and they don’t actually do anything aside from protecting your lens from bumps, water, dirt, and scratches. (Some photographers view UV and clear filters as interchangeable because UV filters don’t affect images taken on digital cameras.)
So, why is the use of protective filters so debated by photographers? Well, the anti-filter crowd claims that clear filters just aren’t worth it. Every bit of glass you put in front of the lens degrades optical quality slightly, so by putting a $100 filter in front of a $1000 lens, you compromise on sharpness (or so the argument goes). Many anti-filter folks also question whether a filter will truly protect your lens in most situations.
The pro-filter crowd disagrees, claiming that:
- Clear filters, assuming you’ve purchased them from reputable manufacturers, don’t degrade the optical quality to any perceptible degree
- A filter over a front lens element protects it from scratches, as well as dust, dirt, and water stains that are more safely cleaned off of a replaceable filter.
I myself am very pro-filter. I’ve used a filter on pretty much every one of my lenses since I started photography over a decade ago, and I’ve never noticed a drop in optical quality. Some lenses do seem a bit more prone to flare with filters, but this is only really an issue when shooting into the sun or toward bright streetlights at night, so it shouldn’t be a problem for most photographers.
And a filter really does provide me with peace of mind when I’m taking a lens out in rougher conditions. Some of my filters have sustained scratches or water stains – and I’m glad it was my filter, not my lens, that took the hit. So I highly recommend you use clear filters, assuming you’re willing to pay for decent-quality products.
Graduated Neutral Density Filters
Graduated neutral density filters are designed to darken only part of the image – generally the top half, though you can purchase reverse graduated neutral density filters that are darkest toward the middle and get lighter as you move upward.
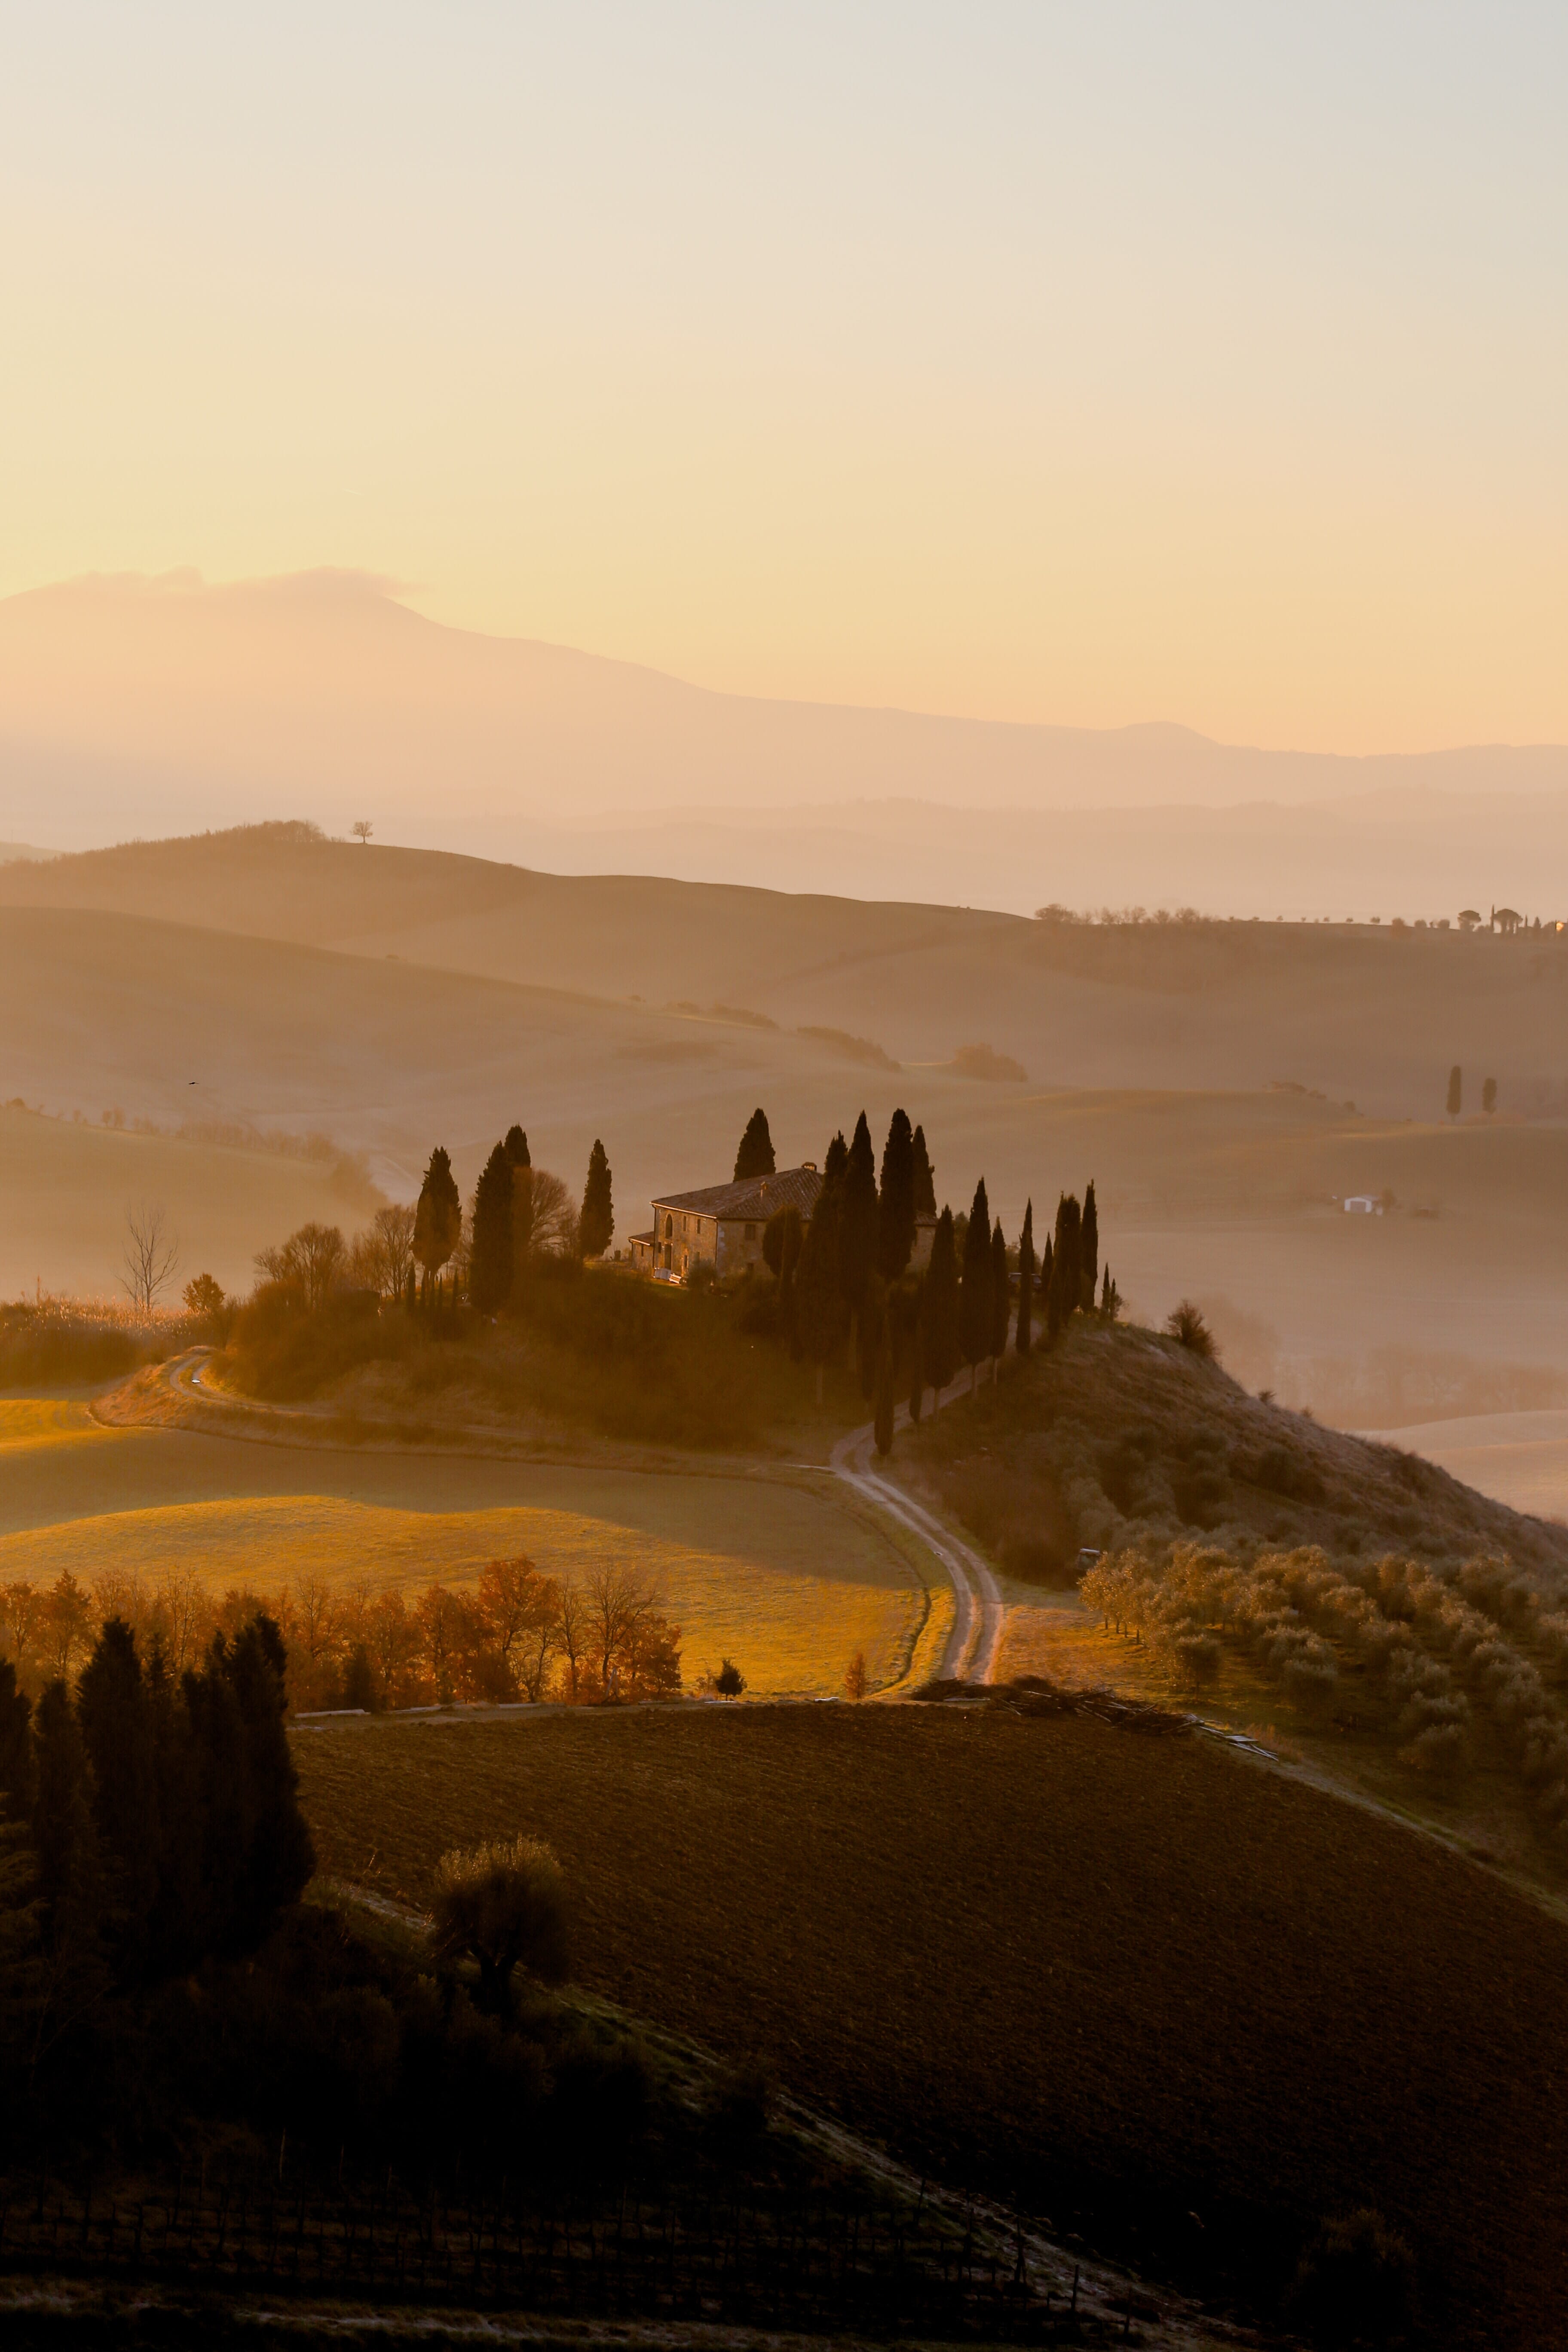
Grad NDs are used when you’re photographing scenes that have strong differences in brightness (also known as a high dynamic range). For instance, if you’re photographing a sunset, the foreground is often dark while the sky is very bright. And this will cause your camera to either blow out the sky or underexpose the foreground. But if you slide a GND filter in front of the lens, you can darken the sky while keeping the foreground well-exposed!
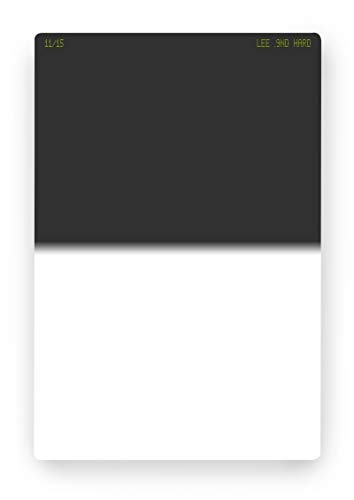
Note that there are actually two broad types of graduated neutral density filters: Hard grads and soft grads.
Hard graduated neutral density filters feature a very rapid transition. They move from dark to light over a short distance, as shown in the photo below:
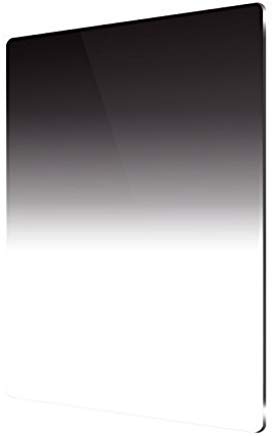
Whereas soft graduated neutral density filters transition from dark to light more slowly, like this:
If you do get GND filters, I’d recommend you purchase both types because each is useful for certain situations. Hard GND filters are great for shooting scenes with flat horizons, such as a sunset over a snowy plain or a sunrise over the ocean. And soft GND filters are great for shooting scenes with more complex horizons, such as a sunrise over a mountain range or a sunset over a tree-filled field.
Now, earlier in this article, I said that GND filters are optional. And here’s why: You can actually achieve the same type of effect using high dynamic range imaging techniques. This involves taking several images at different exposures, then blending them together during post-processing.
HDR techniques are great, but they can be tough to use; if the scene is windy or your subject is moving, you’ll struggle to blend several shots for a well-exposed image. In most cases, assuming you have the post-processing know-how and the right HDR software, these issues can be overcome. But it can take a lot of effort, not to mention time, which is why some photographers prefer to work with GND filters in the field.
On the other hand, GND filters are expensive, and you’ll often want to have at least a few (with different gradient amounts, as well as some hard-edged and some soft-edged options). Plus, GND filters struggle in certain situations, such as if you’re photographing a scene where the brightest portions of the image are in unusual spots (e.g., a forest scene with the sun poking through trees).
And in situations like that, you might prefer to work with HDR processing techniques. Overall, it’s up to you whether you purchase GND filters. They’re not necessary, but they can be helpful depending on your shooting style and the type of photos you take.
Buying Filters: Some Quick Advice
Now that you know about the key filters on the market, you’re probably tempted to rush out and buy the cheapest filters you can find. But filters vary wildly in quality, and most of the cheapest filters aren’t very good.
Their effects will be uneven. They’ll come with color casts or vignettes. They’ll get jammed onto the front of your lens. And they’ll degrade your overall setup with hazy optics.
That’s why you should always research filters carefully before buying. Don’t go cheap; instead, purchase the best that you can afford. Because while good filters are relatively expensive, if you like the effect they offer, then it’s worth it to pay for quality.
Capture Stunning Photos Using Filters!
Filters are great, but not every photographer needs every filter. Remember:
Polarizing filters and graduated neutral density filters are best for landscape photographers, while neutral density filters are best for landscape photographers, architectural photographers, and portrait photographers who shoot in bright light.
And clear filters are best for pretty much everyone, but especially those who are rough on their gear or shoot in tough environments.
So think about the types of filters that will best suit your photography. Then go have some filter-photography fun!
Camera Filters FAQ
What filters do I need for my camera?
Landscape and architecture photographers will appreciate polarizers because they mitigate glare and deepen colors. Neutral density filters are also useful for landscape photography and architectural photography, while clear filters are great for pretty much anyone. Graduated neutral density filters are landscape-only.
Are camera filters worth it?
Yes, assuming they fit with the type of photography you do. A circular polarizer, for instance, is an invaluable tool when shooting water and other reflective surfaces. And a neutral density filter will make you a much more versatile photographer
Should I use a clear filter on my camera lens?
I recommend it. A clear filter will prevent damage to the front of your lens, such as scratches, dust spots, and smudges.
Do professional photographers use filters?
Yes, plenty of professional photographers use clear filters on their lenses. And nearly every pro landscape shooter works with a polarizer and neutral density filters.