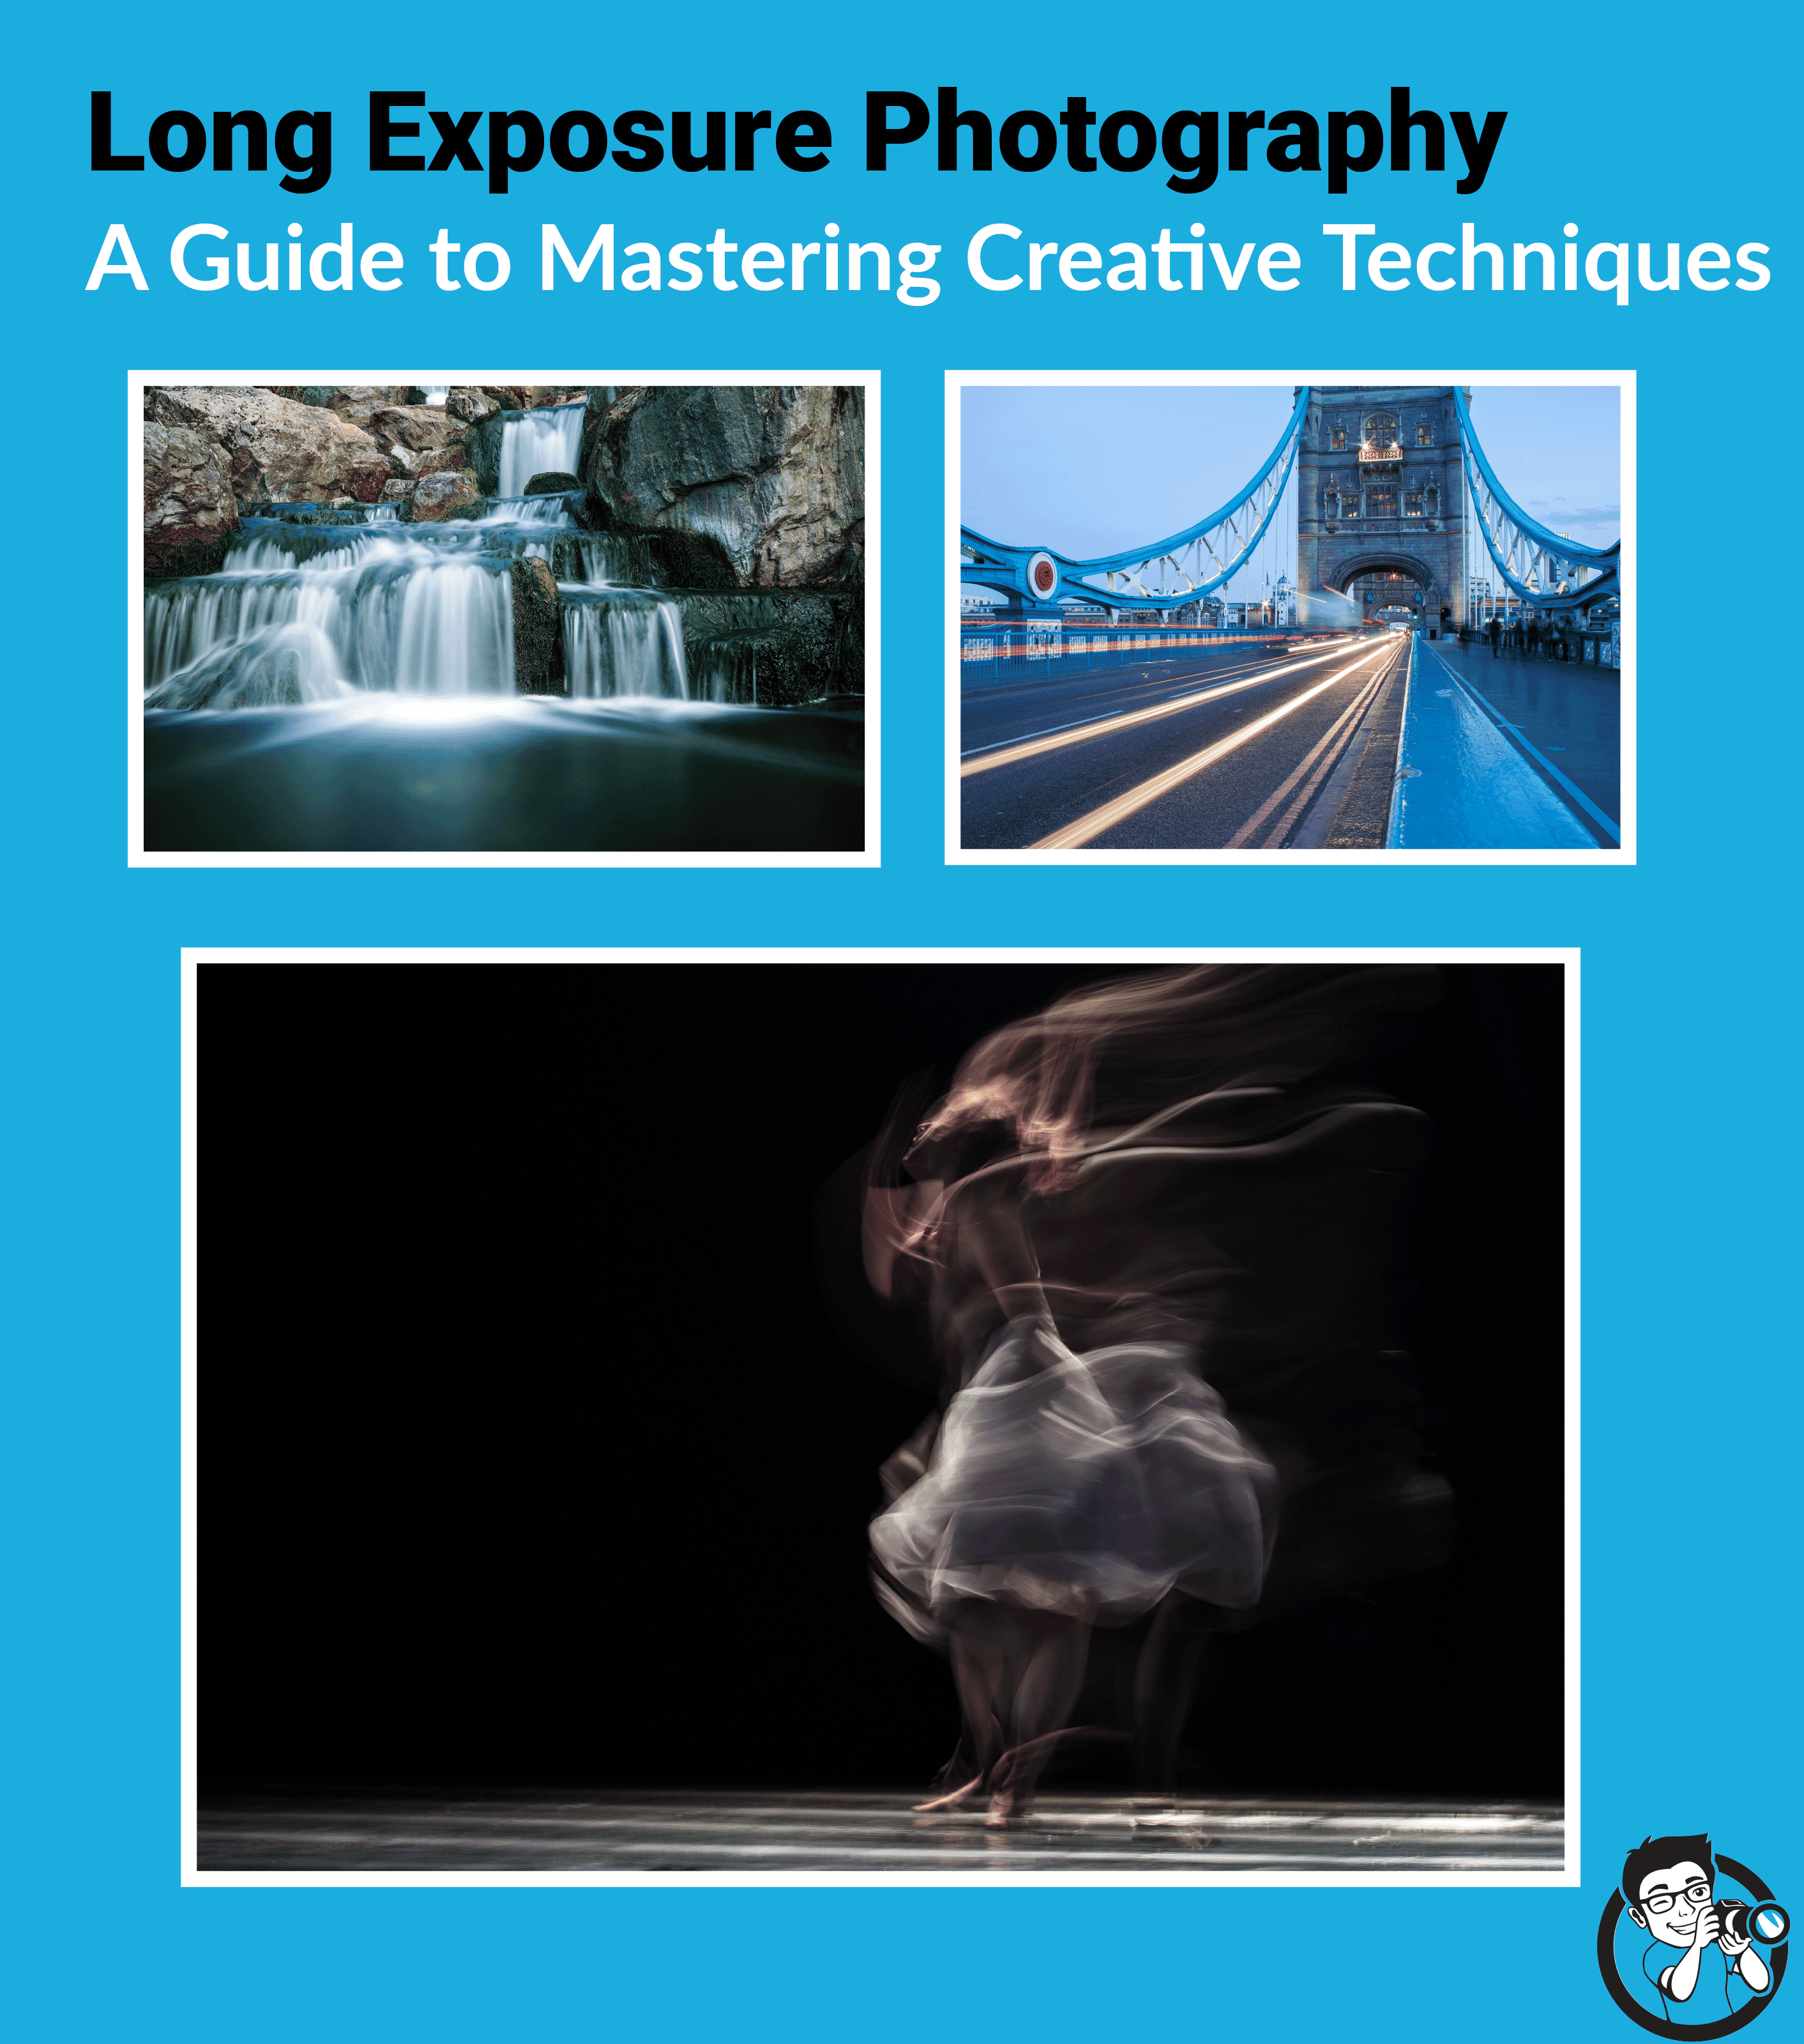
Editor’s Key Takeaways: Mastering Long Exposure Photography Techniques
- This post provides comprehensive instruction on mastering long exposure photography, a technique employing long shutter speeds to capture motion and light arrays in unique ways.
- It begins with basic explanations regarding long exposure photography and its uses, then details specific methods for employing the technique during both day and night.
- Recommendations for daylight long exposure photography include using a tripod to reduce camera shake, manually controlling camera exposure, using a neutral density filter to minimize incoming light, and choosing your subject considering what the long exposure effect will magnify.
- Nighttime long exposure photography also requires a tripod and suggests concentrating on light trails and using low ISO to prevent extra light from spoiling your image. The author also advises photographers to use manual mode for greater control over images.
- The author then advises how to capture sharp long exposures, suggesting a balance in aperture to let in the right amount of light for sharp images, typically finding the sweet spot to be between f/5.6 and f/8.
- The post highlights creative ways to capture long exposures, including understanding the 500 rule for astrophotography to remove star trails and creating long exposures from Live Photos using a smartphone.
- Finally, it introduces the possibility of utilizing smartphone cameras for long exposure photography via manual adjustments or dedicated apps like Slow Shutter Cam.
In photography, focusing on ways to boost your creativity can really make your work stand out. Whether you excel at lighting, composition, or color, finding a unique way to showcase your work is important. One of the best ways to produce out-of-the-box imagery is to experiment with long exposure photography.
For many photographers, the idea of long exposure photography can be daunting and difficult. But long exposure isn’t as tough to capture as you’d imagine. With a bit of practice, you’ll be able to create captivating long exposures in no time.
So, to help you master long exposure photography, we’re going to share a few tips and techniques that you take your images to the next level.
How to Take Long Exposure Photos:
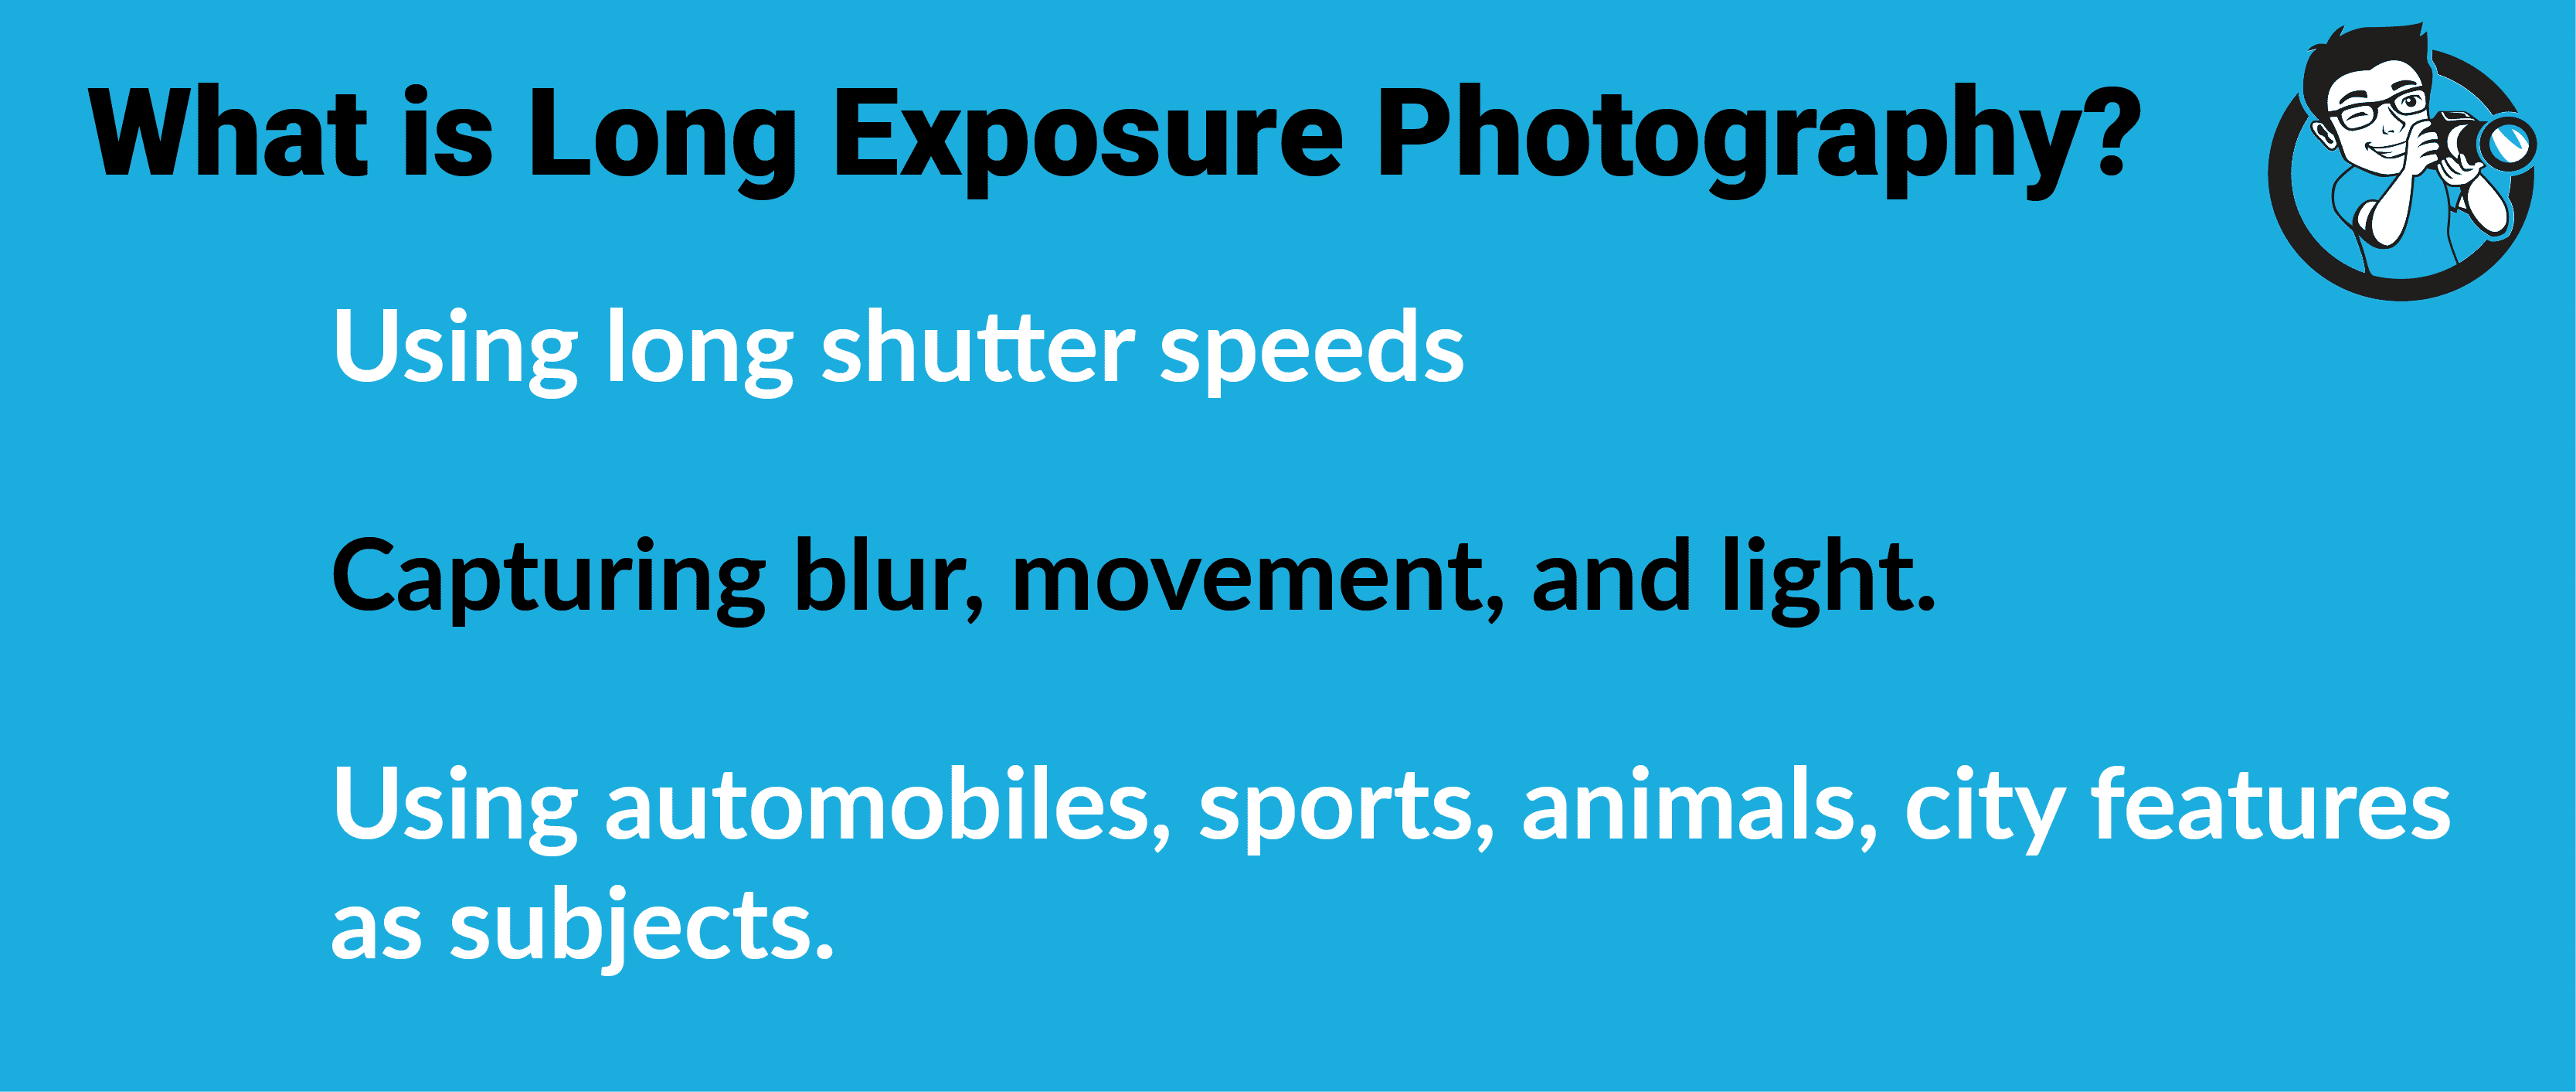
If you’re new to long exposure photography, you might be wondering what exactly long exposure photography is. Simply put, long exposure photography is a photographic technique that is created by using long shutter speeds. Increasing the shutter speed allows you to capture blur, movement, and various arrays of light.
You can use long exposure photography in various ways. To capture subjects in motion such as cars, sports, or animals. To capture trails of light. Or even both at the same time. Long exposure photography is a really fun and creative technique.
Related Post: Exposure Triangle Explained
Long Exposure Photography During the Day
Now, that we know what long exposure photography is, let’s talk about you can create these compositions during the daytime.
While many long exposure photographs showcase the movements of the night, dropping your shutter speed in daylight creates some truly unique images. Here are a few tips for capturing long exposure photography during the day:
Use a Tripod
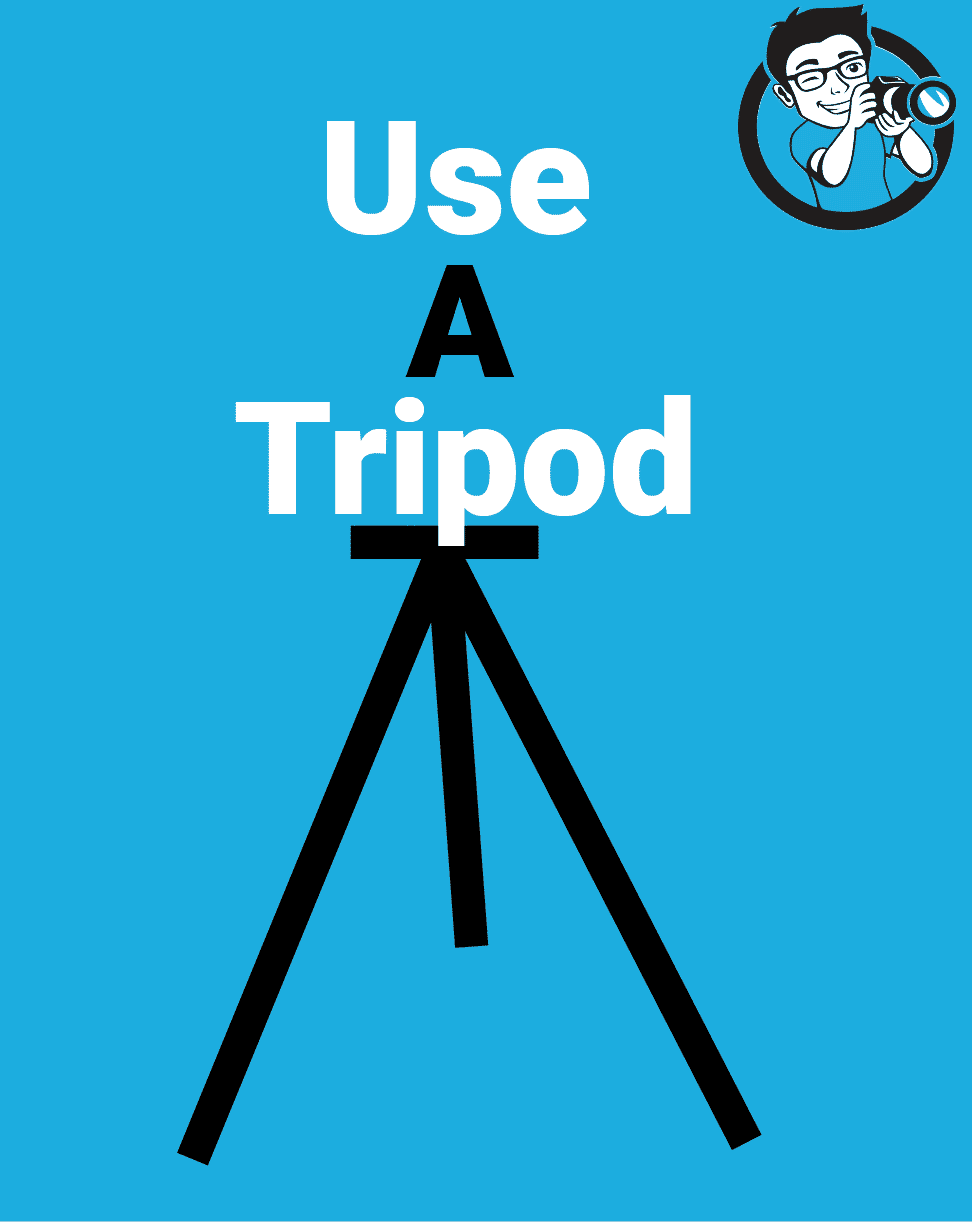
This is a general rule for capturing long exposure images, but it is even more important when you’re shooting in the daylight. Since your shutter is open for such long periods of time, you want to do everything possible to reduce any type of camera shake. And this is where the tripod steps in.
Because your intention with long exposure photography is to capture movement, it’s important that some parts of your image (the stationary bits) so that the motion is emphasized. A tripod will keep everything stable to reduce camera shake and subsequent blur in your images.
When it comes to picking the tripod, you just need to make sure that the tripod remains sturdy with the camera in place.
It might also be worthwhile investing in a remote shutter release so you can keep your camera as still as possible.
Manually Control Exposure on Your Camera
If you’re shooting with a DSLR, you should have the ability to manually adjust your exposure. When shooting in daylight, you will want to use this feature to be able to have full control over your exposure. Check your current gear for the ability to manually adjust this setting.
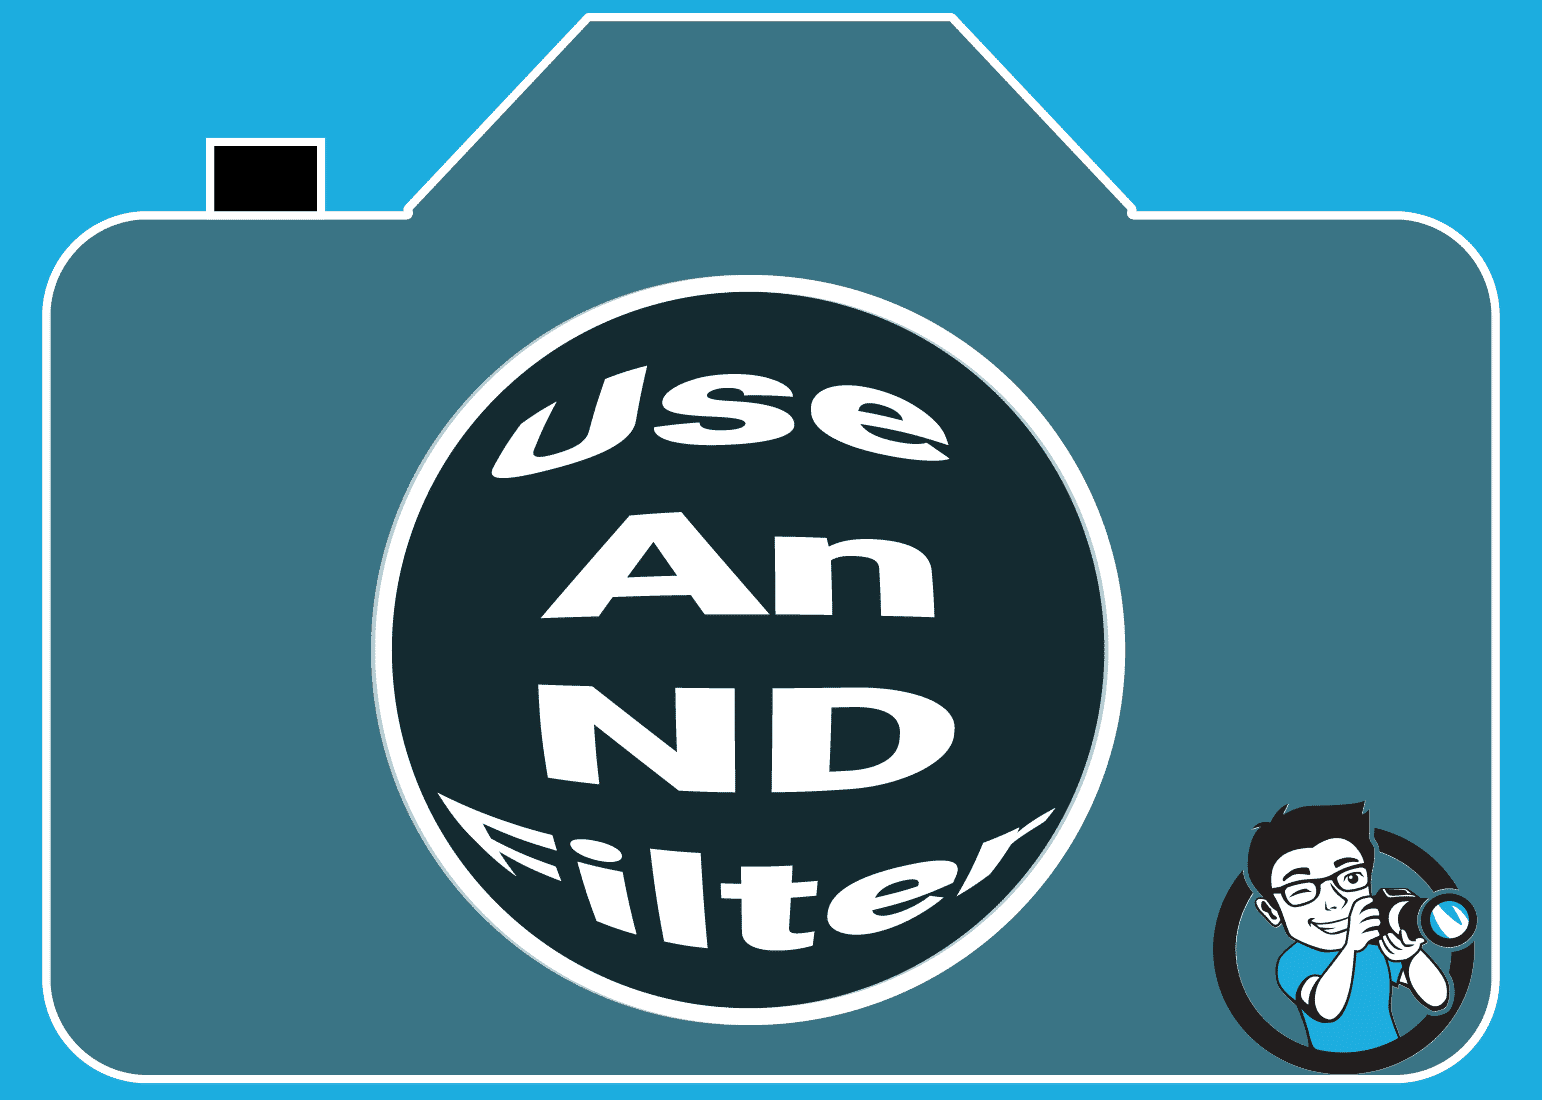
Attach a Neutral Density Filter
For capturing long exposures in the daylight, you have to use a neutral density filter with your camera. These filters reduce the amount of light that passes into your camera’s sensor.
These filters are handy little tools that allow you to lengthen your exposure time. Many experts suggest using a 9 or 10 stop filter for shooting in the daylight.
Simply put, a neutral density filter will allow you to capture your long exposure shot without the excess light blowing out your image.
Things to Photograph
The last element of long exposure photography in the daytime is determining what you will photograph.
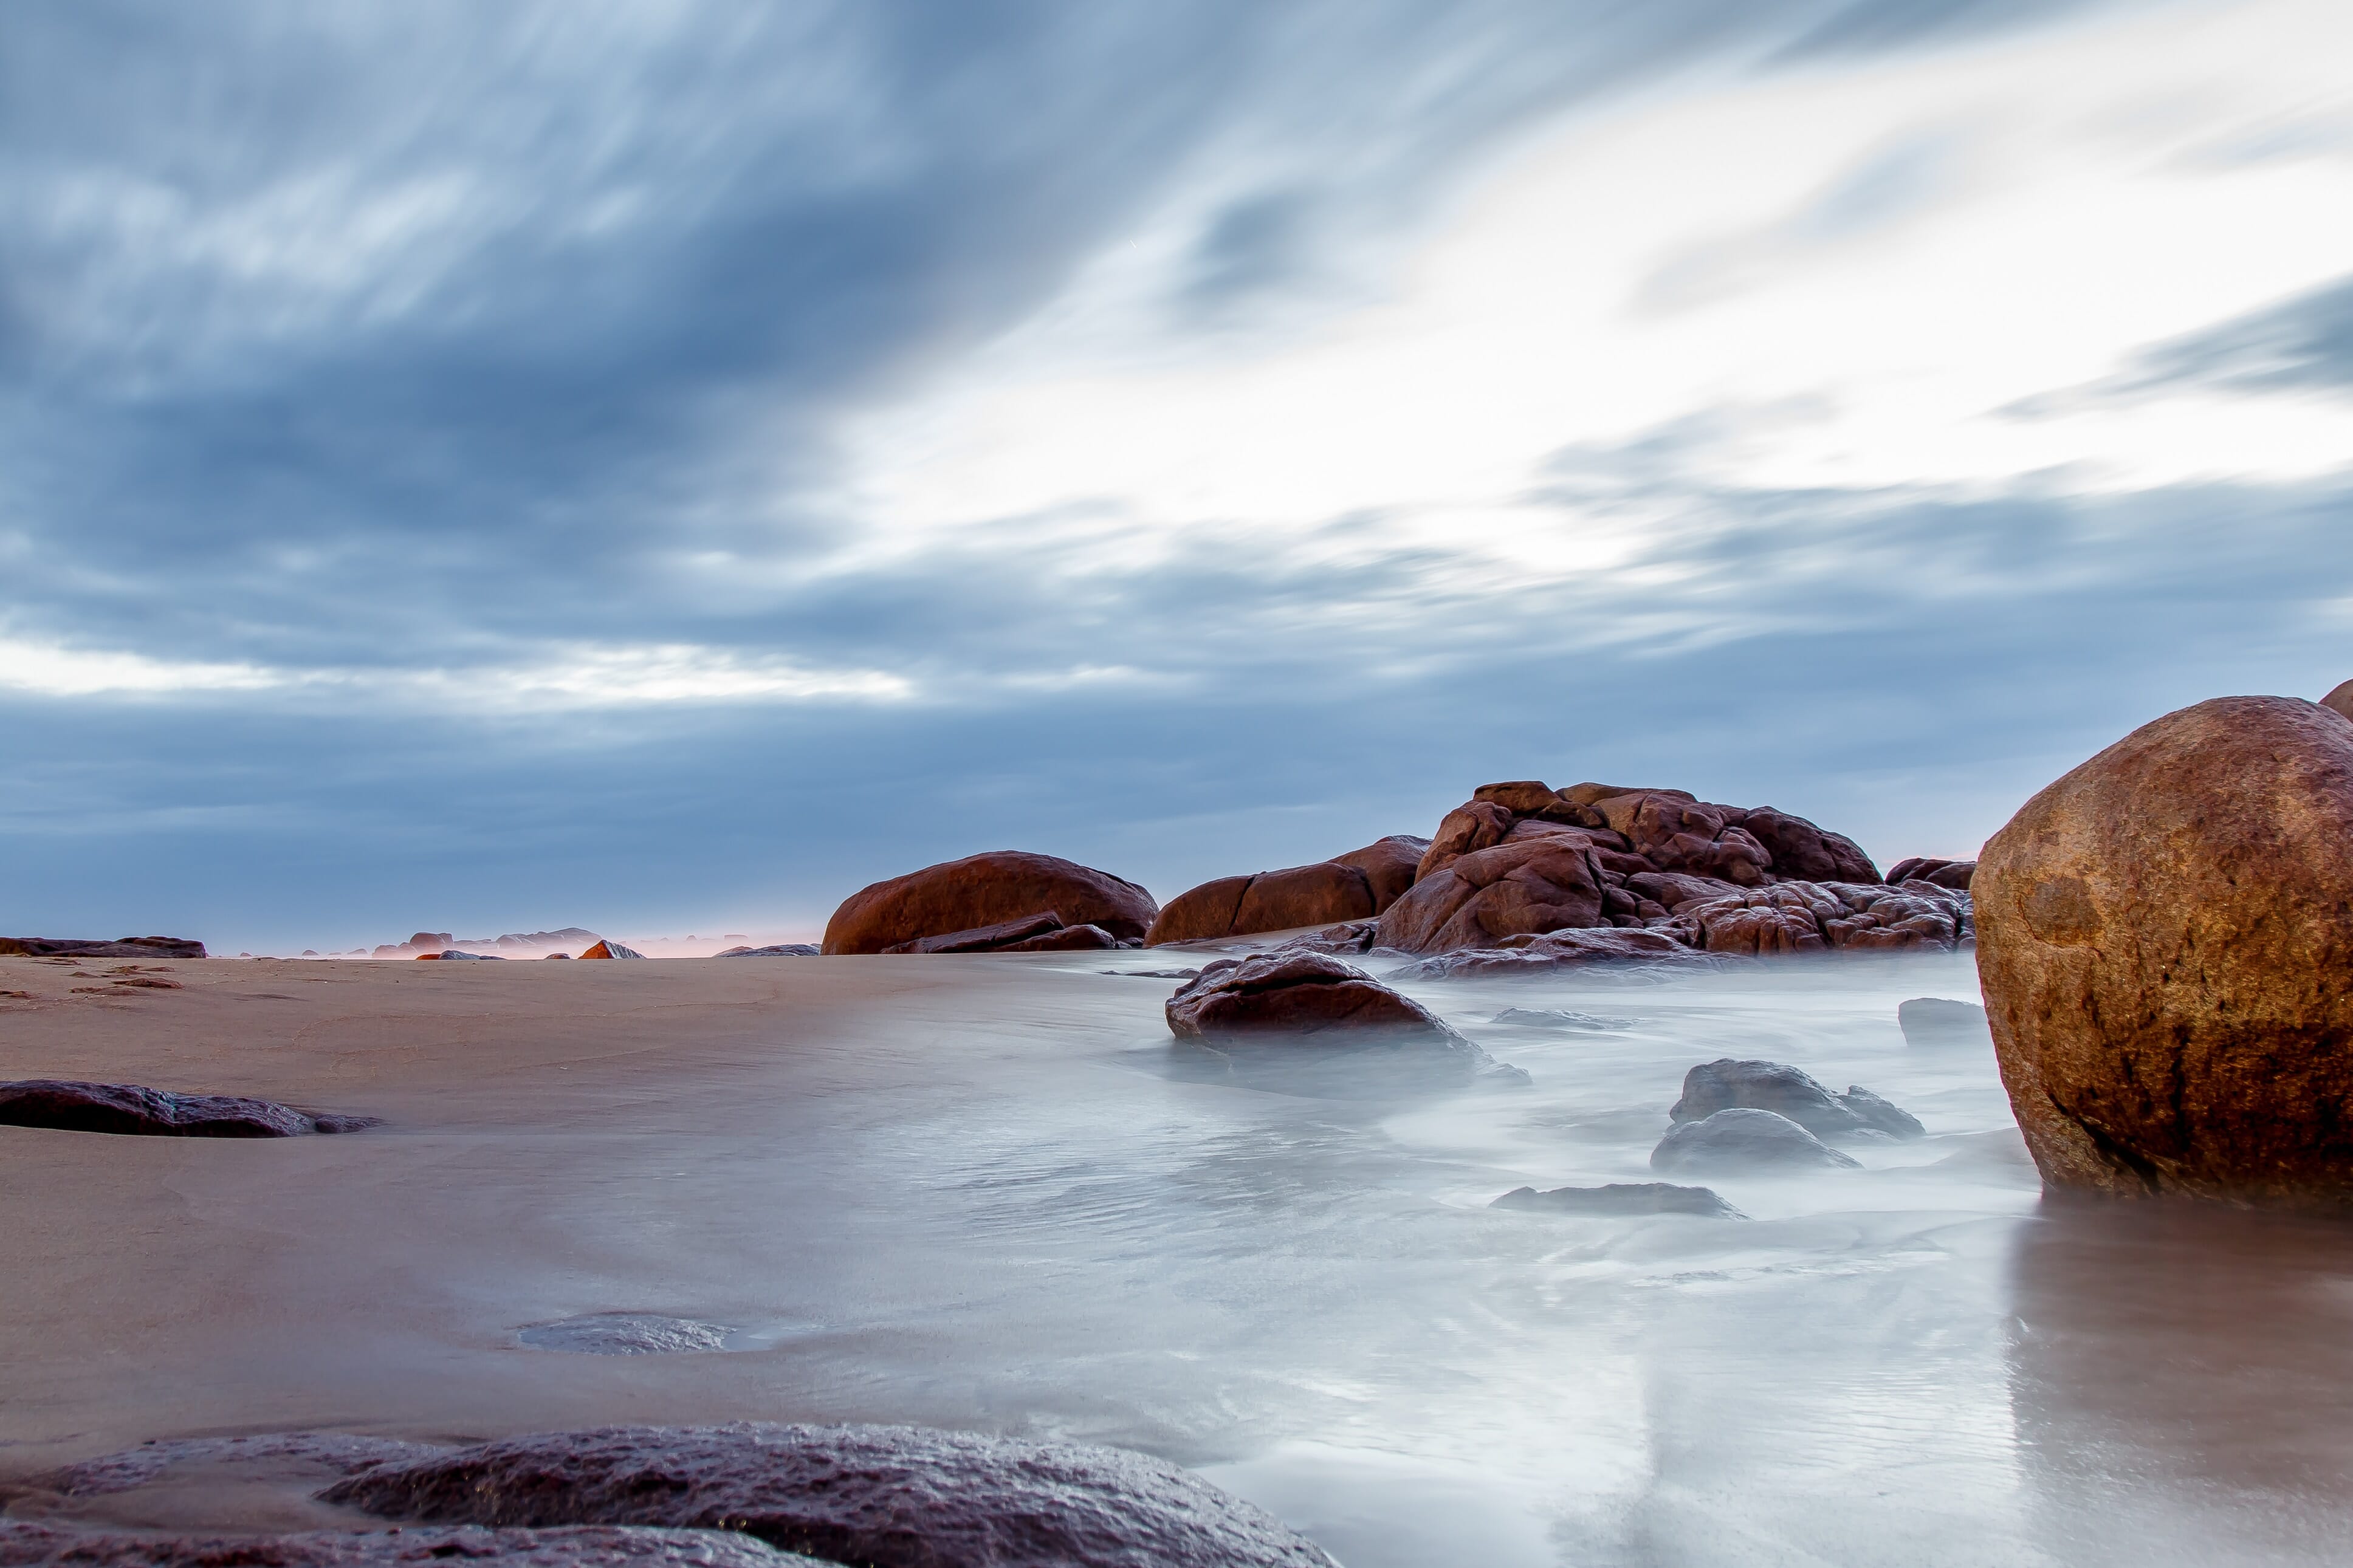
Many photographers use nature as their subject for long exposures. This includes capturing elements such as the ocean or the clouds above. You can also test your long exposure in everyday scenarios, such as the movement of people.
Whatever you choose to create, your long exposure images will come out best by using a tripod, manual exposure, and a neutral density filter.
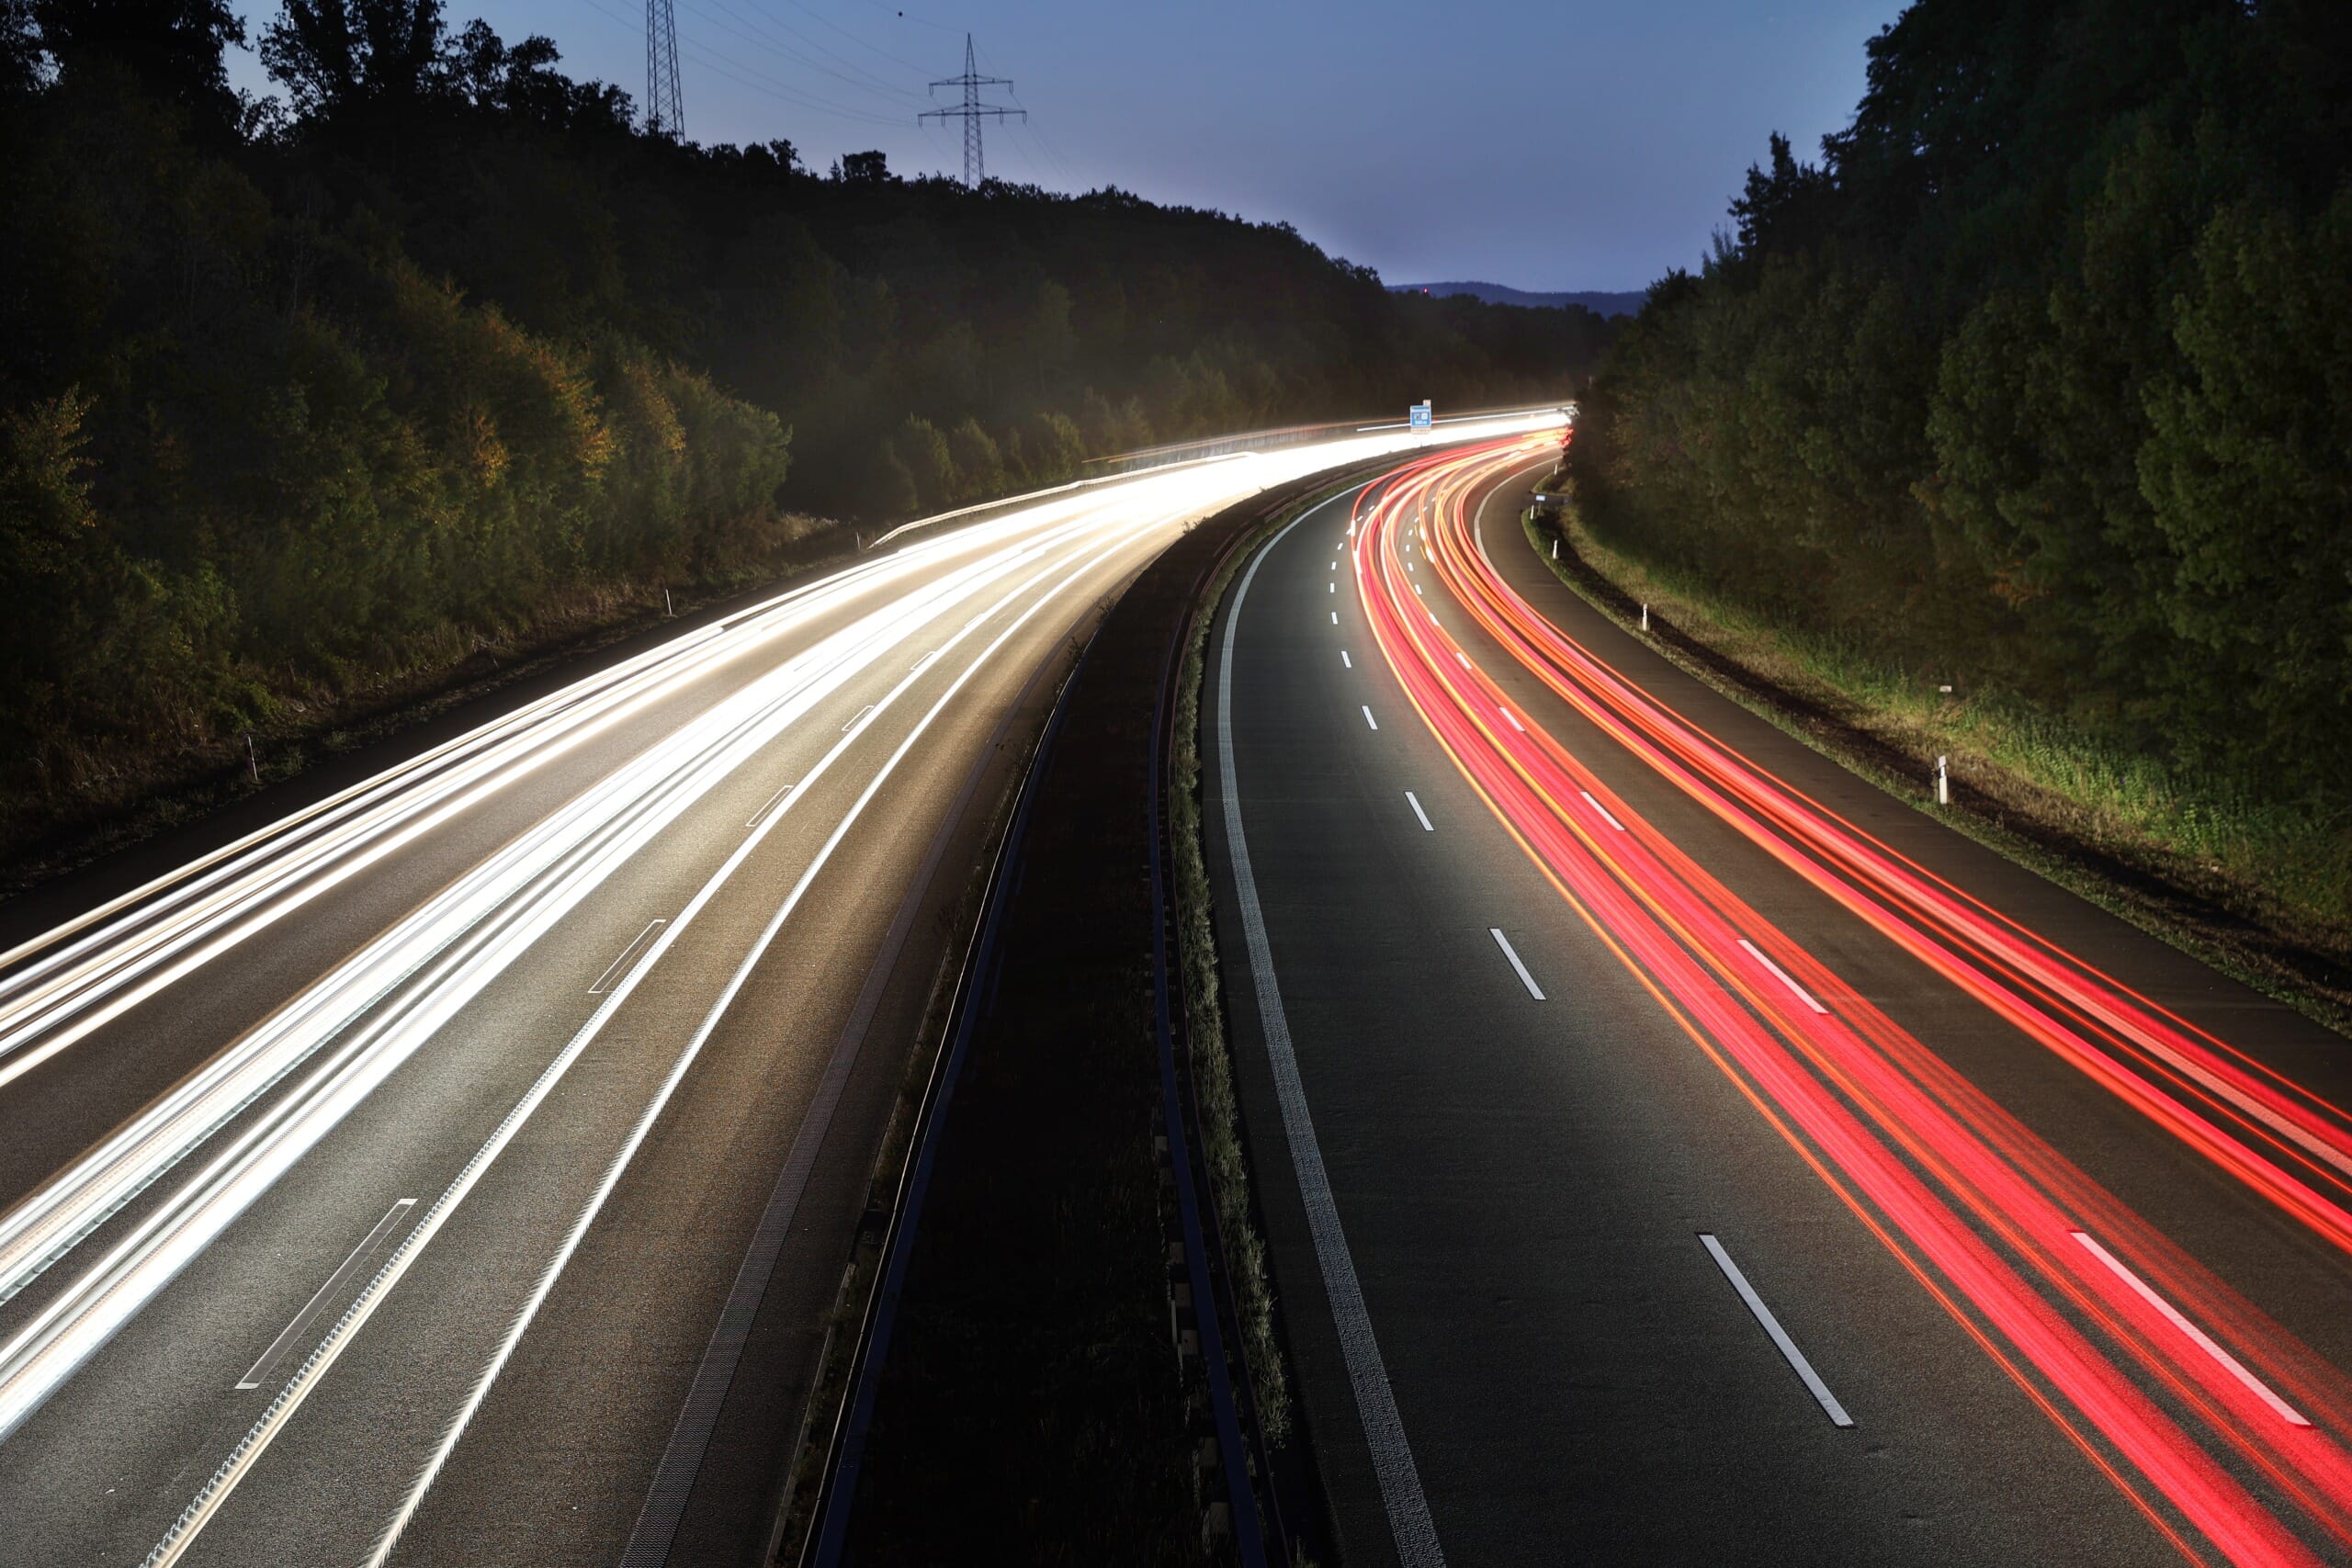
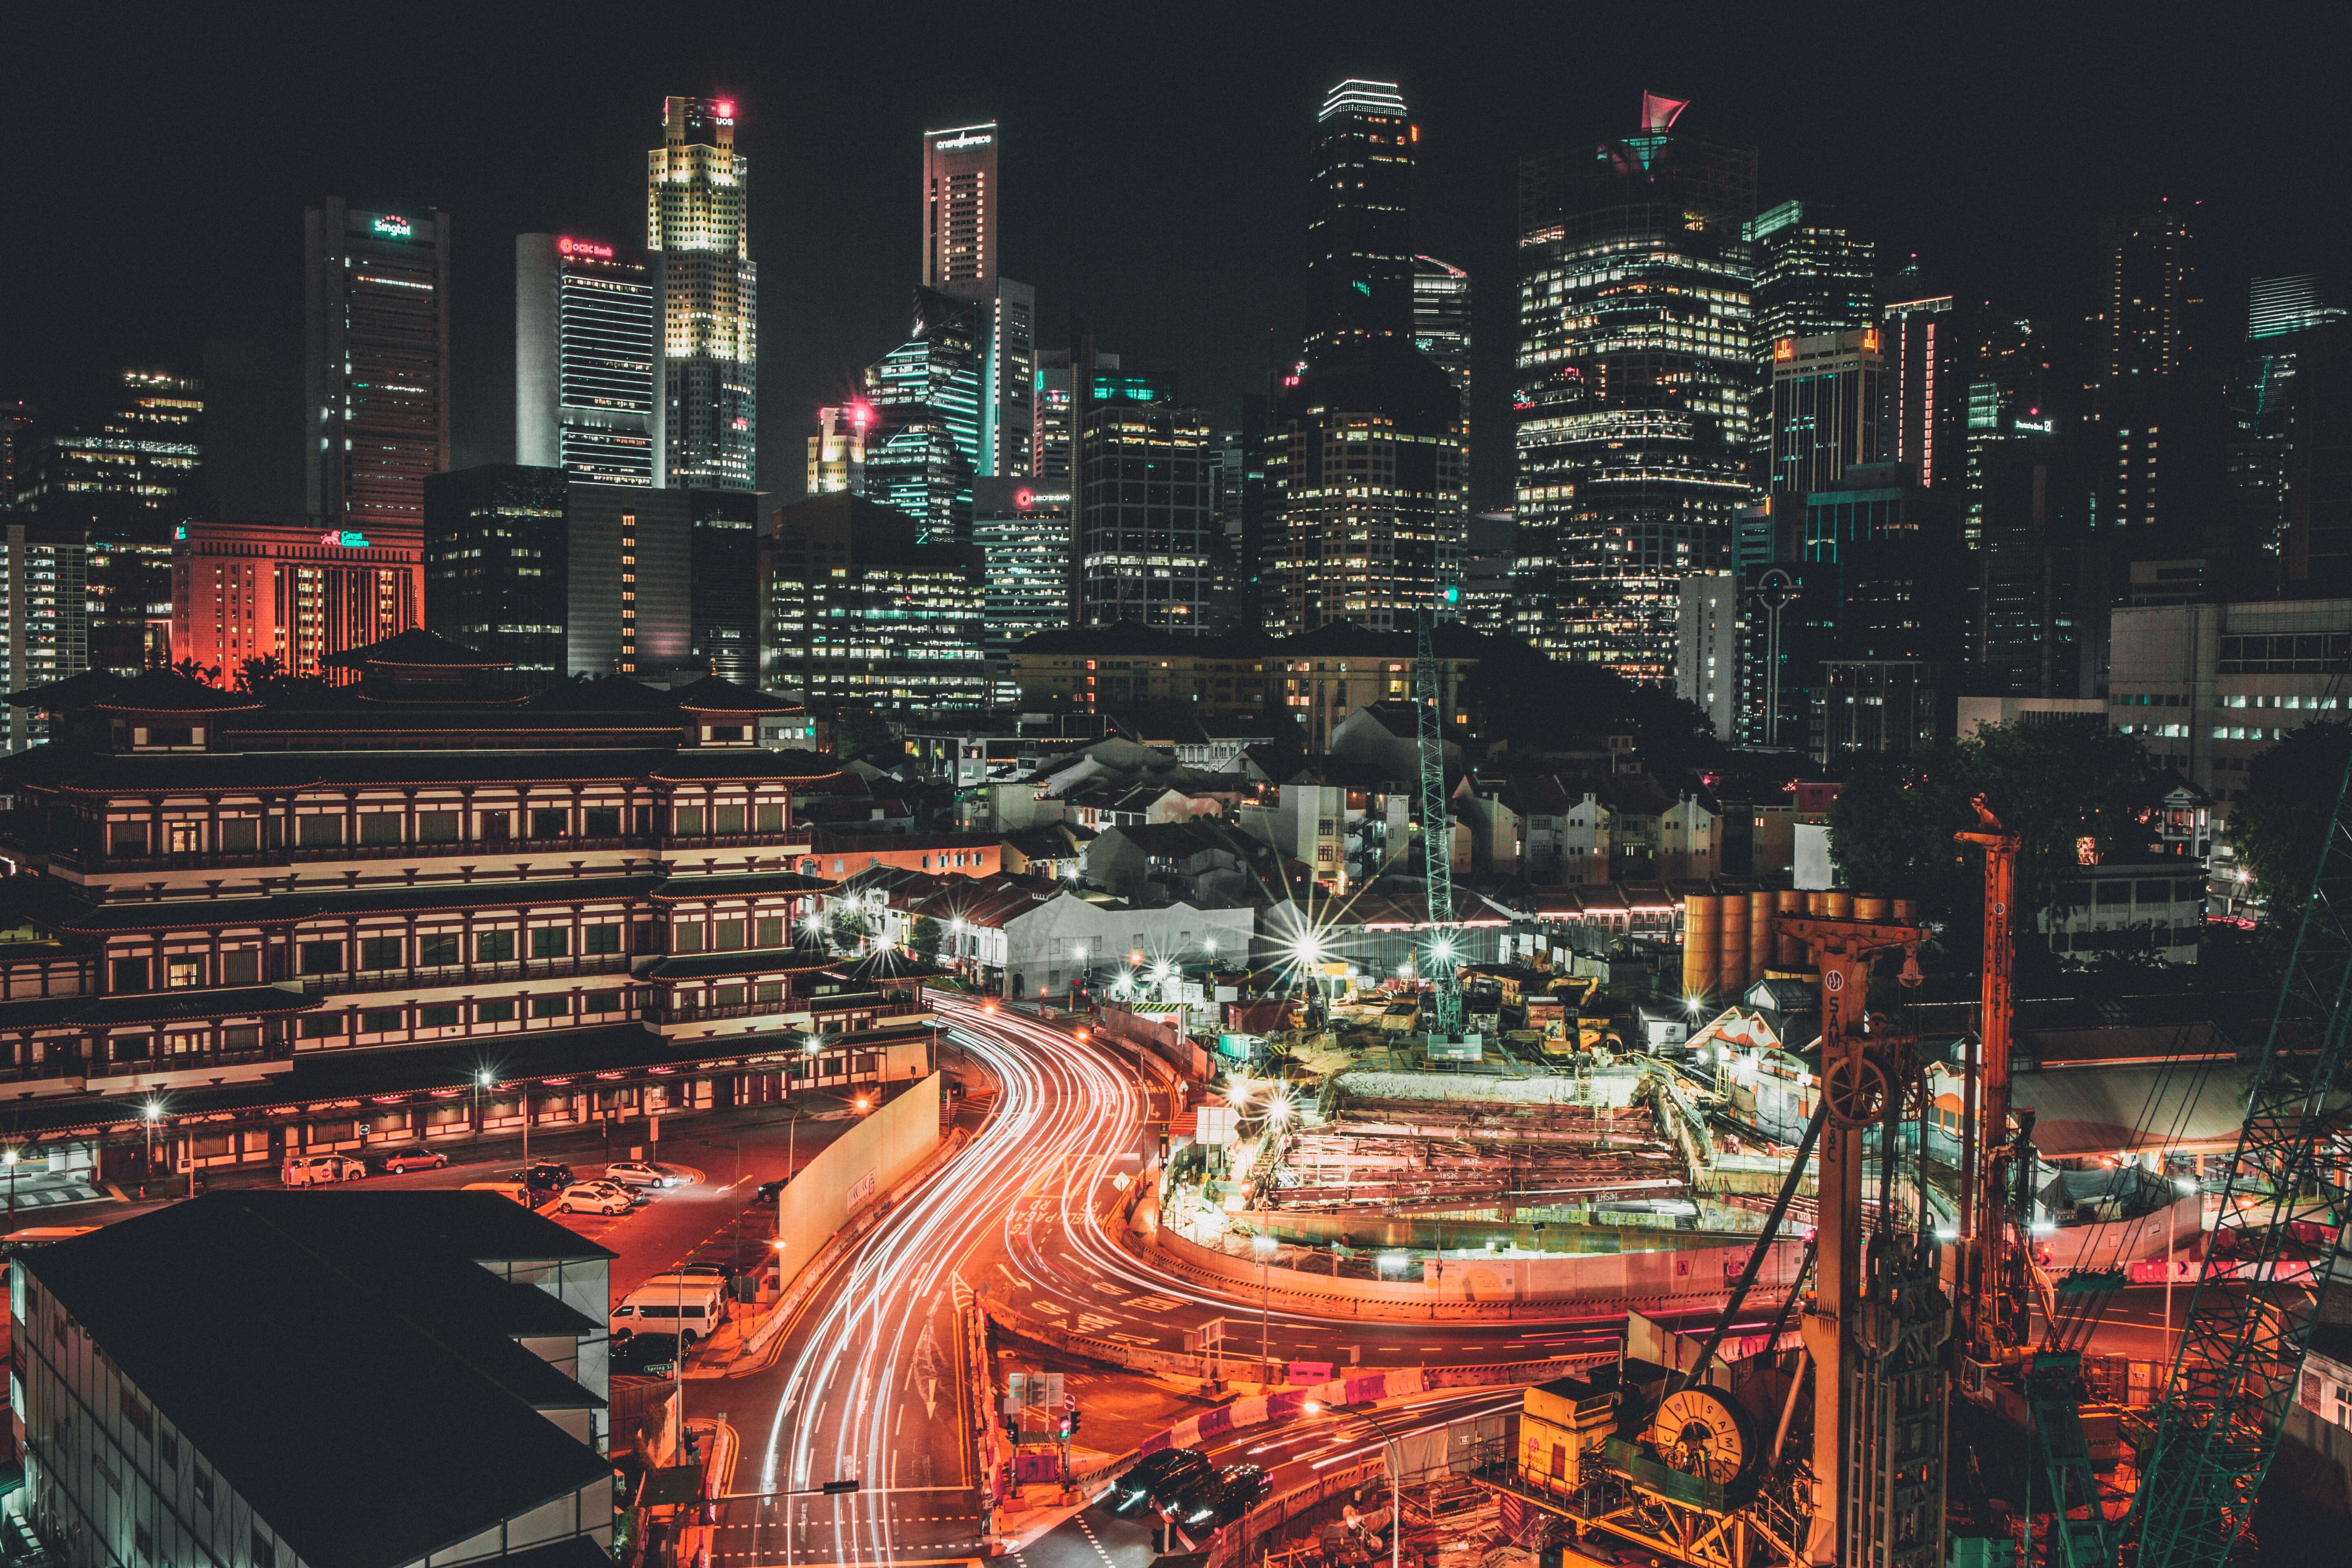
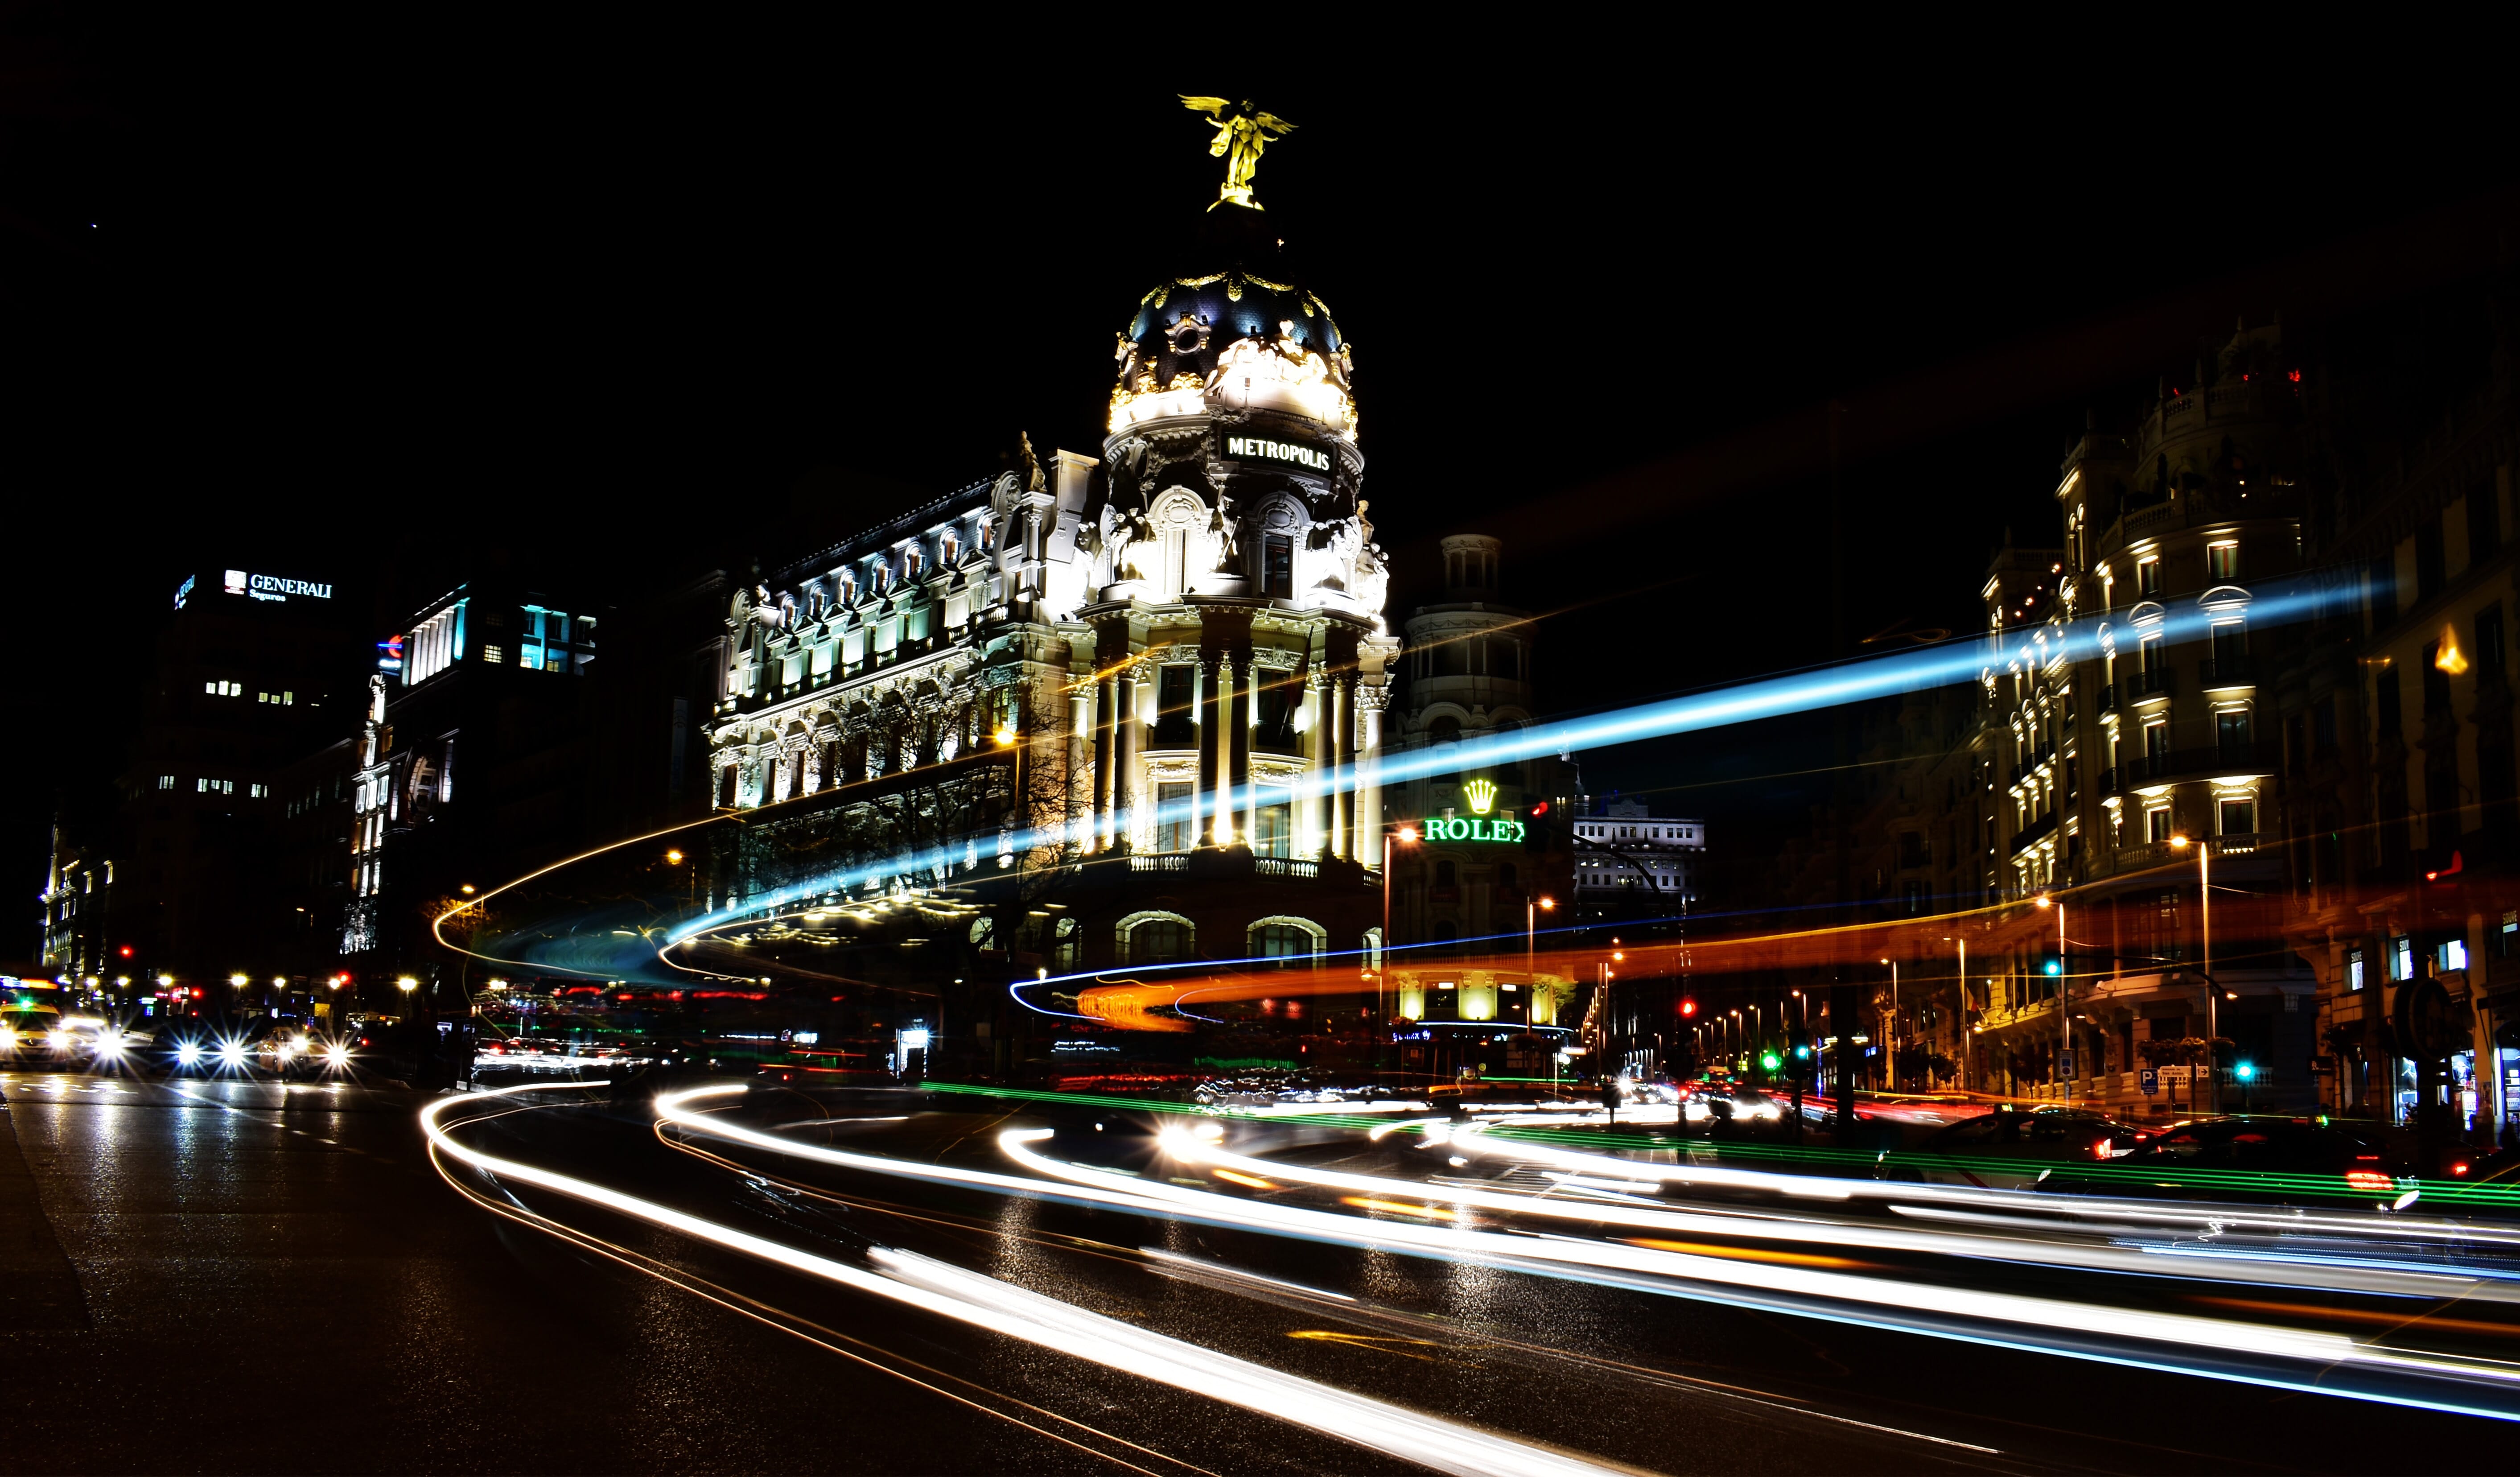
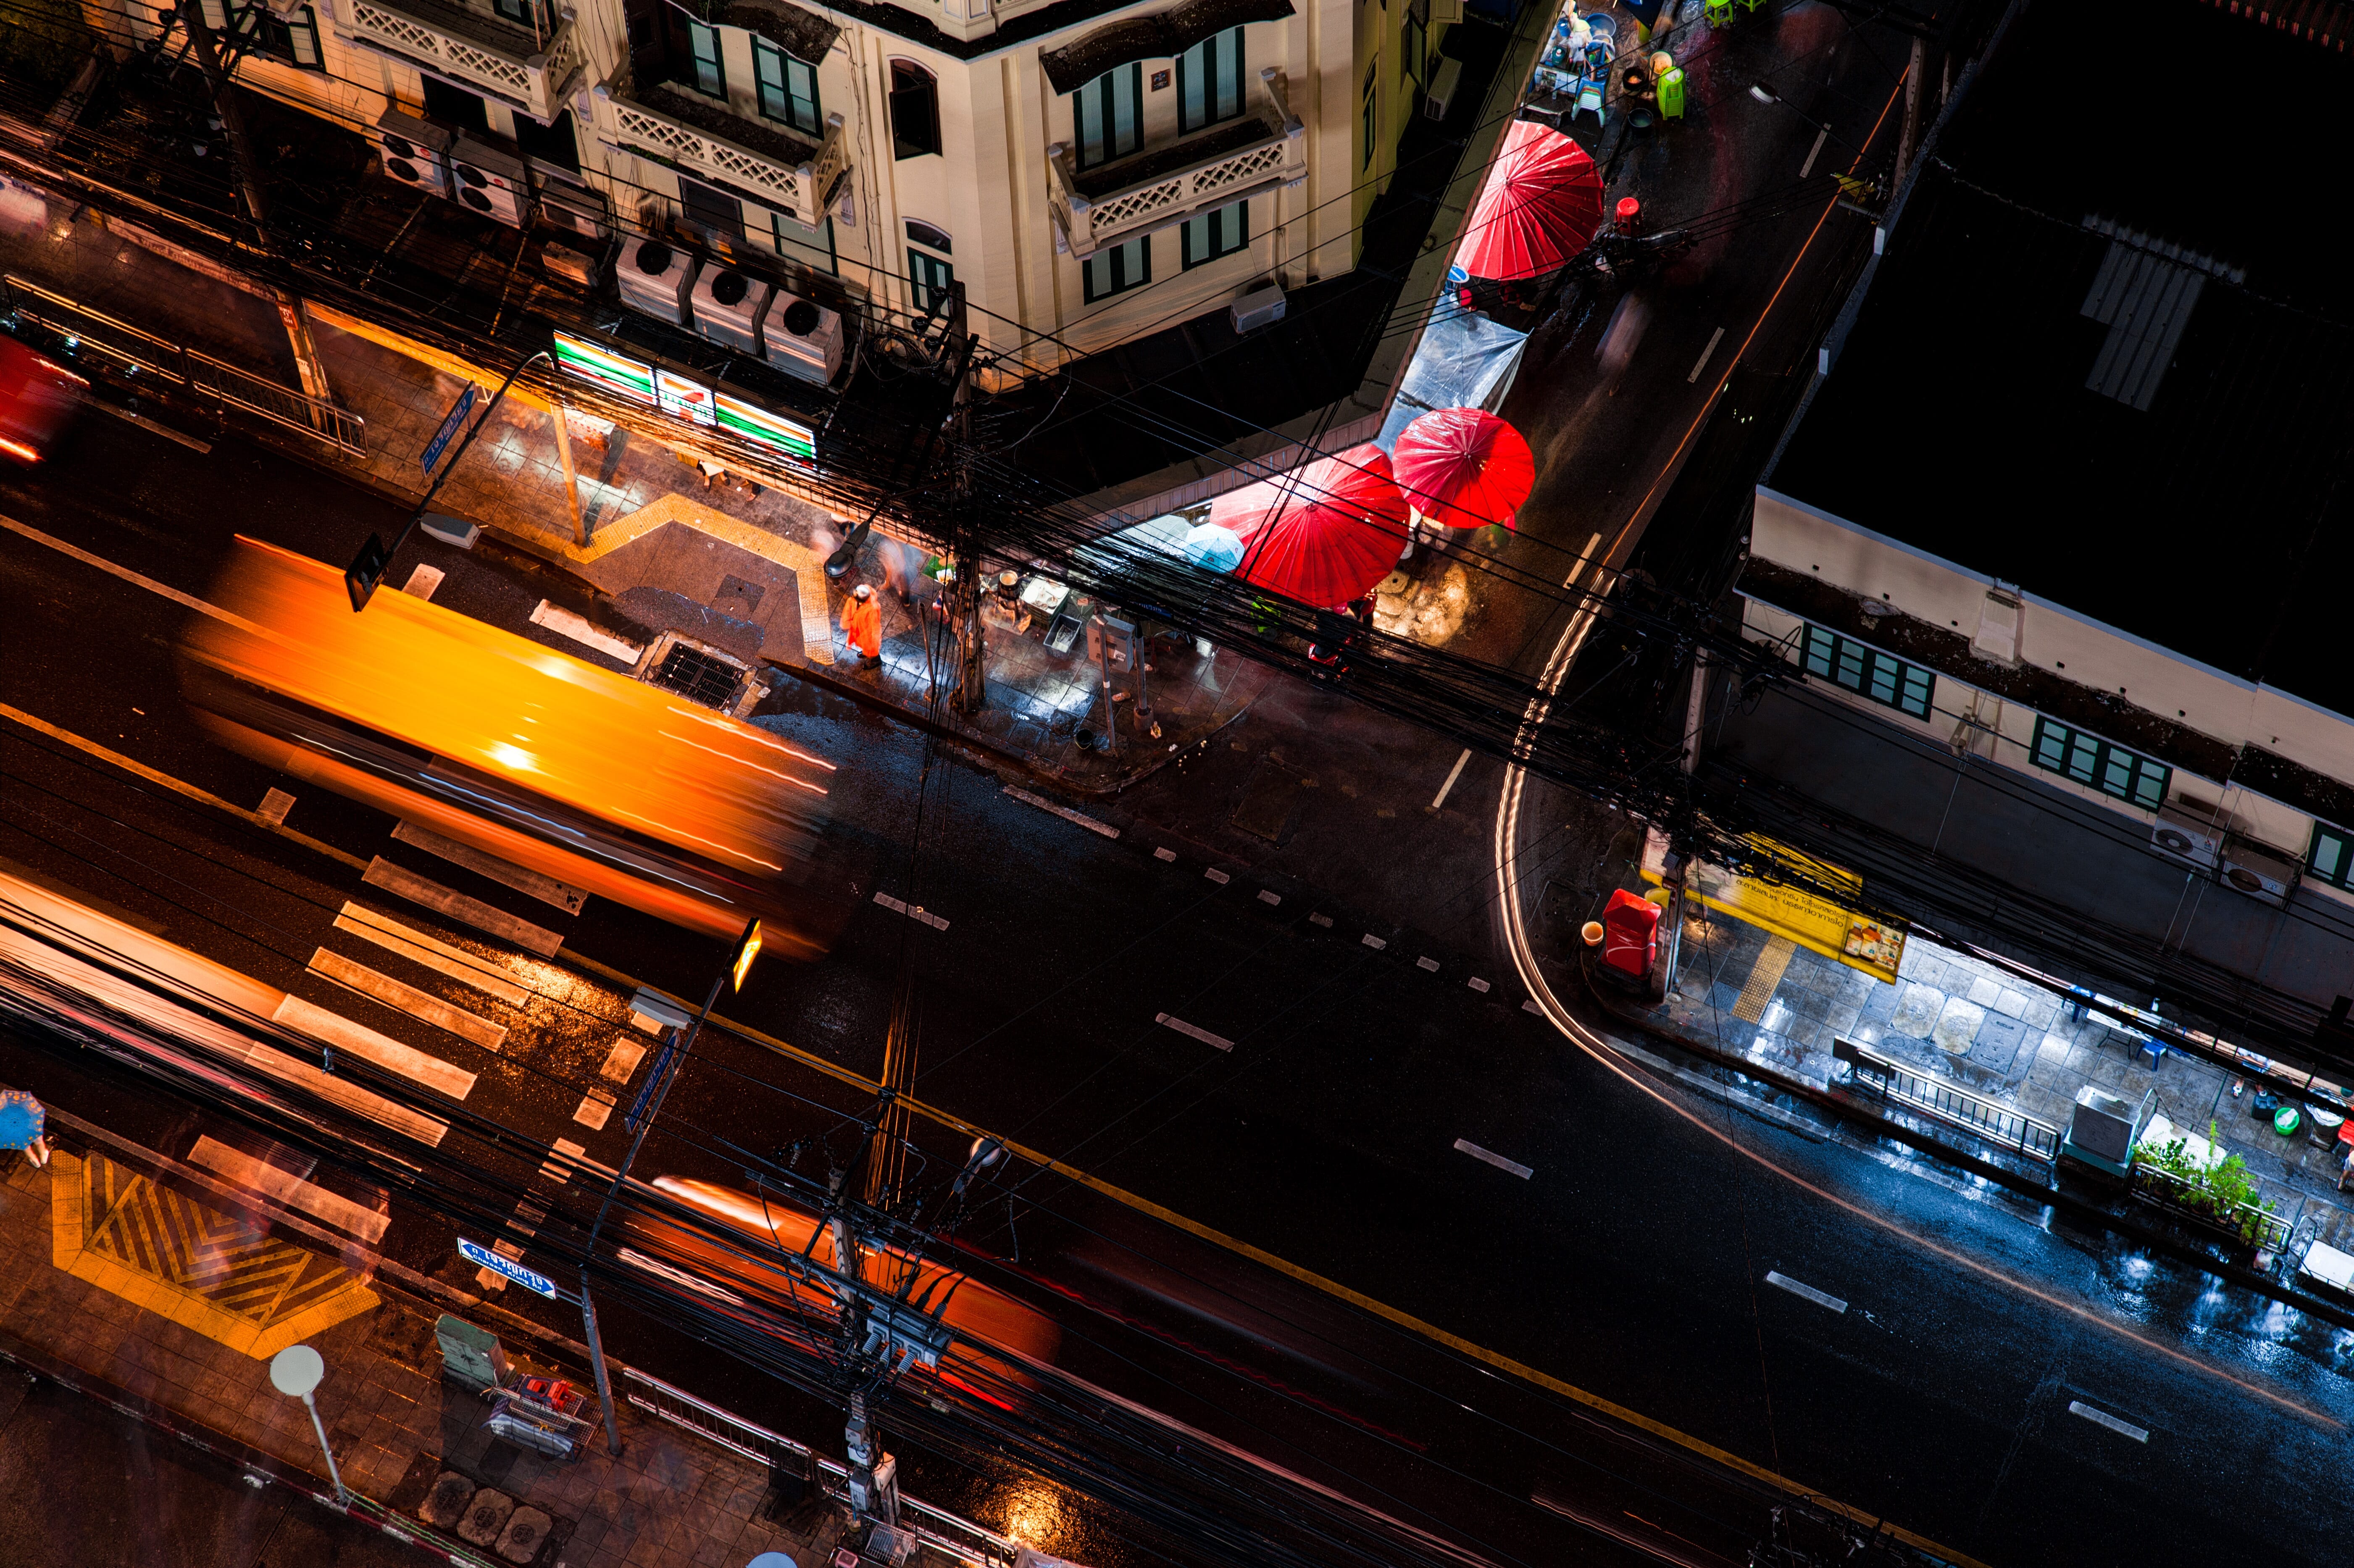
Long Exposure Photography at Night
Once you’ve mastered long exposure photography during the day, you can take what you’ve learned out into the night. In many ways, long exposure photography in the dark requires the same elements as daylight. Here are a few tips you need to know:
Grab Your Tripod
No matter the time of day, long exposure photography can only be captured by using a tripod. Since camera shake can completely ruin your images, pack your tripod before you go out to capture the city lights or starry sky.
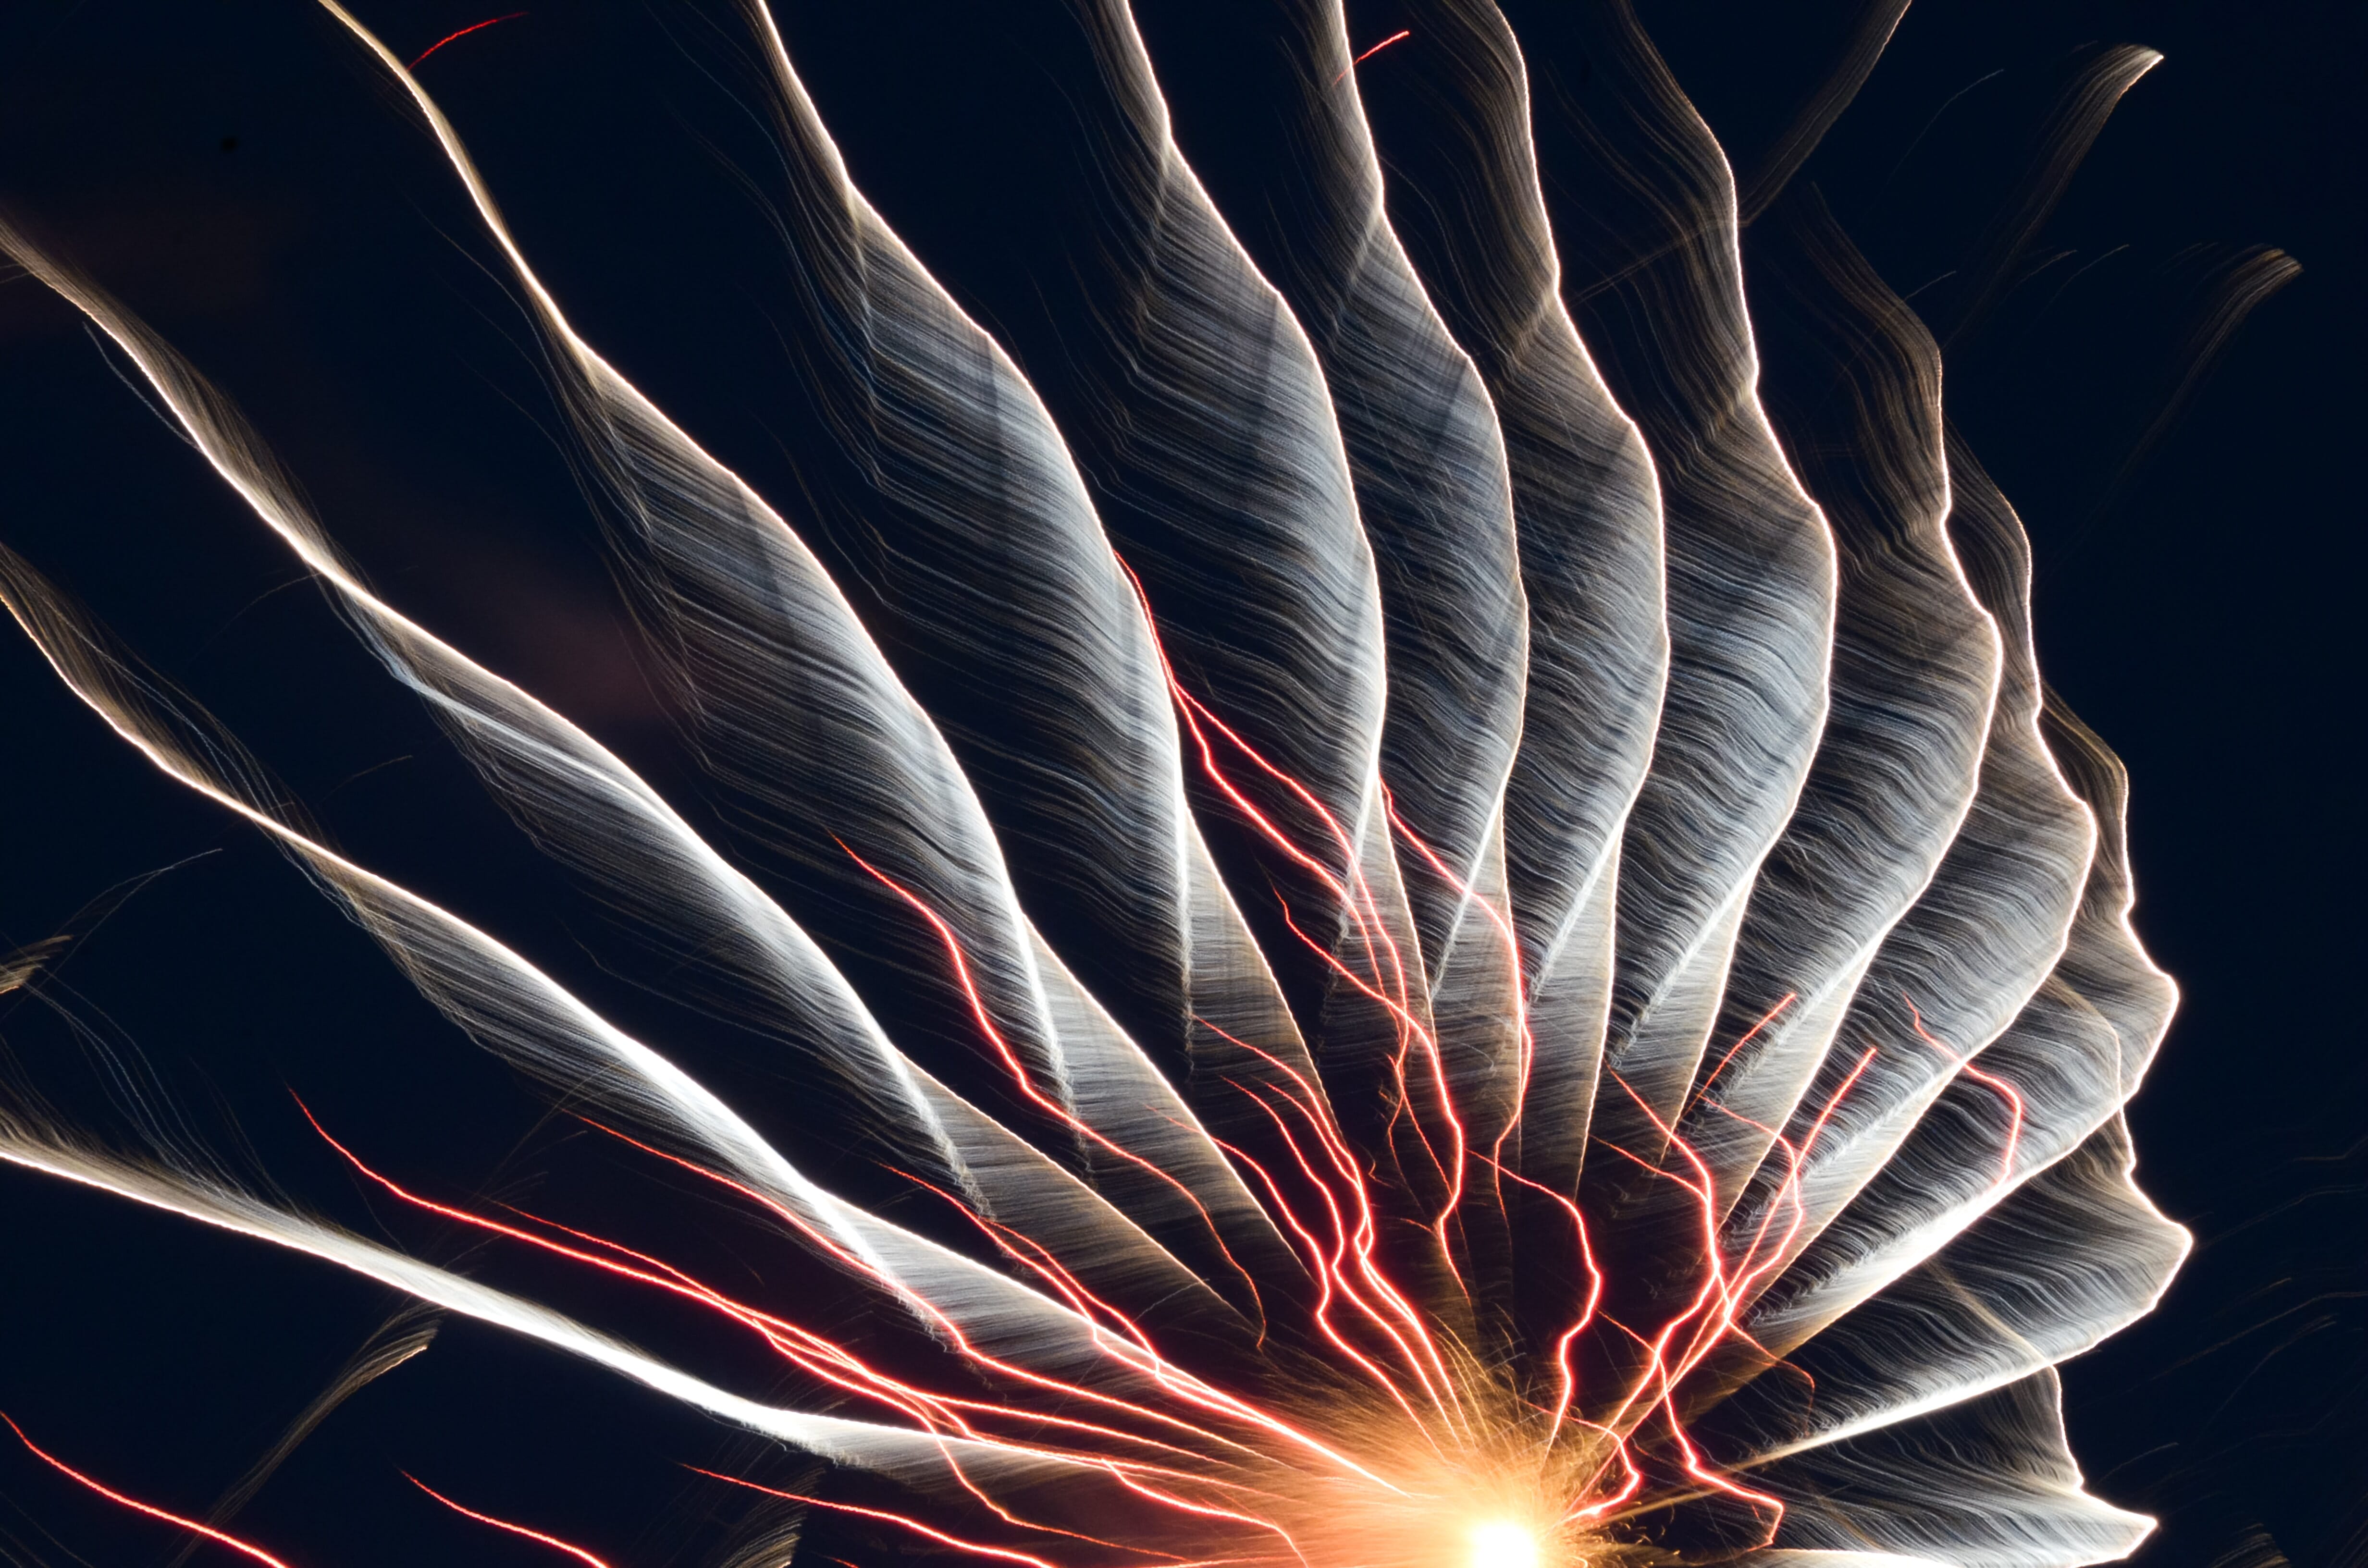
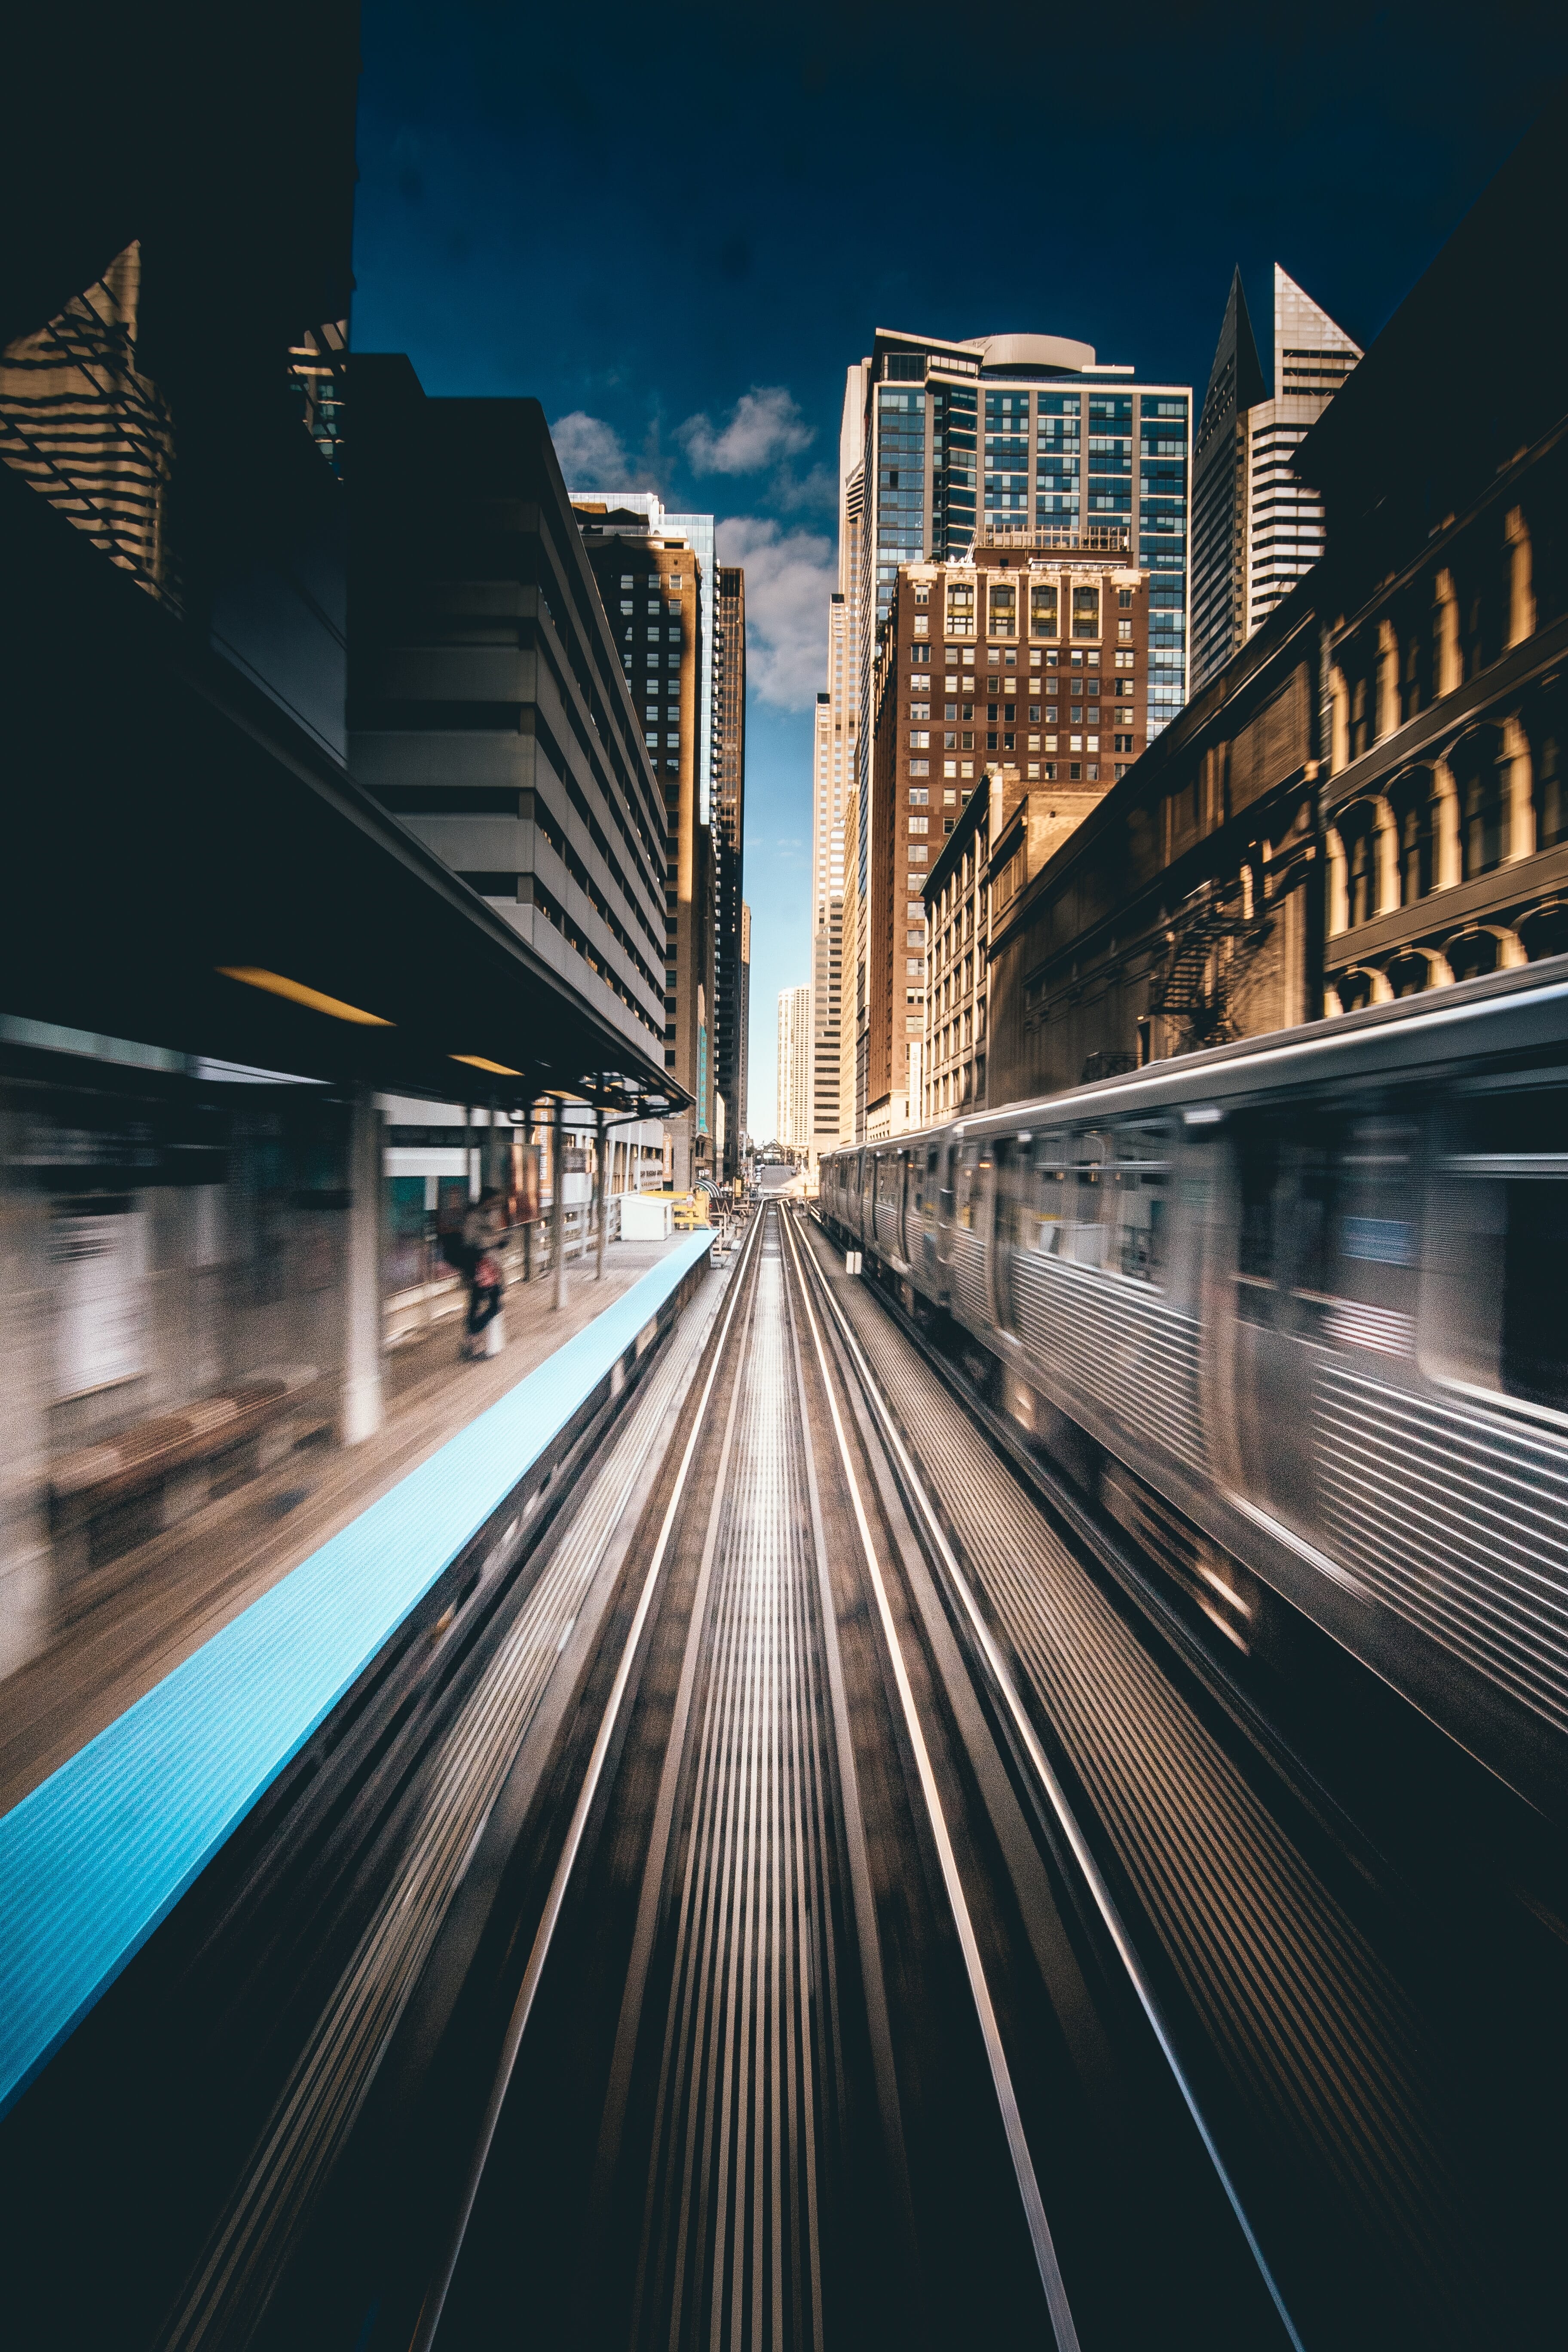
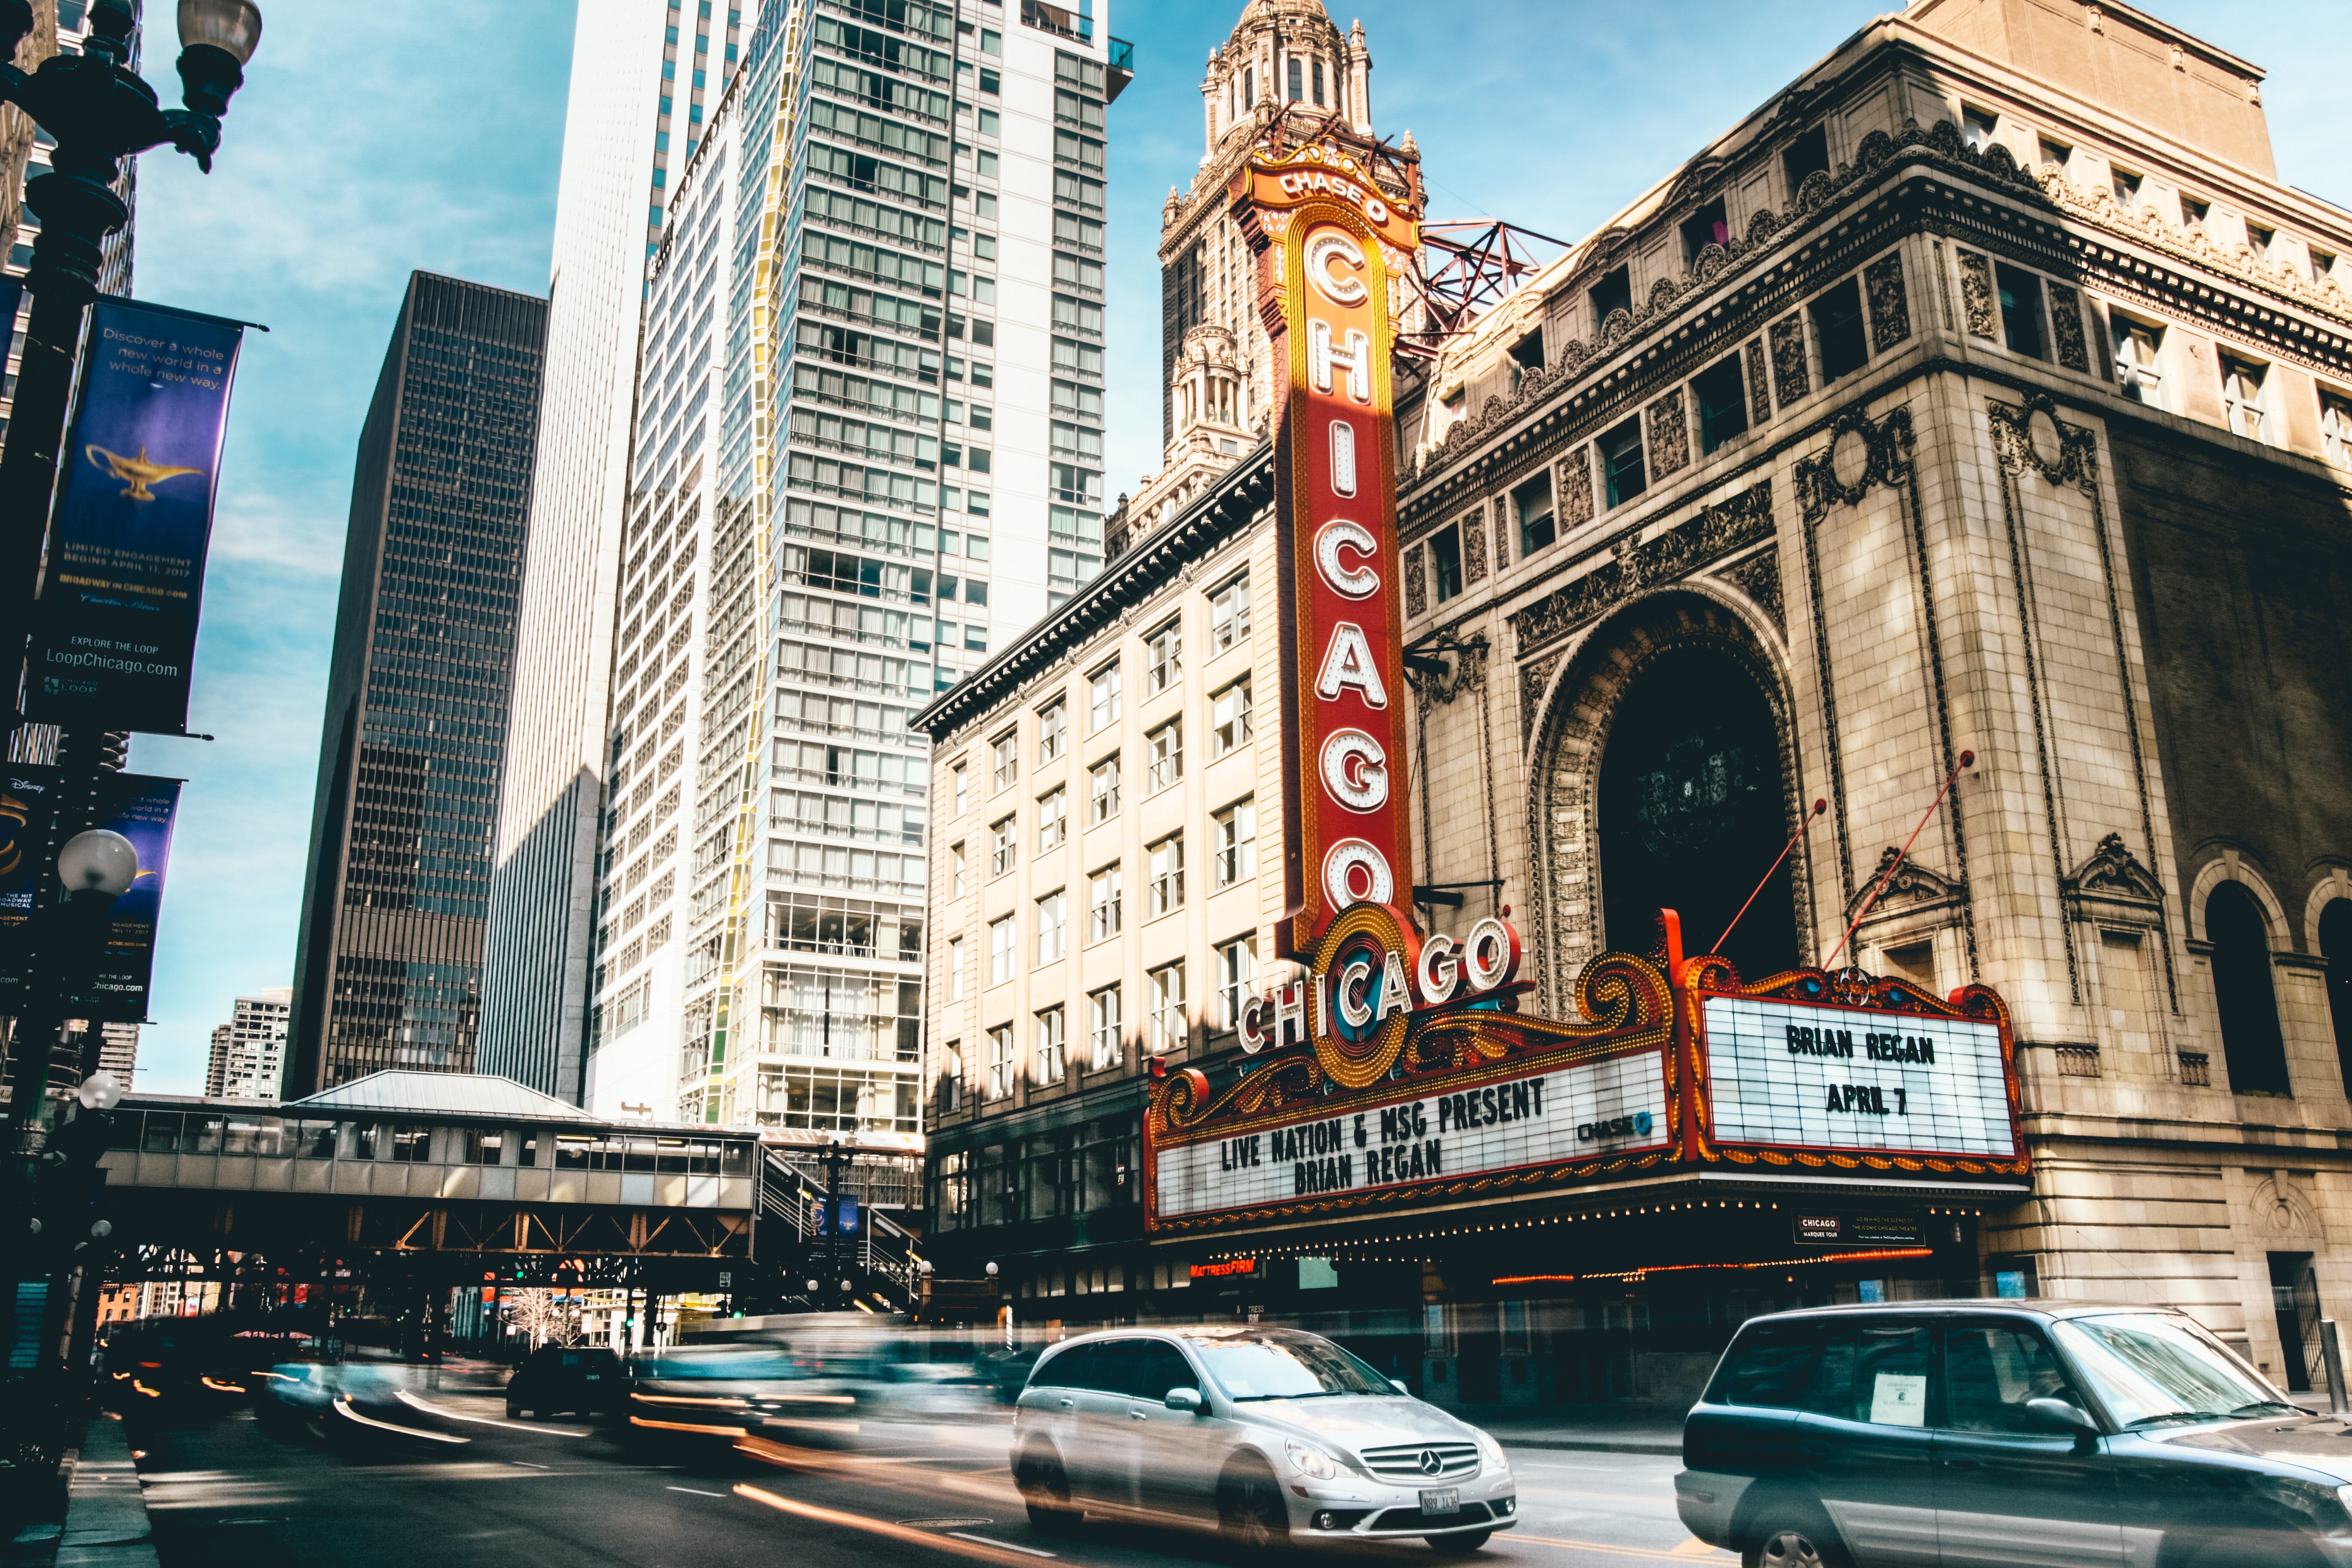
Find Light Trails & Ambient Light
For long exposure photography that is guaranteed to impress, determine the amount ambient light when composing your images.
The ambient light will help you gauge the correct exposure of your image and help you decide how long you should keep your shutter open for.
Related Posts
The good news is that even if you don’t get it right the first time, you can correct your settings and shoot again. To add even more creative flair, find the trails of light that are present in your scene.
This could be cars passing by, skyscraper lights, you name it, you can use it! Each visual element adds to the beauty of long exposure photography

Low ISO & Manual Mode
The final tip for long exposure photography at night is to keep your ISO as low as possible and always stay in manual mode. ISO is pretty self-explanatory in this situation, but essentially you don’t want to be adding any level of light to your image. Let the existing light drive your photograph and illuminate your subject.
And, always remember that manual mode is your friend. You want to have complete control of your images. So, keeping your DSLR set to manual and altering settings as needed, will help you create the best photographs possible.
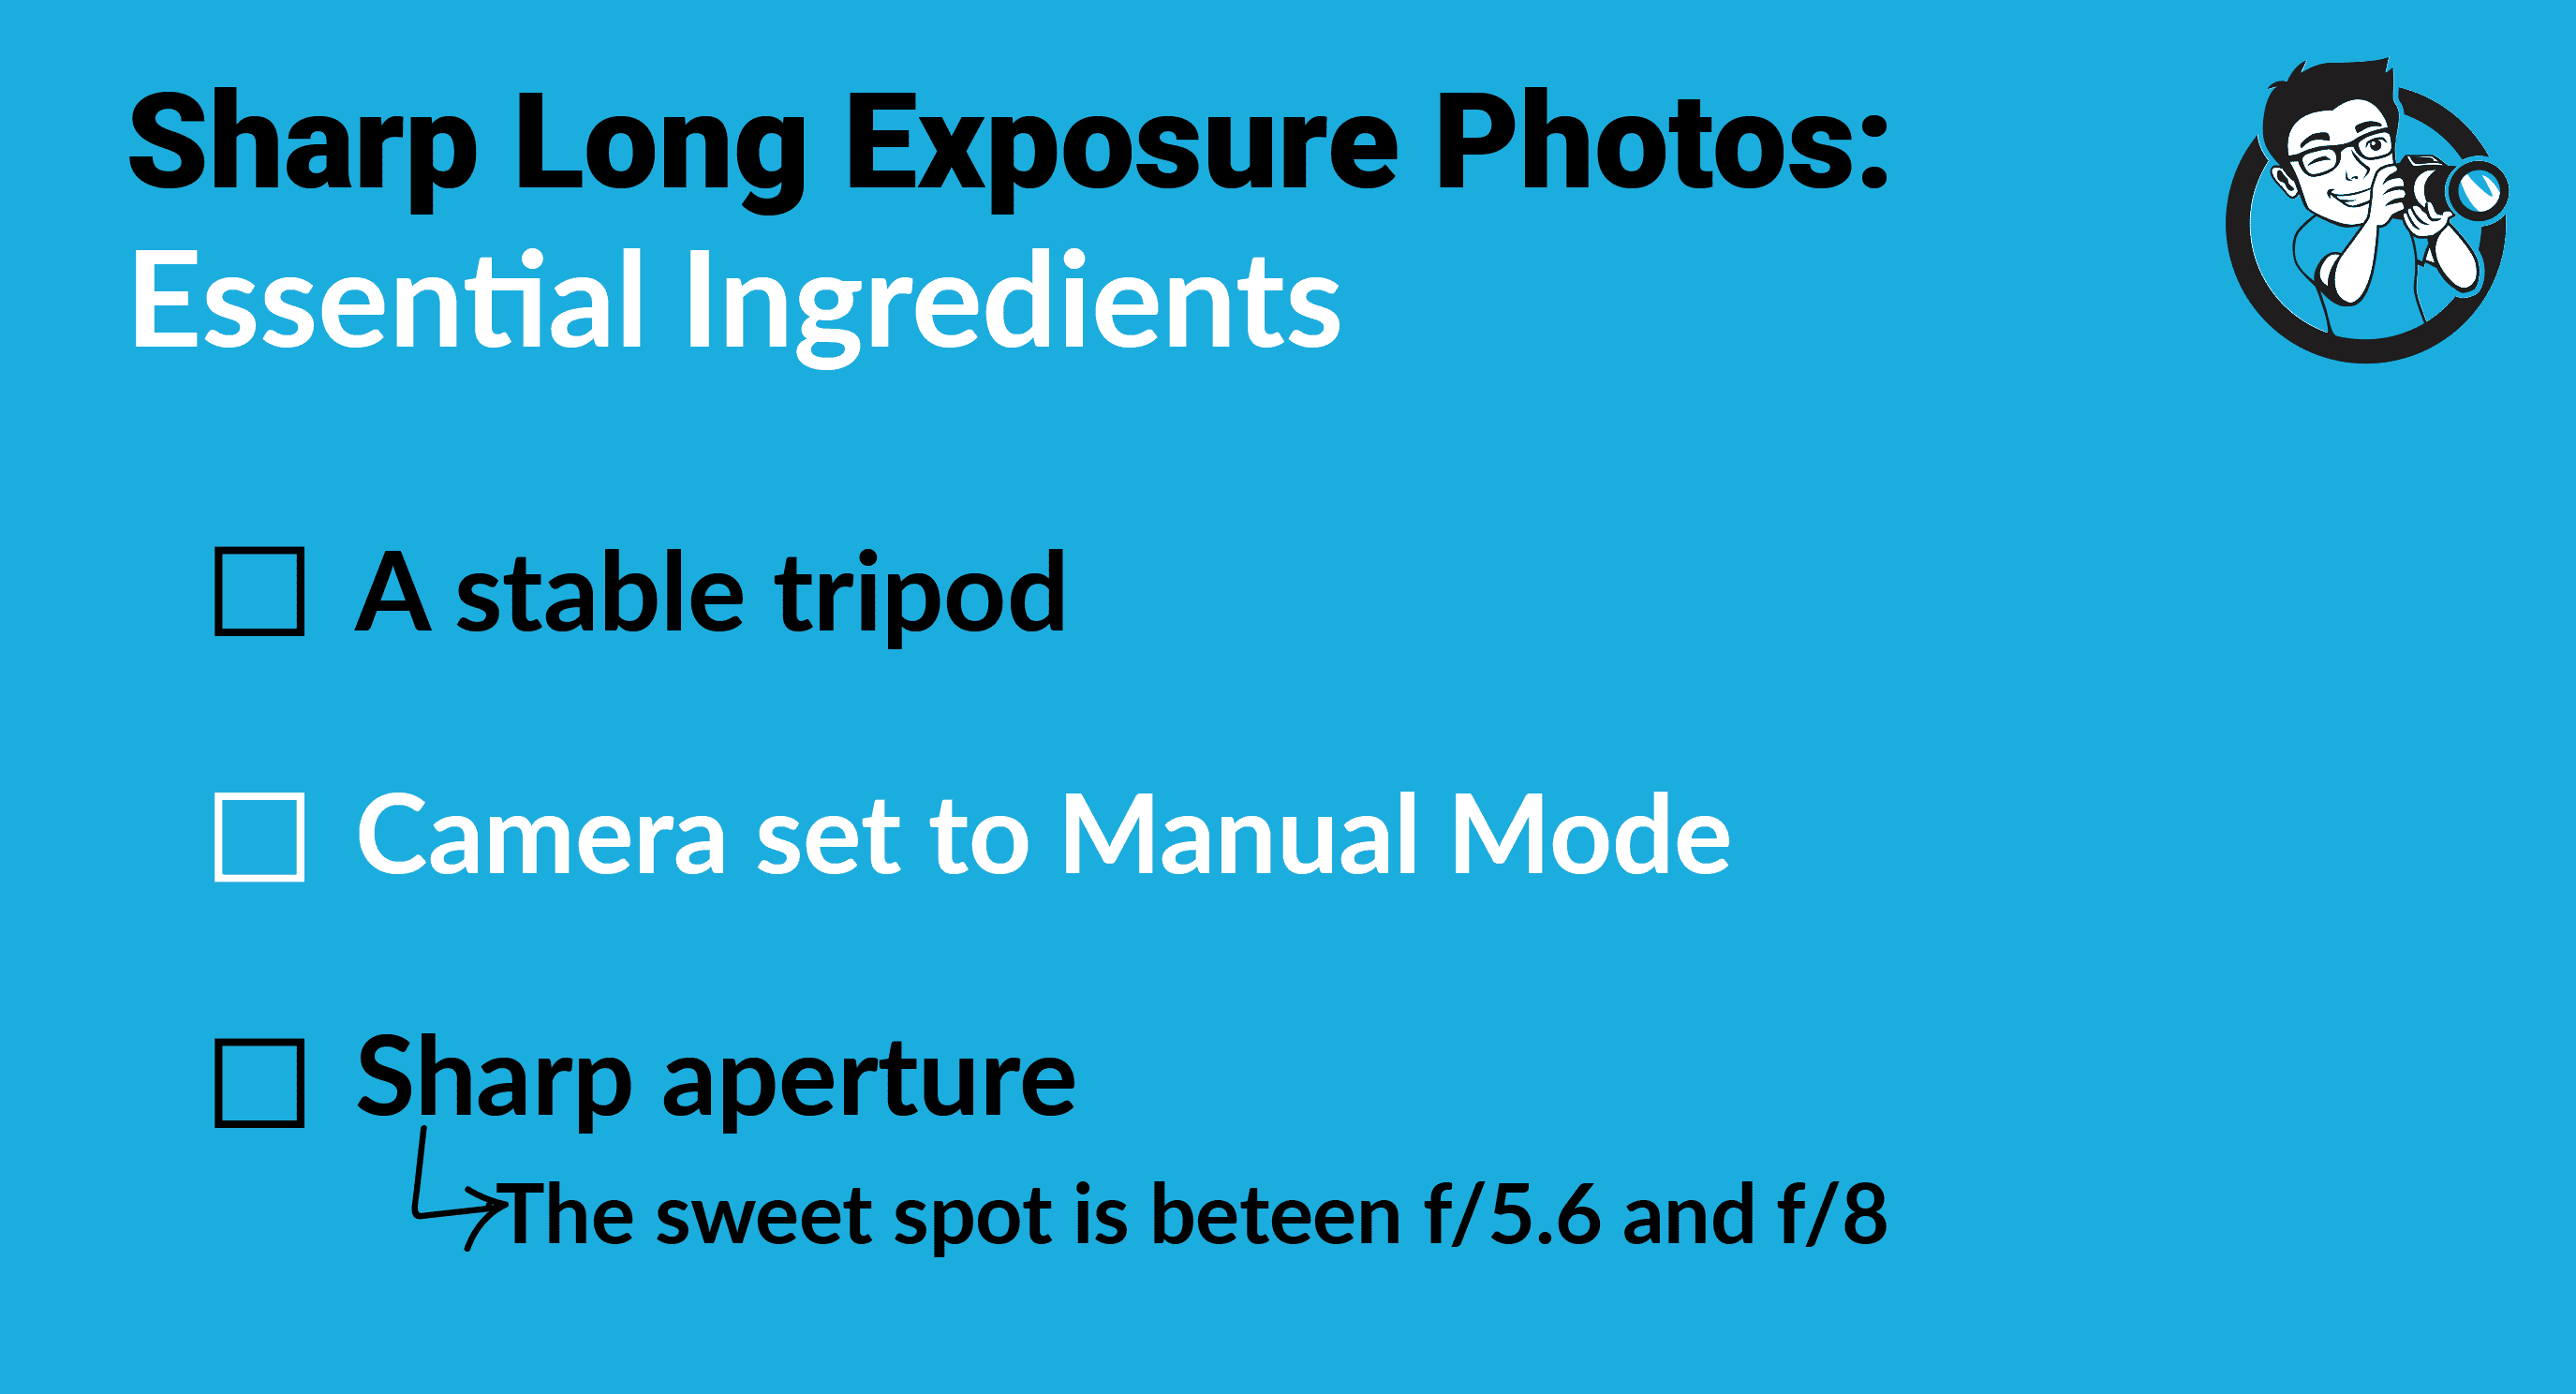
How Do I Take Sharp Long Exposure Photographs?
At this point, you should understand how to take long exposure photographs both day and night. But you may be wondering how to make sure images are sharp.
Most of the elements we already mentioned, such as using a tripod and keeping your camera in manual mode, will definitely help you create sharp long exposure photography. Yet, there is one additional component to consider when shooting these images: your aperture value.
Related Posts
Aperture can be tricky. You want a low aperture to let in plenty of light, but you also want an aperture that will create the sharpest images. In this sense, you need to have a balance.
When it comes to getting the aperture right, you’ll probably need to do a bit of trial and error. When you get an aperture that offers a good balance, one where your images are sharp, you know you’ve hit the right spot. Usually, you’ll find an aperture between f/5.6 and f/8 to be good. This range is known as the sweet spot!
With the three components, tripod, manual mode, and aperture, you’re guaranteed to get some stunningly sharp long exposure images.
Creative Ways to Capture Long Exposure Photography
Using the 500 Rule
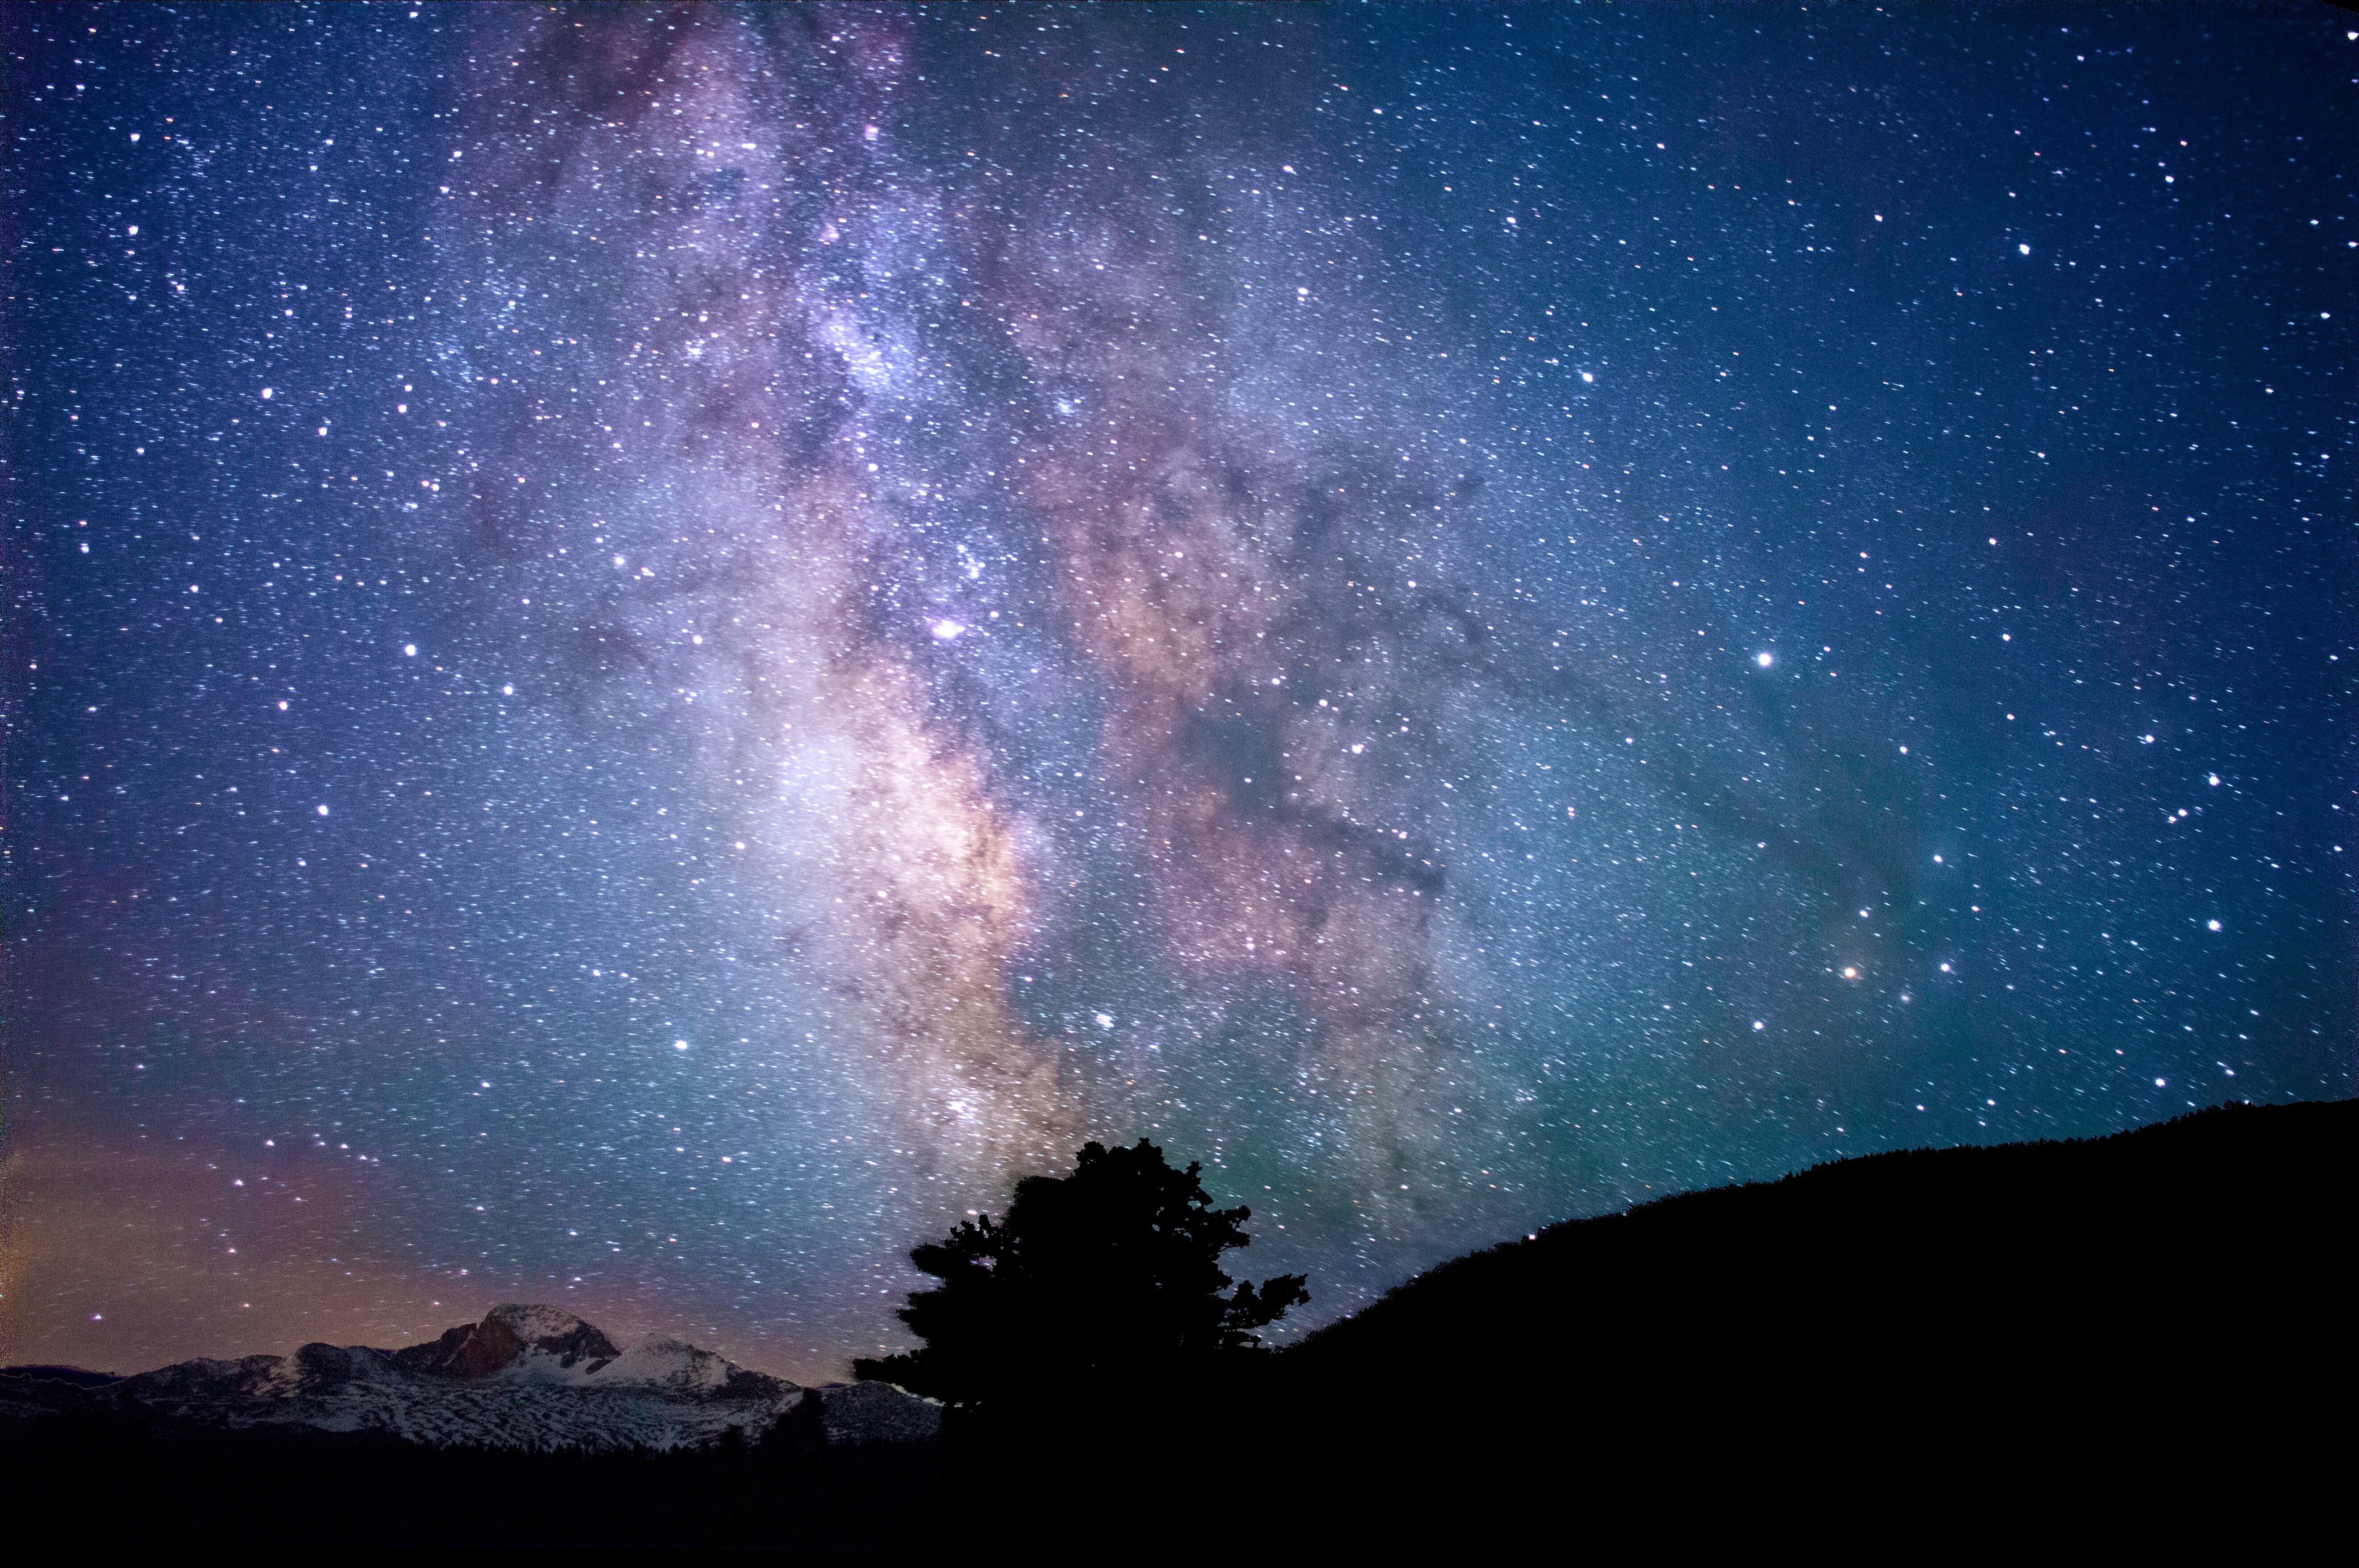
At this point, you’re basically a long exposure photography expert. So, to add some more creativity to your images, let’s discuss using long exposures for astrophotography.
Capturing the night sky is one of the main reasons for using long exposure photography. With this type of photography, in order to create the most jarring and beautiful images, you need to understand the 500 rule.
The 500 rule in photography is used by photographers, in order to remove star trails from your night sky photography. The formula for the 500 rule is: SS = 500 / (FL * CF)
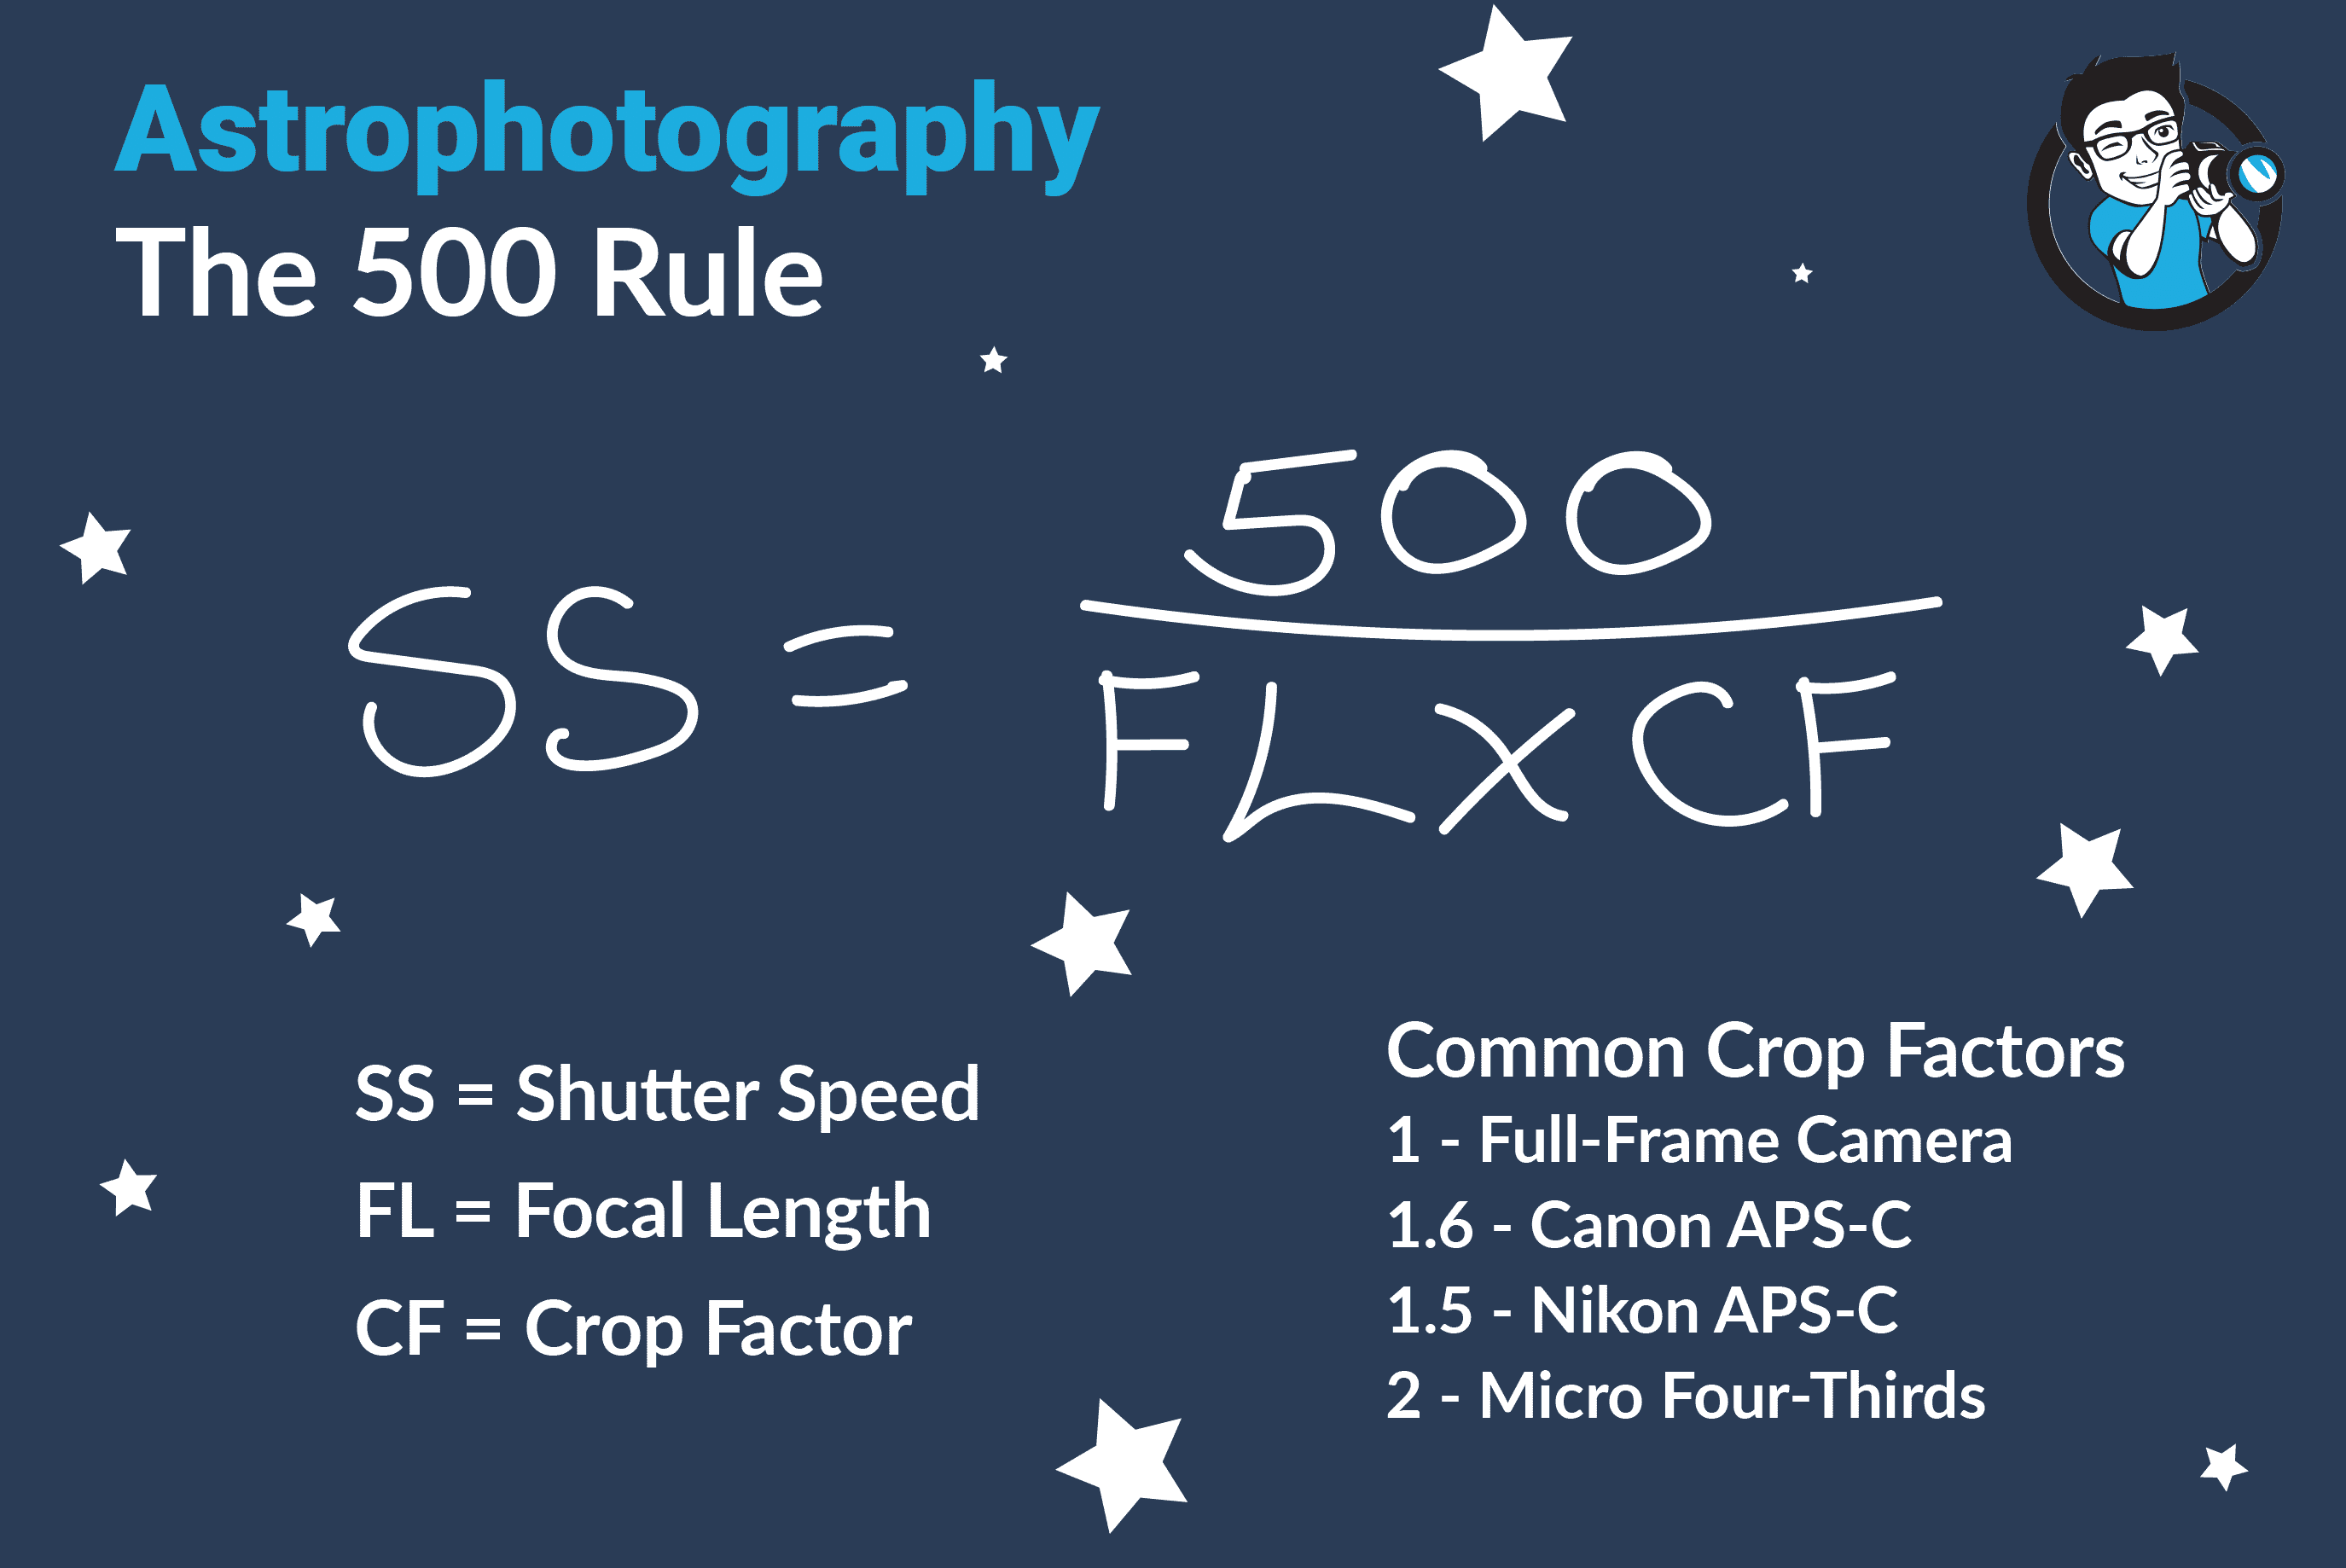
In this equation;
- SS stands for Shutter Speed
- FL is for Focal Length
- And, CF is for crop factors.
Therefore, you can determine your correct shutter speed by multiplying your focal length by your crop factor. Then, dividing this numerical value into 500.
According to ExpertPhotography, common crop factors for cameras are:
- 1 for full-frame cameras
- 1.6 for Canon APS-C cameras
- 1.5 for Nikon APS-C cameras
- 2 for micro four-thirds cameras
- 2.7 or higher for compact cameras with a 1″-type sensor or smaller
So, if you have a full-frame camera and are using a lens with a focal length of 50 mm – your formula would look like this: SS= 500/(50 * 1) = 500/50 = 10.
So using these values you get a shutter speed of 10 seconds. If you set your camera to the corresponding shutter speed, you should be able to capture images free of star trails. Want to see how it works for you? Try it out for yourself using the 500 rule!
Creating Long Exposures from Live Photos
An additional way to add creativity to your long exposure photography is to utilize iPhone live photos. If you have an iPhone you probably have a collection of live photos. These are 3-second motion clips that are captured when you press the shutter button to take a photo.
Creating a long exposure from your live photo involves merging each frame from your clip into a single image. With the press of a button, your phone does all the hard work for you, leaving you with a creative long exposure image.
It is worth noting that this feature is only available with an iPhone 6 or later with iOS 11 and above. Though there are also apps available if you don’t have this feature. An example of this is the Slow Shutter Cam app.
To create your long exposure from a live photo, follow the steps below:
Capture a Live Photo by Using the Self Timer Button
This will ensure that your image is steady and that there is no camera shake by pressing the shutter button. To add even more stability, consider using a tripod for your iPhone. Frame your image and shoot!
Create the Long Exposure
Navigate to your Photos app and open up one of your Live Photos. Swipe up to reveal your effects panel. Go to the end of the list, to the right, to find the Long Exposure option. Tap Long Exposure and there you have it – your very own long exposure image from a live photo!
Capturing Long Exposure Photos Using a Smartphone
Your final lesson on long exposure photography is all about using your smartphone.
While you may have only thought you could capture these images with professional gear, think twice! You can create quality long exposures with your iPhone or Android device.
To do this, you will need the ability to manually adjust your smartphone camera’s settings or utilize an app such as Slow Shutter Cam to change these values for you.
In manual mode, simply find your shutter speed and ISO. Adjust these values accordingly for long exposures. This means you need to drop your shutter speed to one second or longer to allow the most amount of light to enter your sensor. And, you’ll need to keep your ISO at the lowest possible value, to avoid overexposing your image.
Once you have adjusted these two settings, you can start creating your own long exposures. Remember, using a smartphone tripod will make your images even sharper and of higher quality. The best long exposure images are those that have the perfect mixture of focus and intentional blur.
Try it out for yourself and capture some creative long exposure photography with your smartphone.
Long Exposure Photography: Final Thoughts
As you can see, there are many ways you can master the art of long exposure photography. From shooting during the day and night to learning a few creative tricks. With all that we’ve covered, you’re well on your way to creating truly beautiful photographs.
Do you have any tips for mastering long exposure photography? Share your insights with us in the comments below!